DIY Chair Pocket Organizer
13th Aug 2020
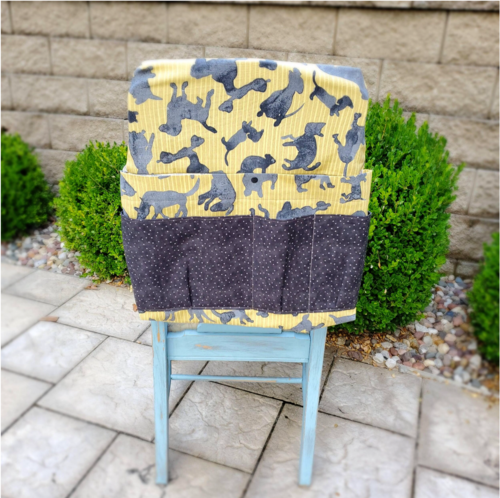
Hi! Joanne here to show you how to make a chair pocket. Now that we are in August it is time to plan for back to school. Many students will be learning from home and need a place to keep supplies and books organized. I used a durable duck cloth fabric and Cotton Cuts Modern Maker box fabric from Guicy Guice for the pockets.
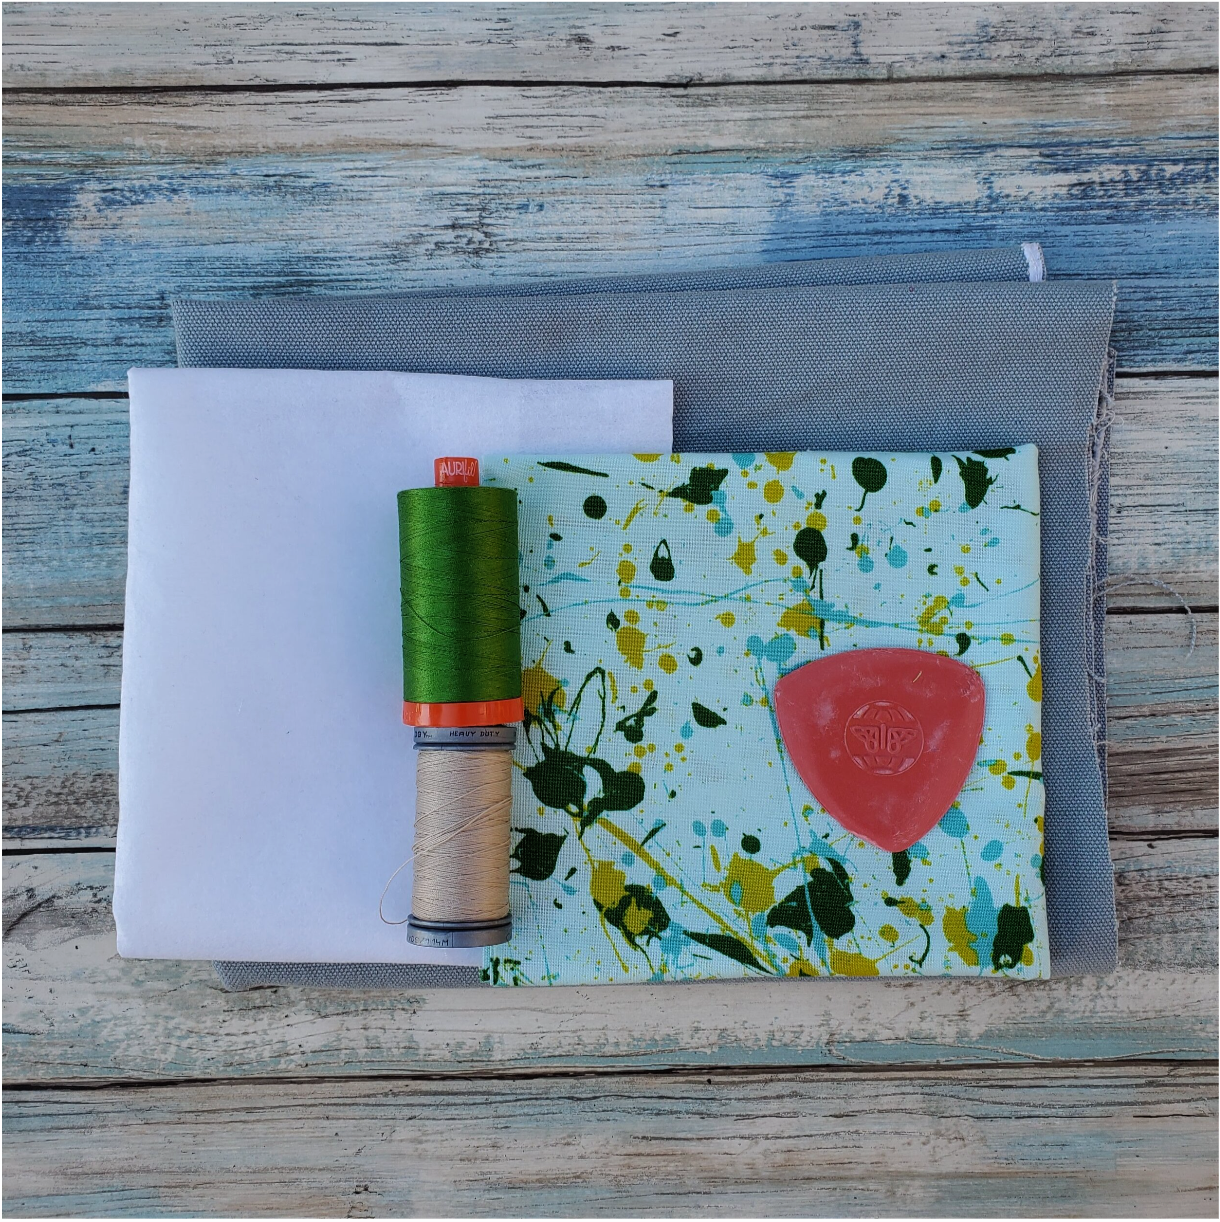
Materials needed
-
⅝ yard heavy duty duck cloth
-
Fat quarter for pocket
-
Heavy duty thread and color coordinating thread
-
Fusible interfacing medium weight
-
Fabric marker
Depending on the size of your chair you may need more fabric. Measure the chair back at the widest and add a few inches to accommodate for seams. Take note that the heavy duty duck cloth looks the same on both sides. To start, pin the duck cloth fabric in place on the chair.
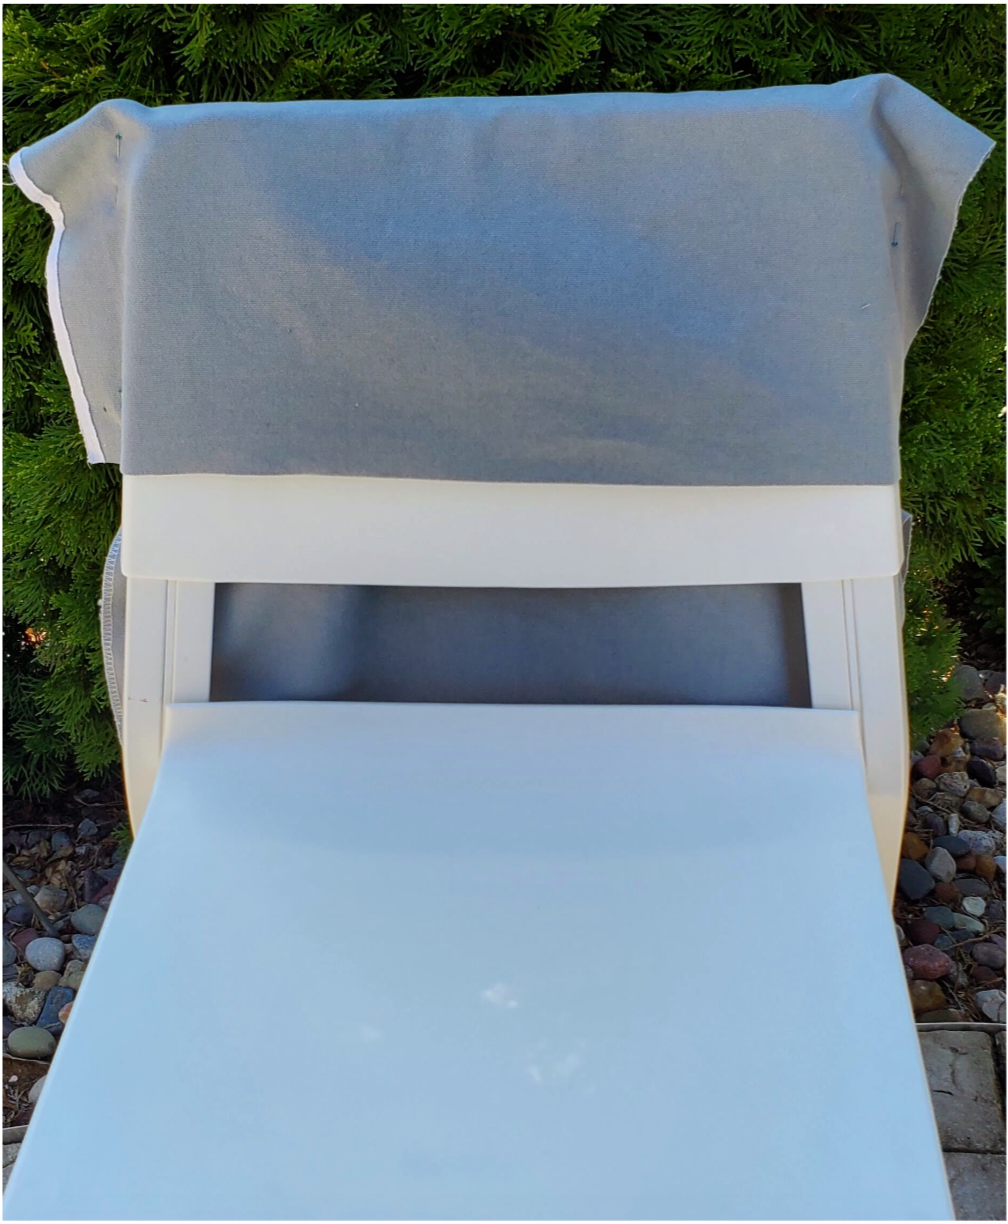
I wanted to cover about half the height of the chair back on the seat side. For this chair it was about 8 inches. Allow about an inch to fold under a hem. Take it to the machine and sew the hem first and then the side seams for the chair sleeve. Try it on the chair to be sure you are happy with the fit. It can easily be adjusted at his point.
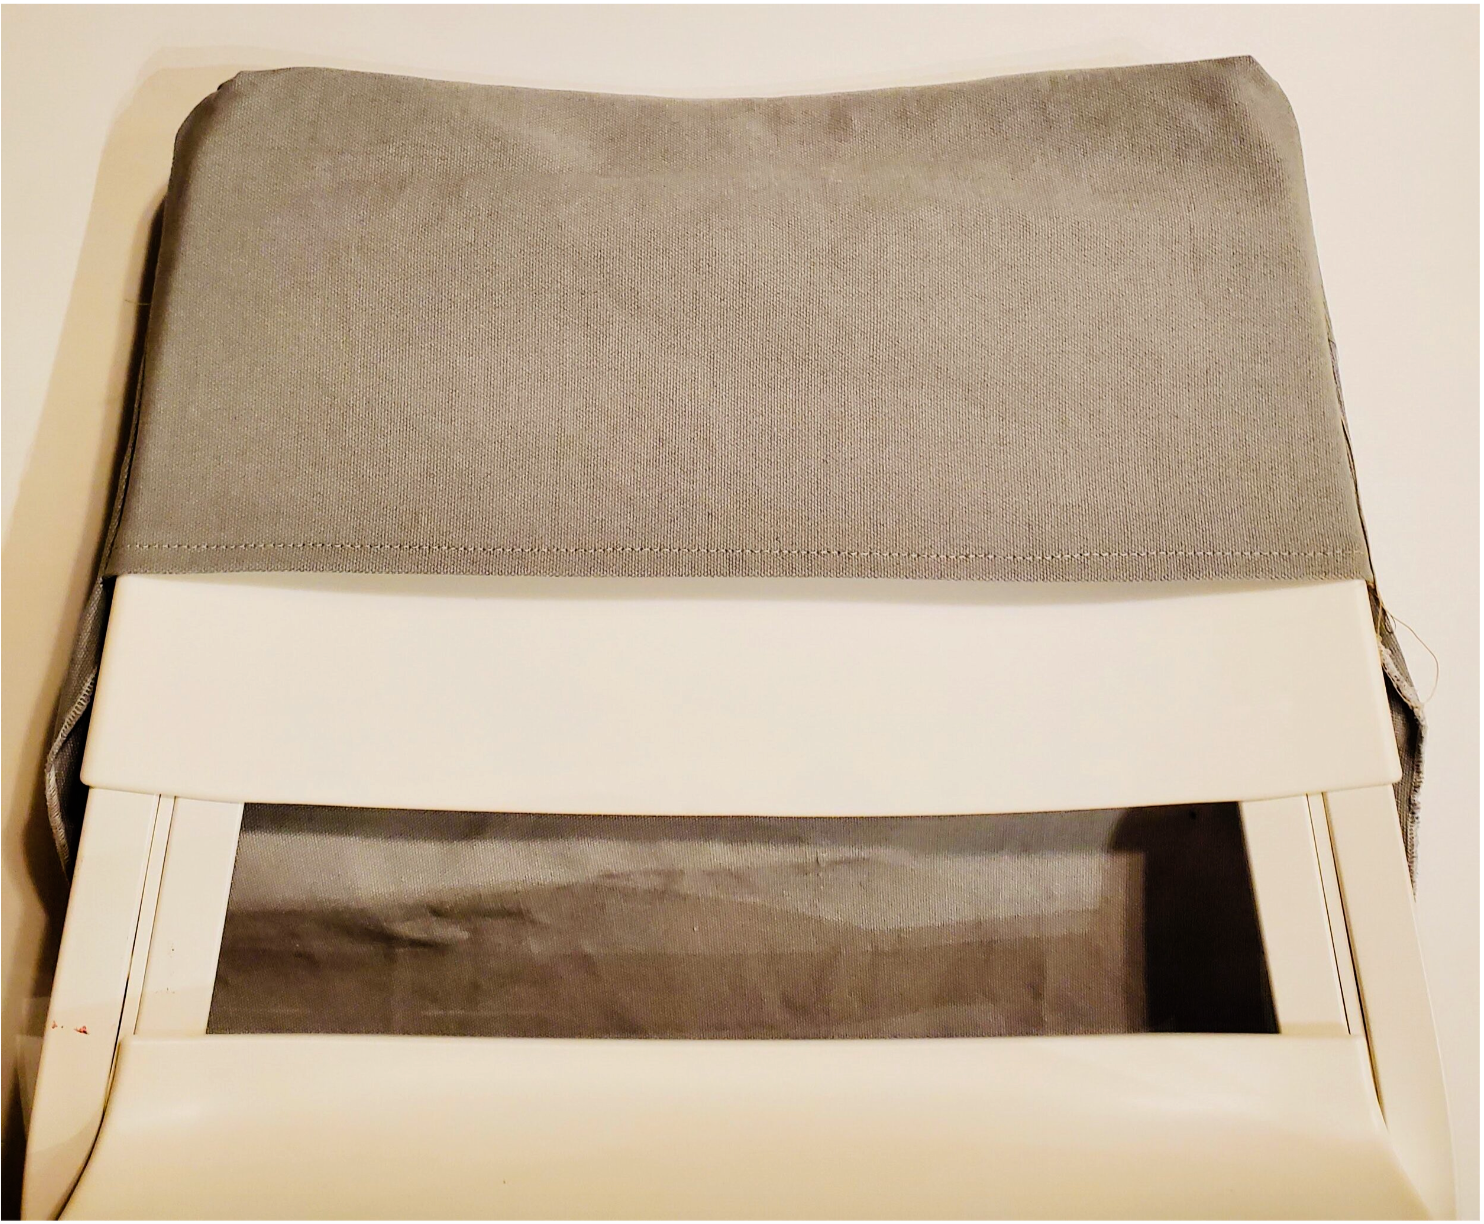
Next fold the fabric on the back of the chair up so it ends at seat height. This creates the tallest pocket to hold books or notebooks. It should be at least 11 inches tall. Pin on the sides where you will sew the seams. Ideally the top of this back pocket begins where the chair sleeve ends.
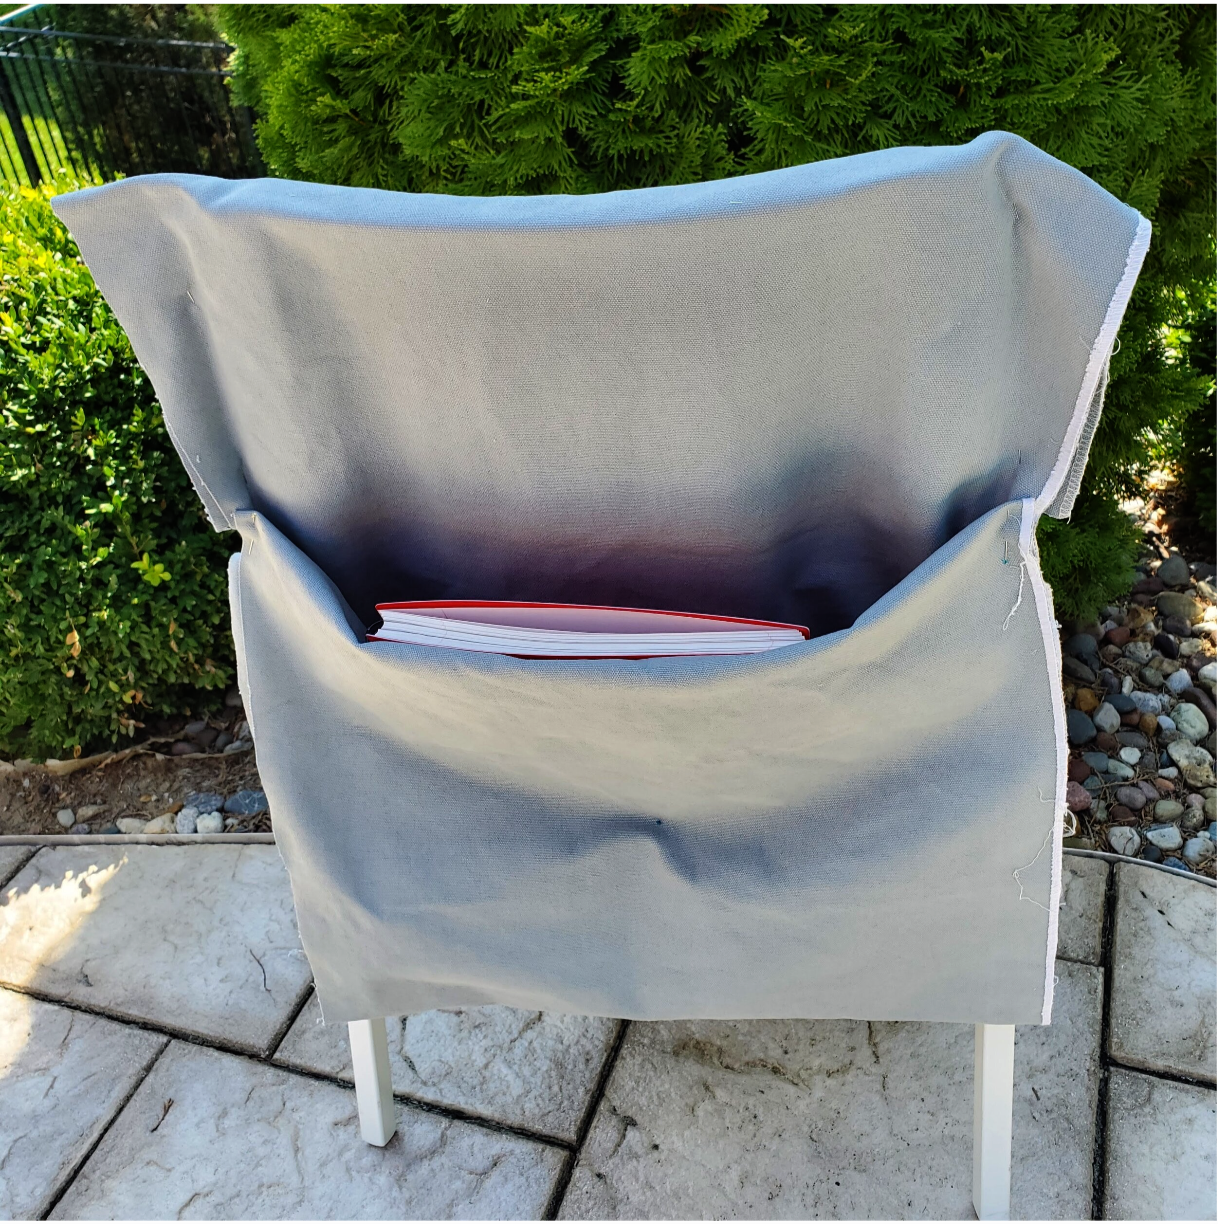
I then took a fabric marker to draw a line for my seams.
You will cut the extra length of fabric off, allowing an extra 2 inches to fold under to create a hem to hide the raw edge of the fabric. This will be the top edge of the back pocket. If you have a serger or a machine that has an overlock stitch it would be a good idea to sew the raw edges first. This area will get the most use so you want the seams to be secure.
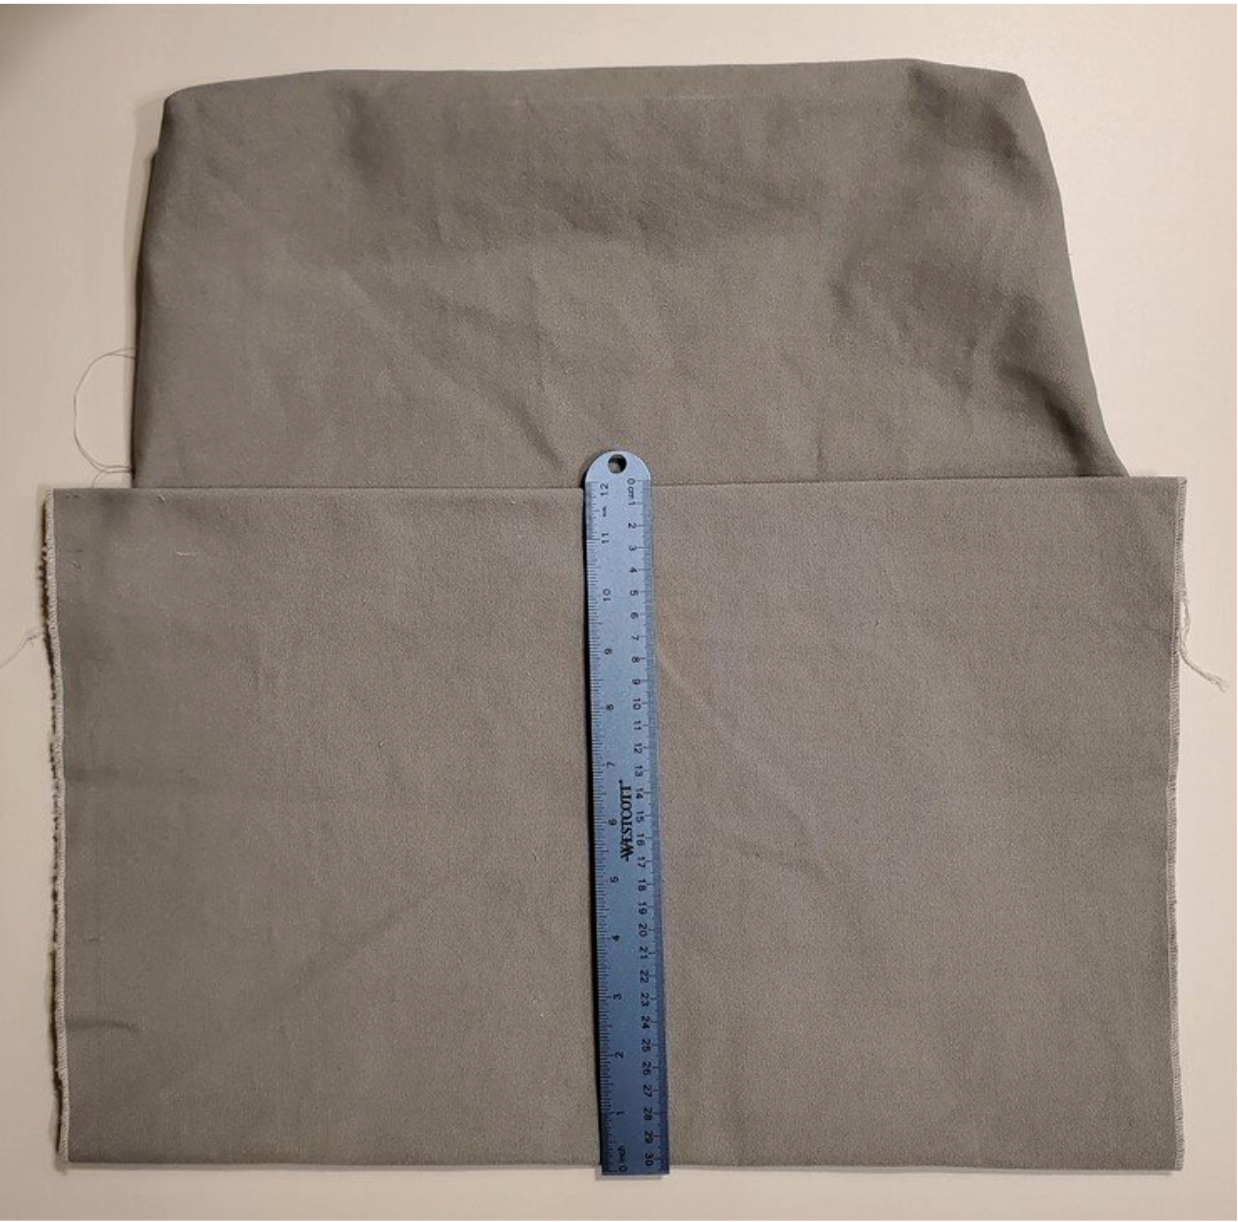
This is a good time to top stitch down the raw edge of the back pocket two inches from the top edge. I usually increase the stitch length to 3 when top stitching.
Now you are going to prepare the fat quarter pocket. If you are using a wider chair you will need a bigger piece of fabric. Fold fat the quarter in half, it should be 18 inches wide. Press with an iron. Cut a piece of fusible interfacing 10 x 18 and iron it on the wrong side of the fabric along the crease line. With the right sides together, sew ¼ inch seam along the top and bottom. Turn the right sides out and press. With a coordinating thread, top stitch about ⅛ inch from the top edge.
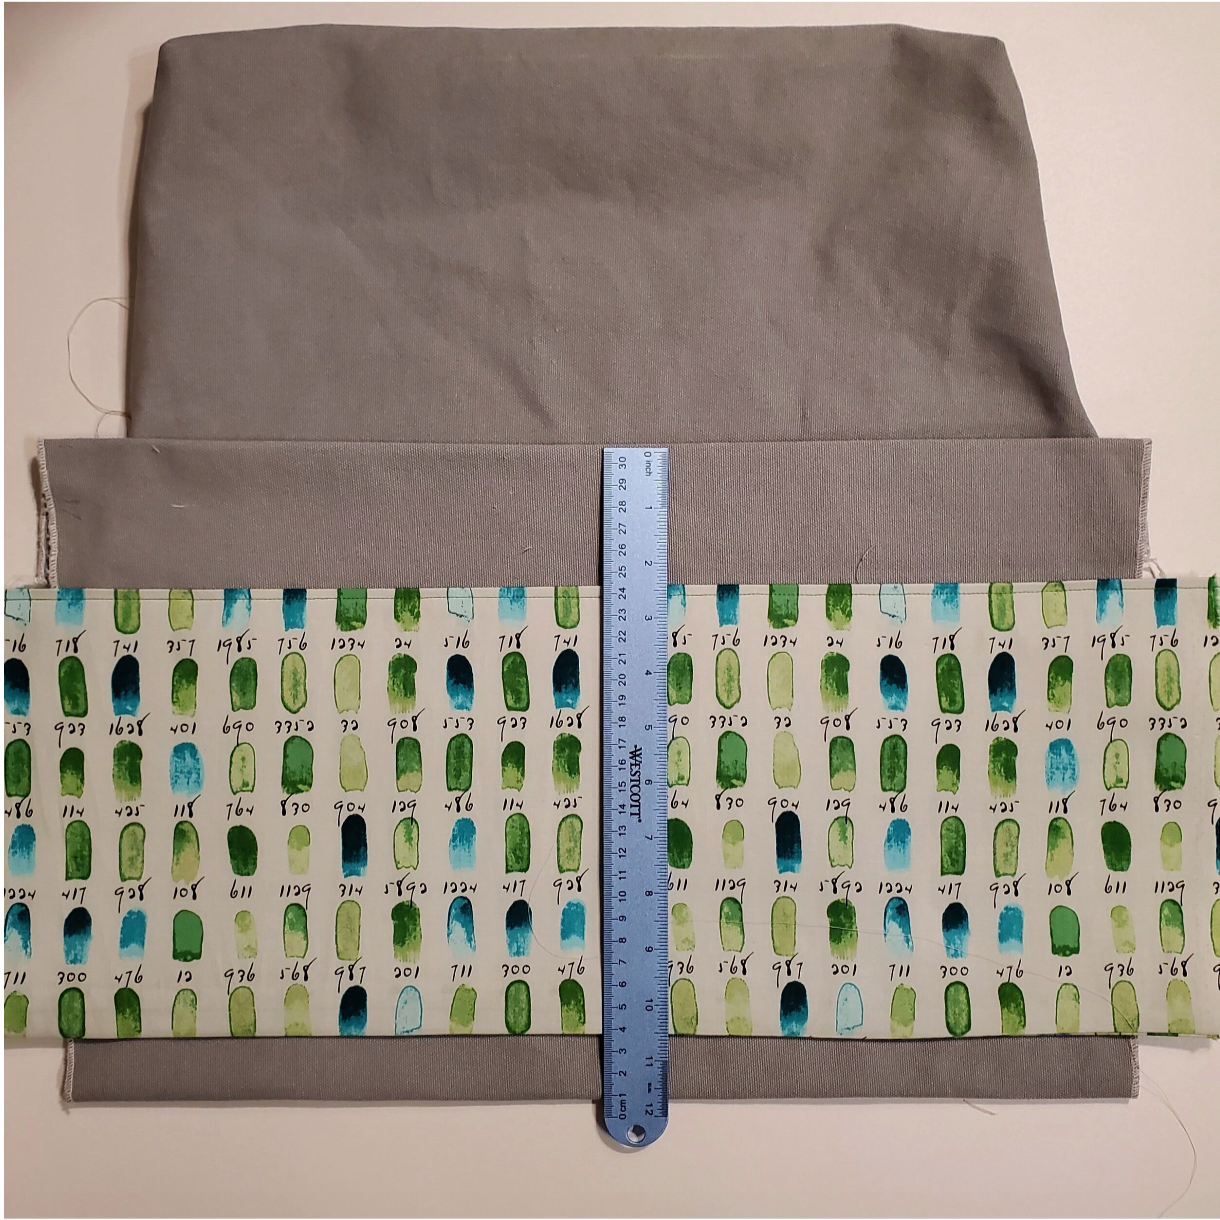
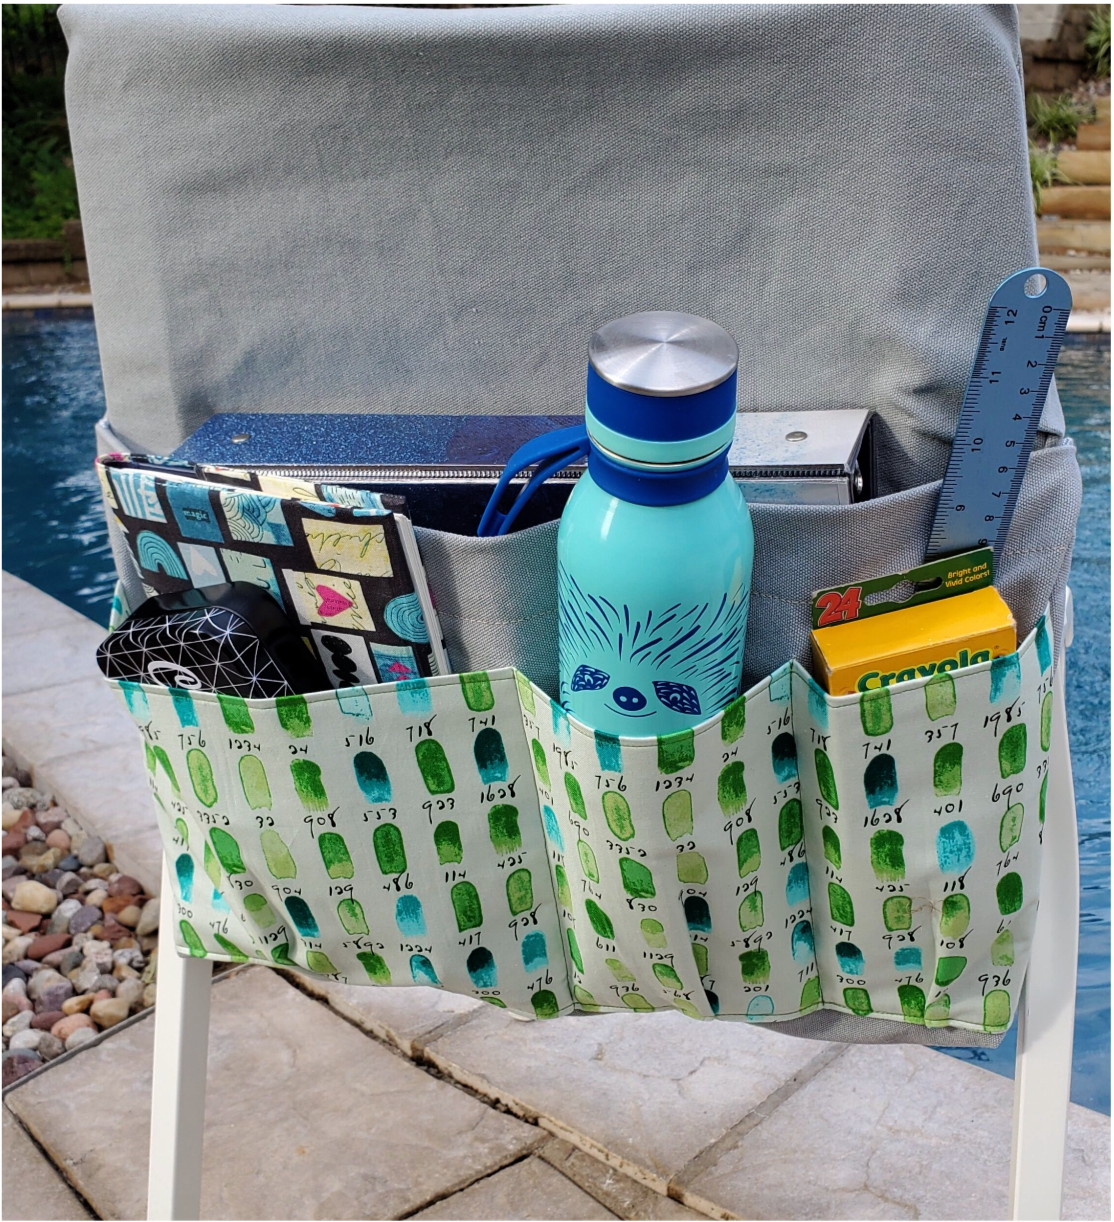
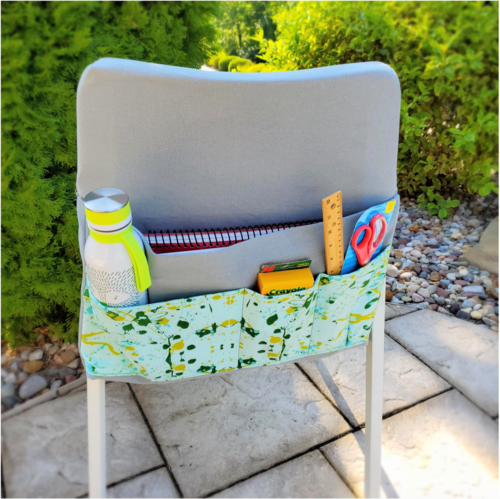
Place the fat quarter fabric pocket on the back pocket about an inch from the bottom of the pocket. At this point you can decide how many smaller pockets you want and the width of each one. You will see in the picture that the printed fabric pocket is wider than the duck cloth pocket. In these smaller pockets you will want to give space to fit bulky items.
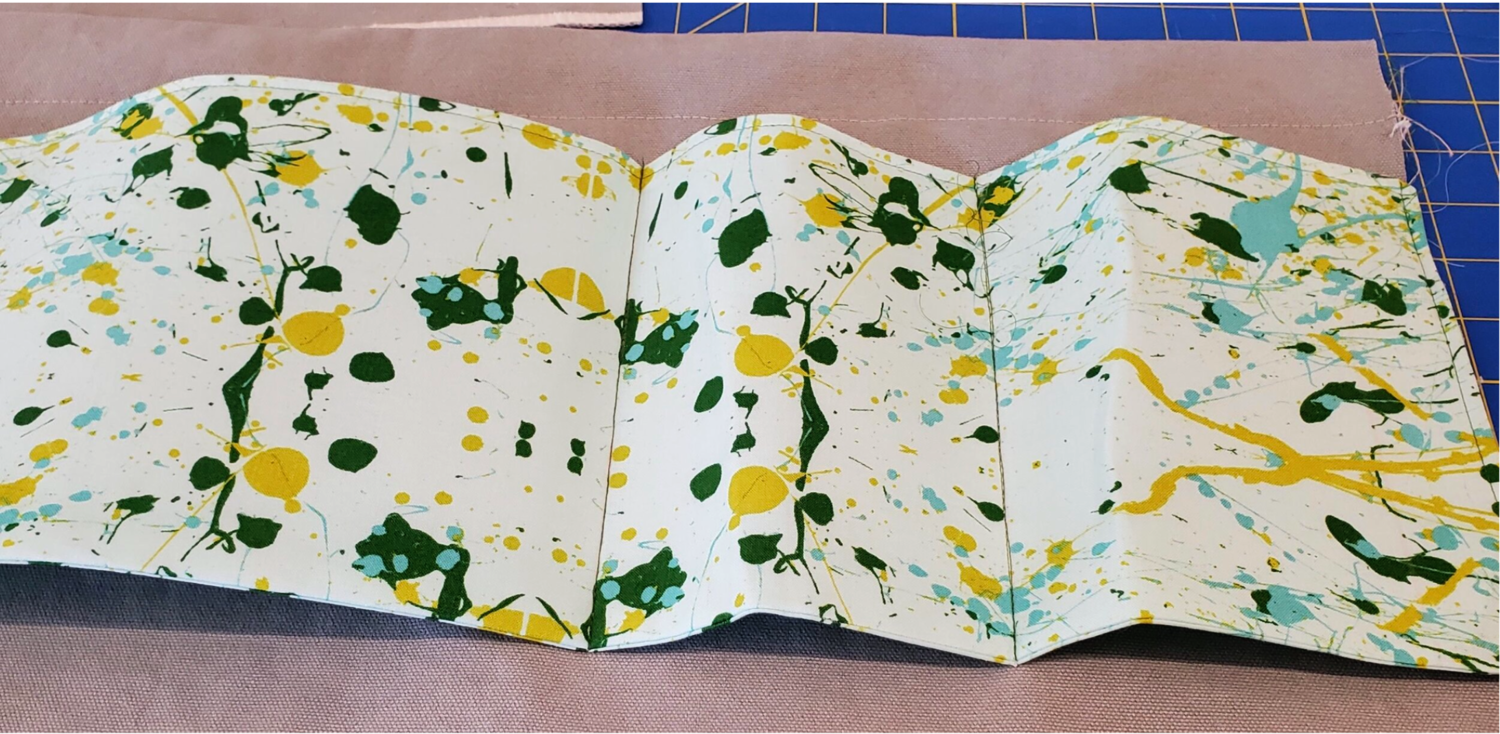
I accommodated for this along the bottom with a pleat in each pocket. Sew the outer pocket to the duck cloth, top stitching the vertical lines between the pockets twice for stability. I then sewed the bottom horizontal seam to finish the decorative pockets. It is helpful to baste the sides of the decorative pocket to the duck cloth to keep everything lined up and straight. Now, with the right sides together sew the seams.
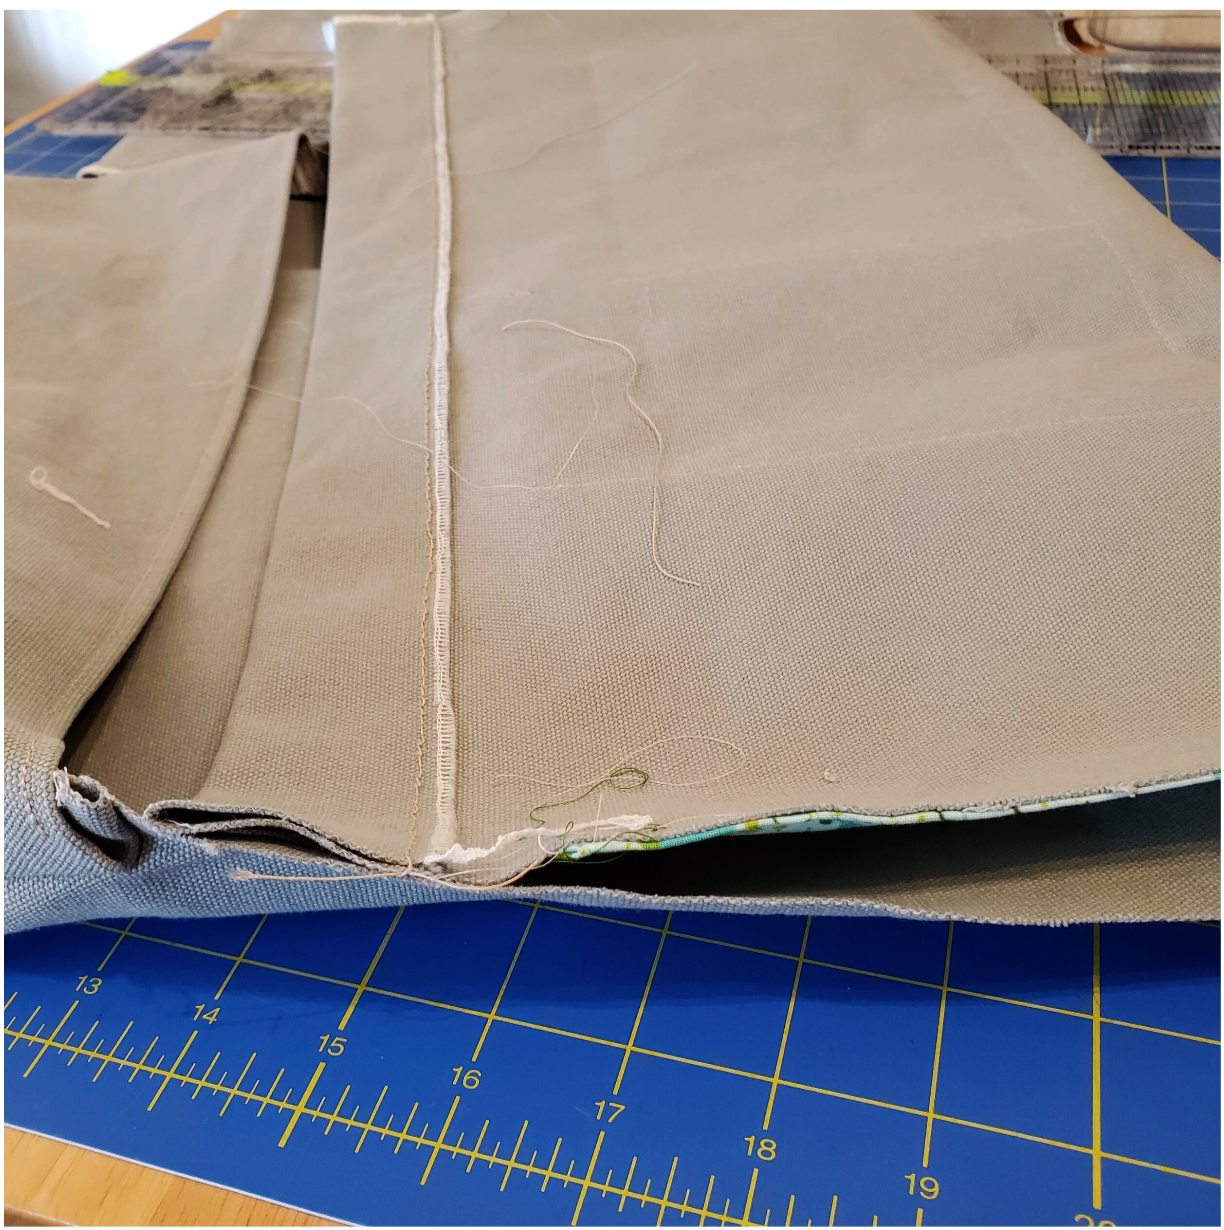
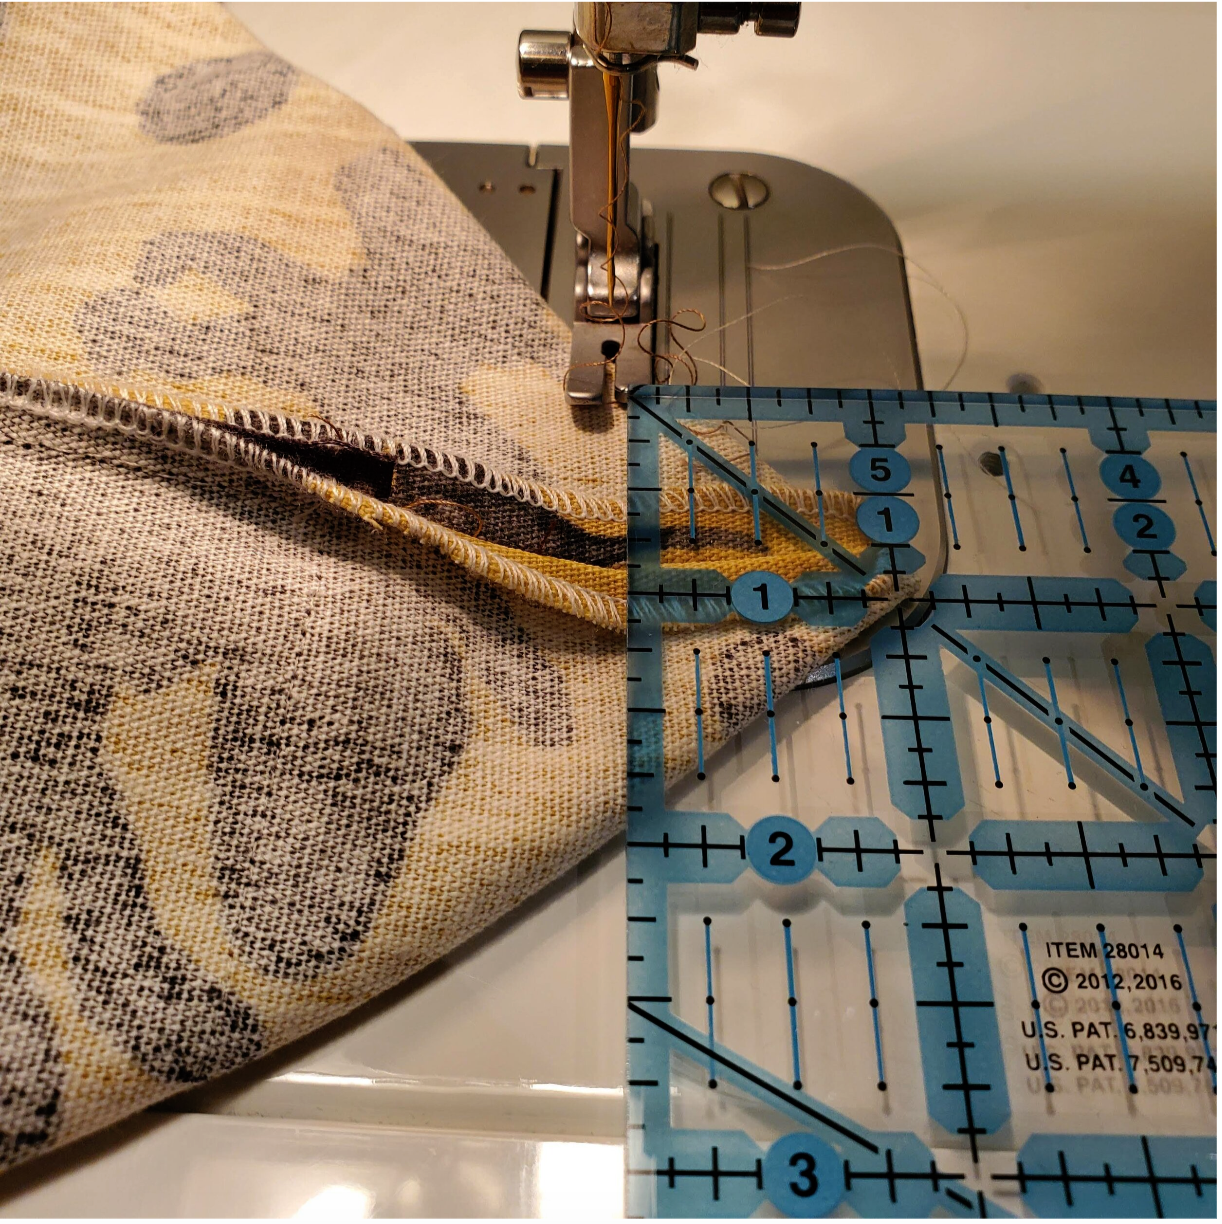
If you would like to add boxed corners to this pocket this is the time to do it. I did about one inch to give a flat bottom for the books.
Turn the right side out and give it one last press.
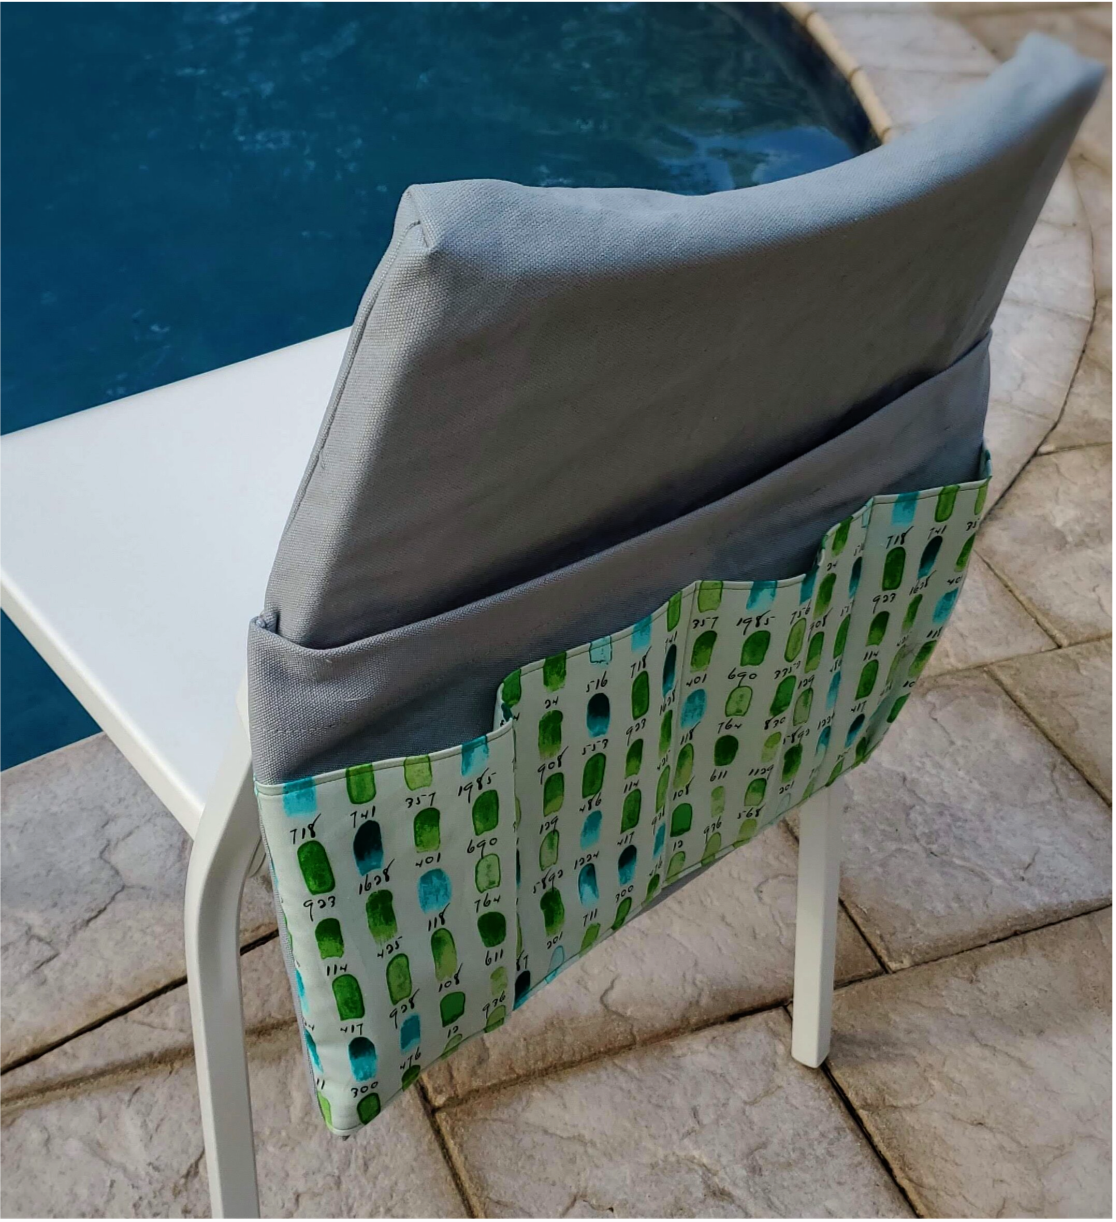
Now fill it with supplies and it is ready for the new school year!
