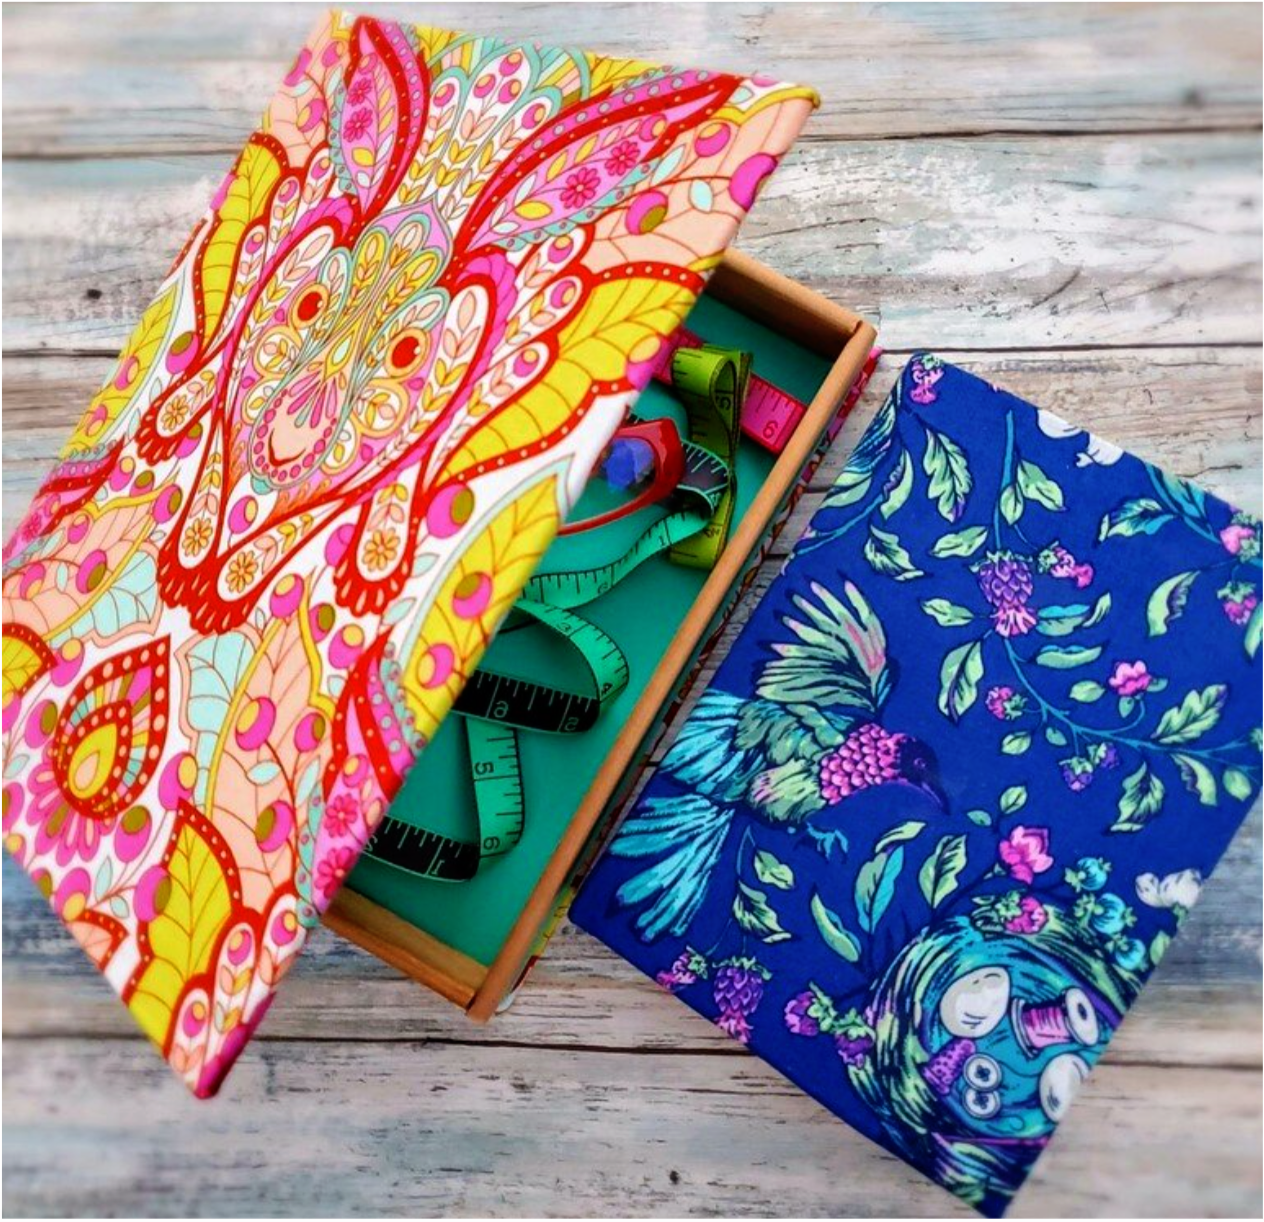
DIY Fabric Covered Book Box
27th Aug 2020
Joanne here to share a project perfect for fabric enthusiasts! I love to just admire fabric with beautiful colors and designs. It can be a great way to display one of your favorite or seasonal fabrics using a hardcover book. Most of us probably have a set of encyclopedias rarely opened, taking up space on a shelf that would be the right size to make a book box. A trip to the thrift store will provide many options for this project as well.
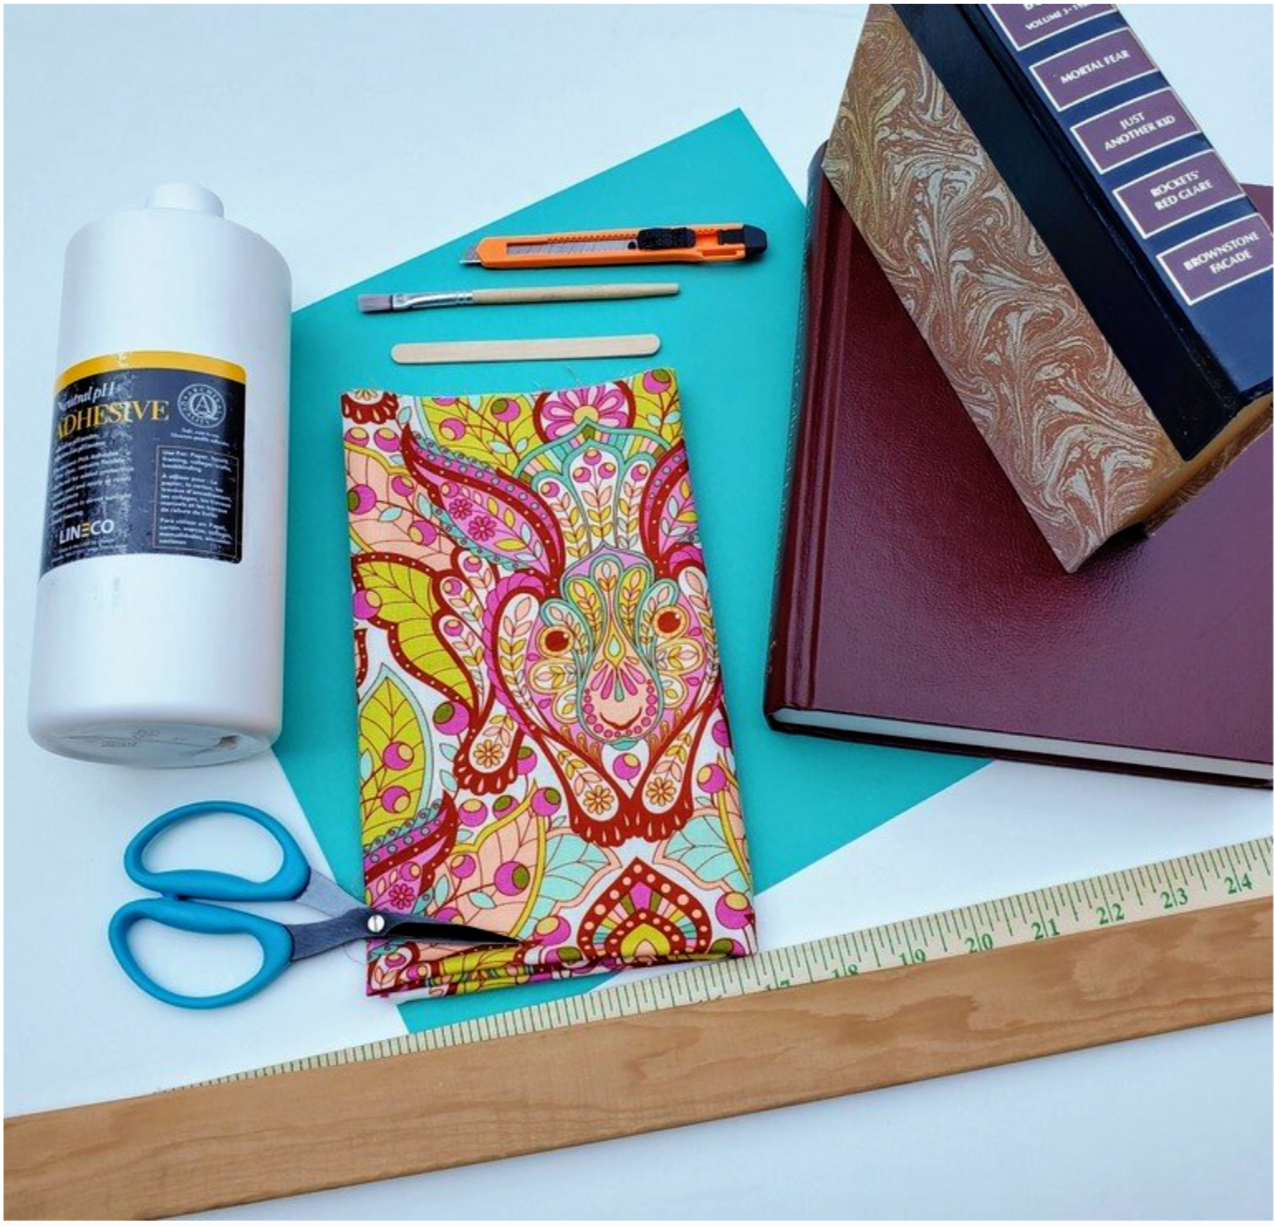
For the supply list
Fat quarter from Cotton Cuts mystery bundles of fabric
A yardstick or similar size piece of wood (could be substituted with cardboard)
Permanent PVA adhesive for bookbinding or similar glue
Small paint brush for glue and a popsicle stick
Knife blade
Coordinating heavy weight cardstock for inside of the box
Hardcover book
Chop saw or small hand saw to cut wood pieces
To start, you will use a knife blade to cut the center of the book away from the hardcover. Open the book to the inside cover and push the blade in the space between the cover and the glued book pages.
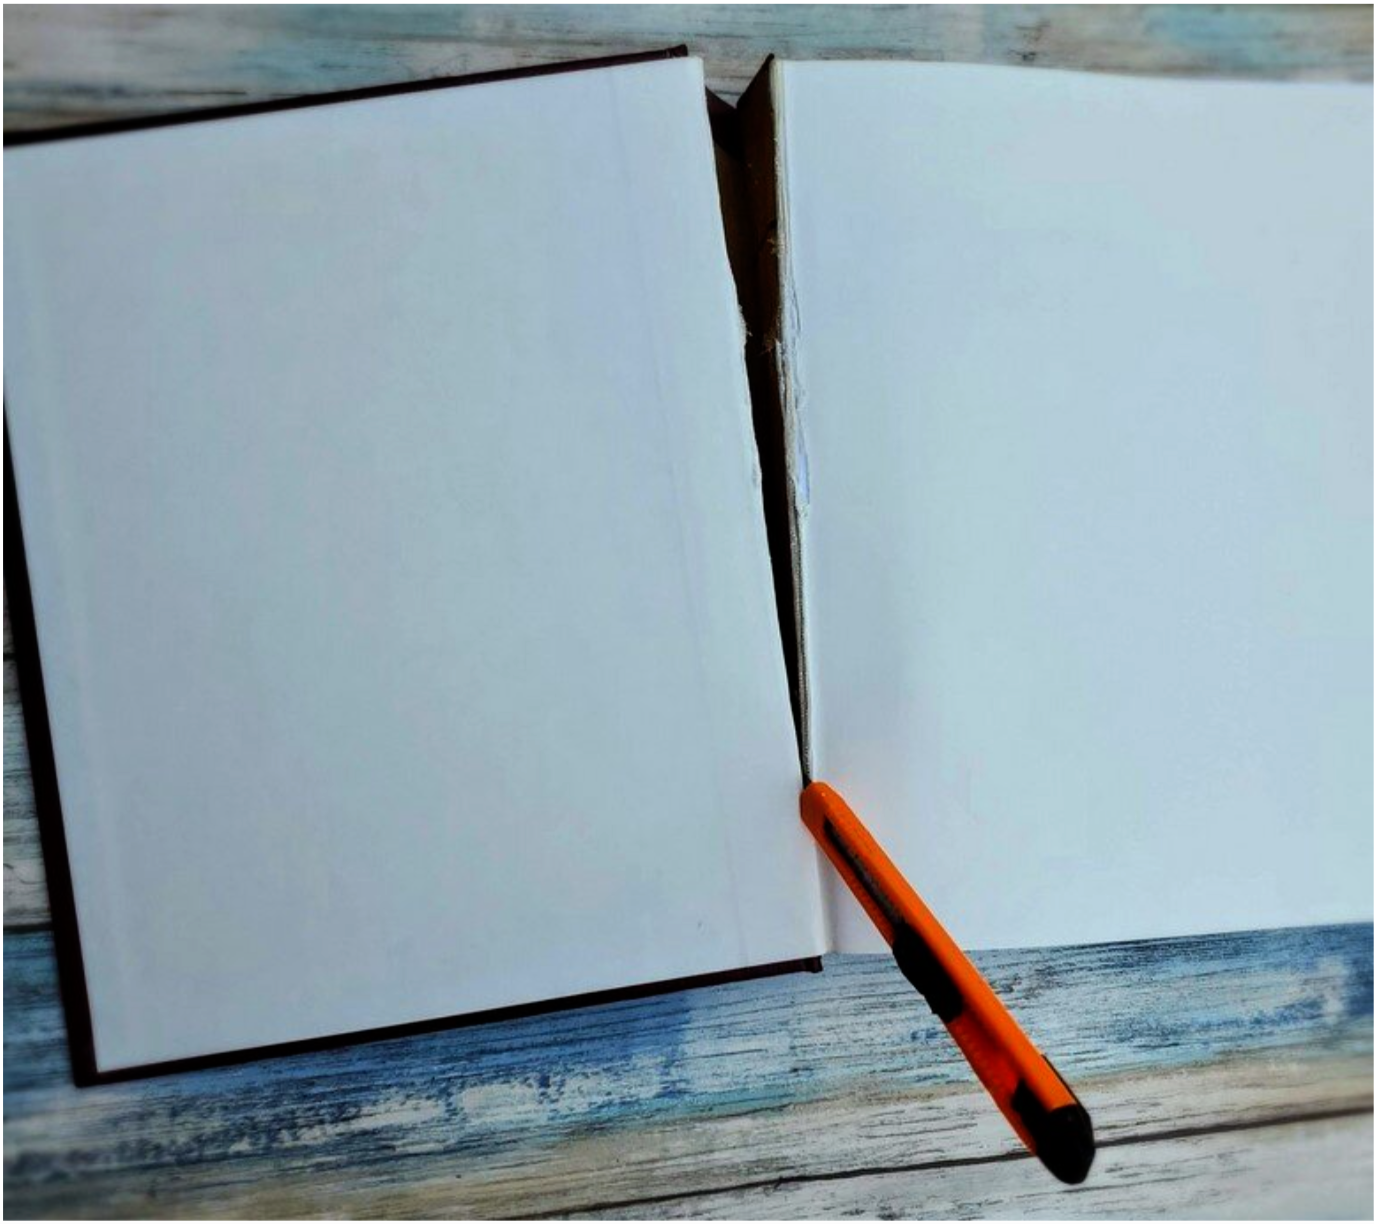
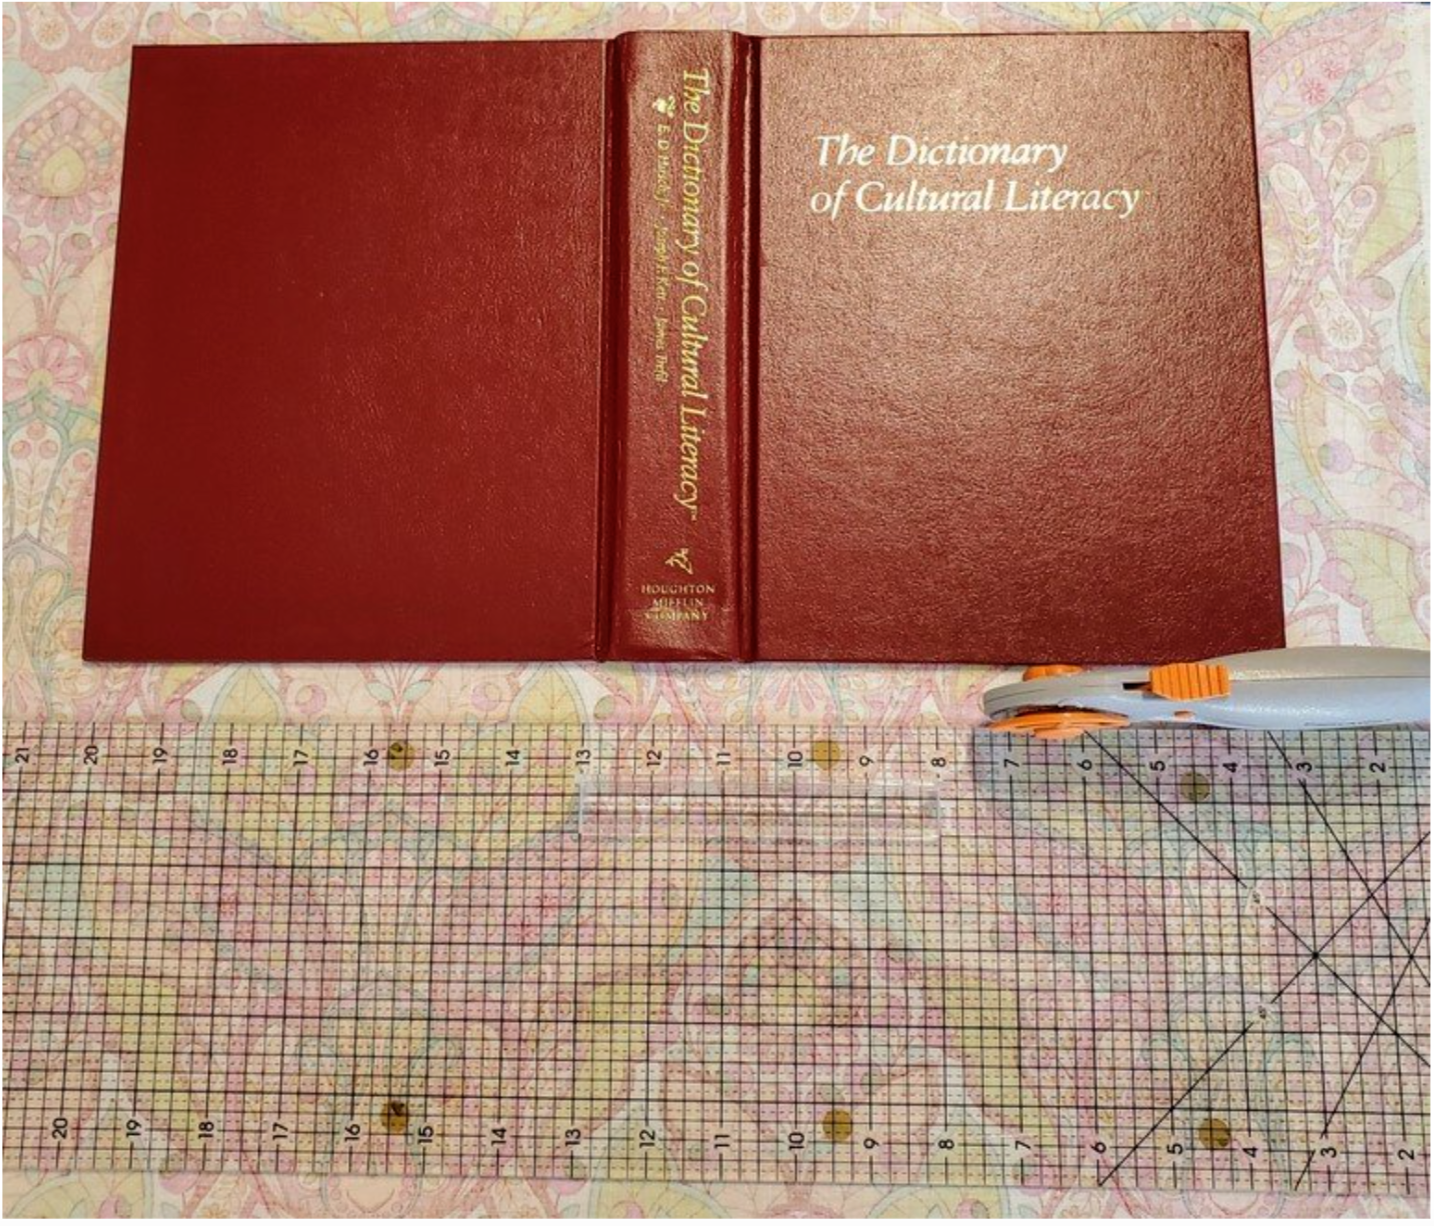
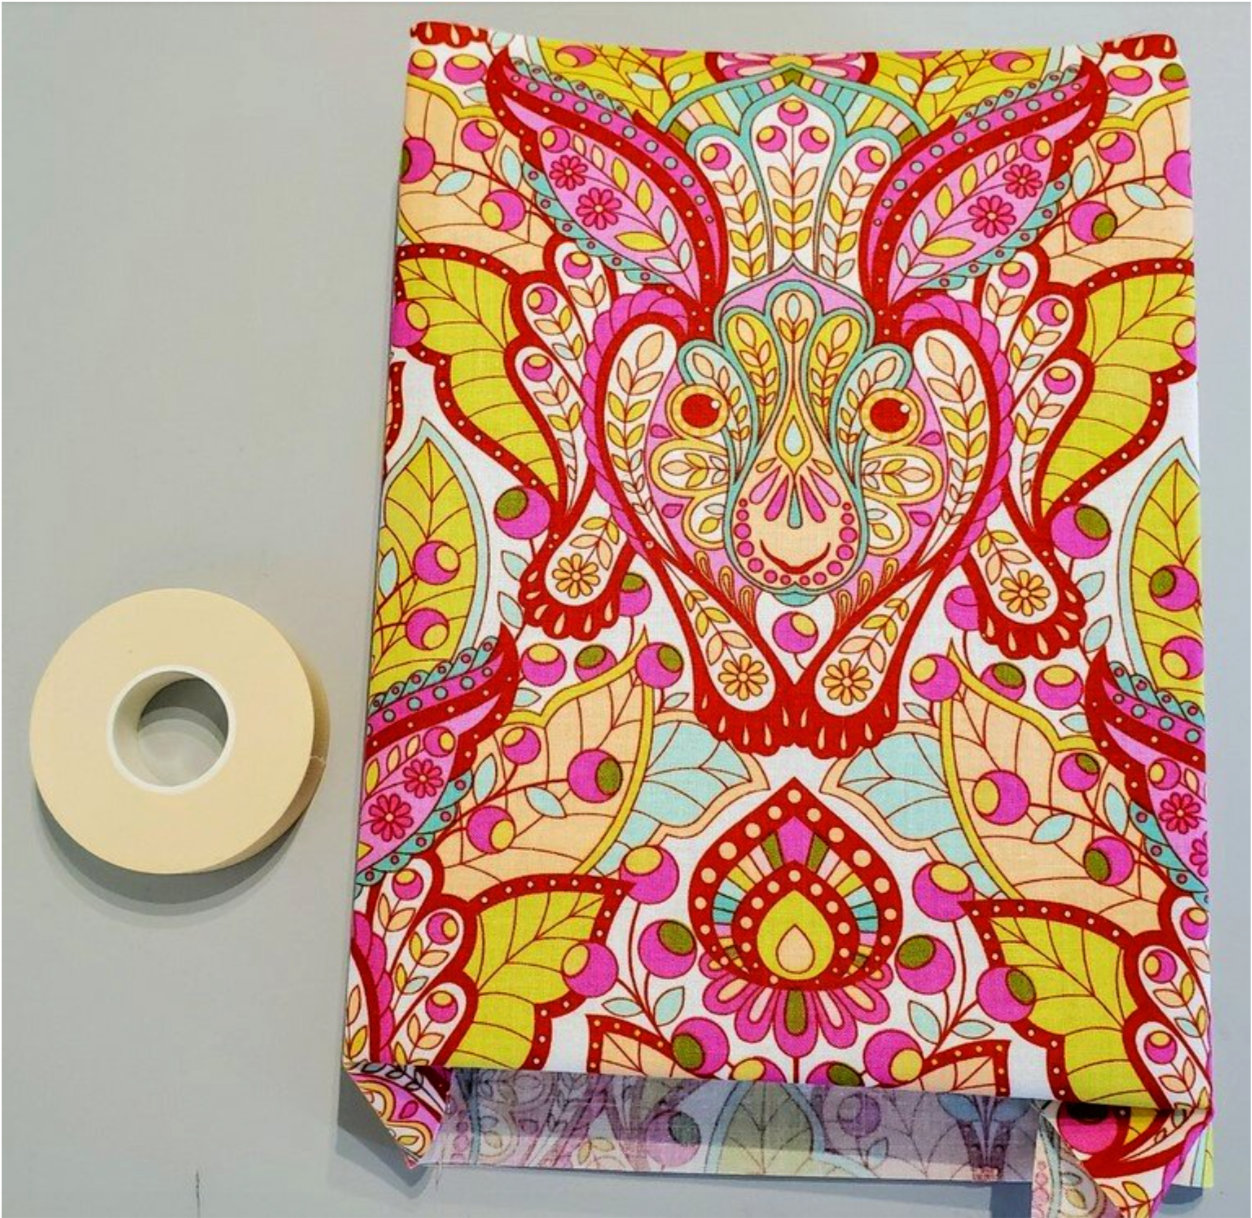
Repeat this process on the back cover of the book. Next, prepare your fabric by ironing with spray starch. I laid out the fabric with the book on top to plan for the design placement. Cut the fabric with an extra inch all the way around the book to provide fabric to glue to the inside cover of the book.
To be sure I had the main picture lined up on the front cover, I temporarily taped the fabric to the top and closed the box to check.
Lay the book flat with the fabric in place and mark around the book with a Hera marker or pencil to be sure it is in alignment ready for the glue in the next step. With the outside of the book facing up, carefully pour some glue in a line on the surface. I used a large popsicle stick to spread a thin even coat of glue.
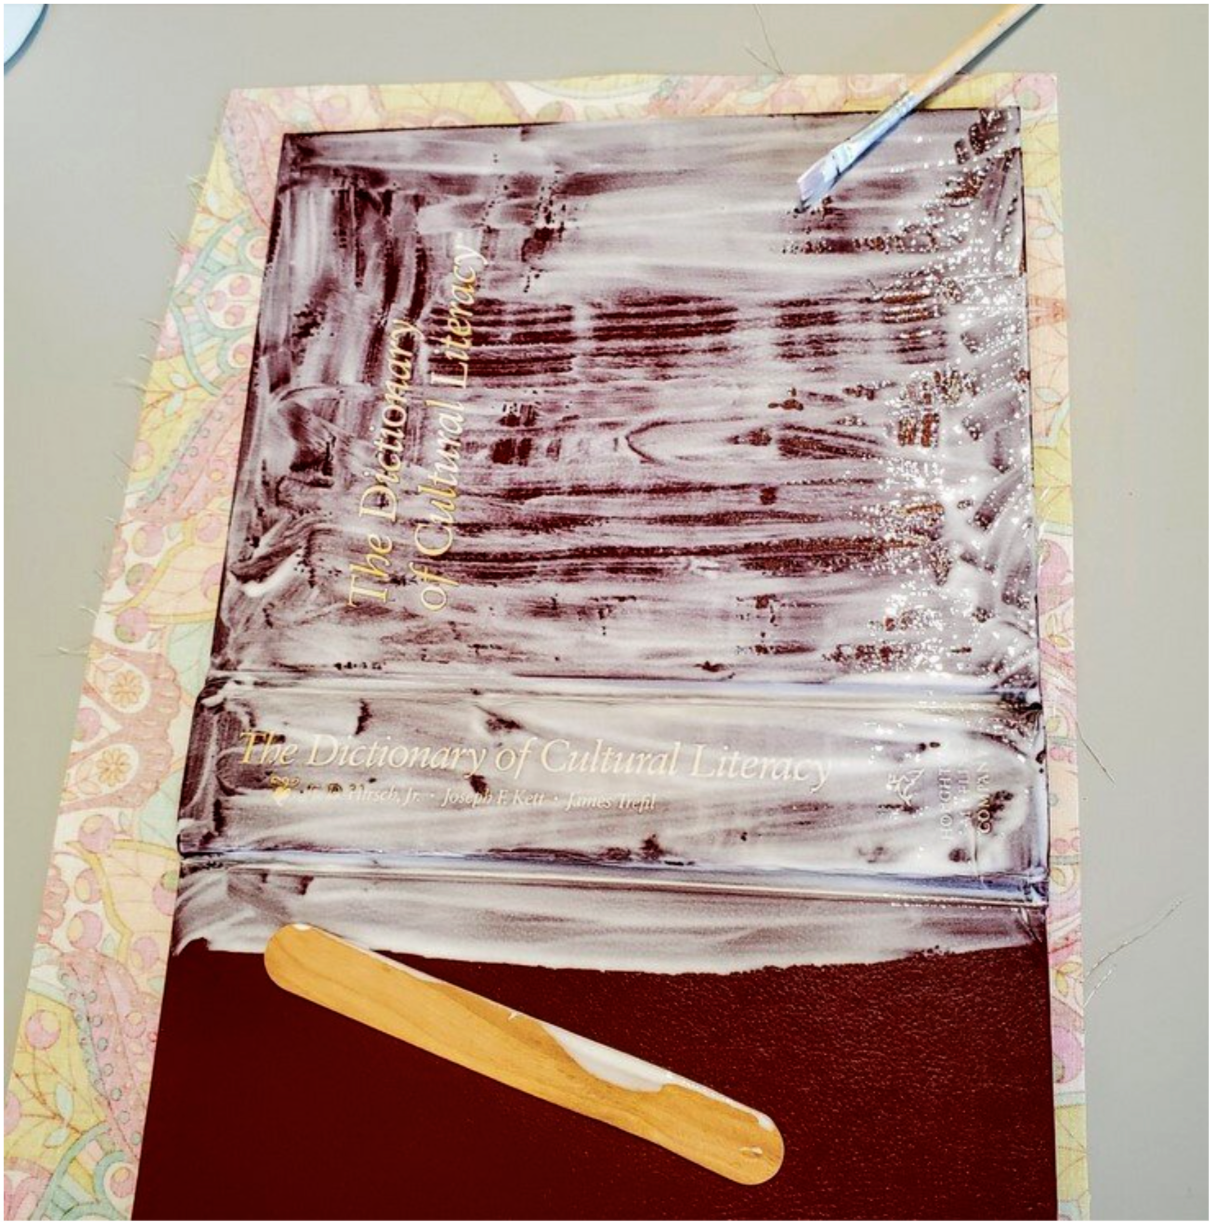
Use a small flat edge paint brush to apply glue to the edges of the book. Cover the entire surface, working quickly so the glue doesn’t start to dry. Carefully pick up the book by the corners and flip it over aligning with the marks before pressing into place.
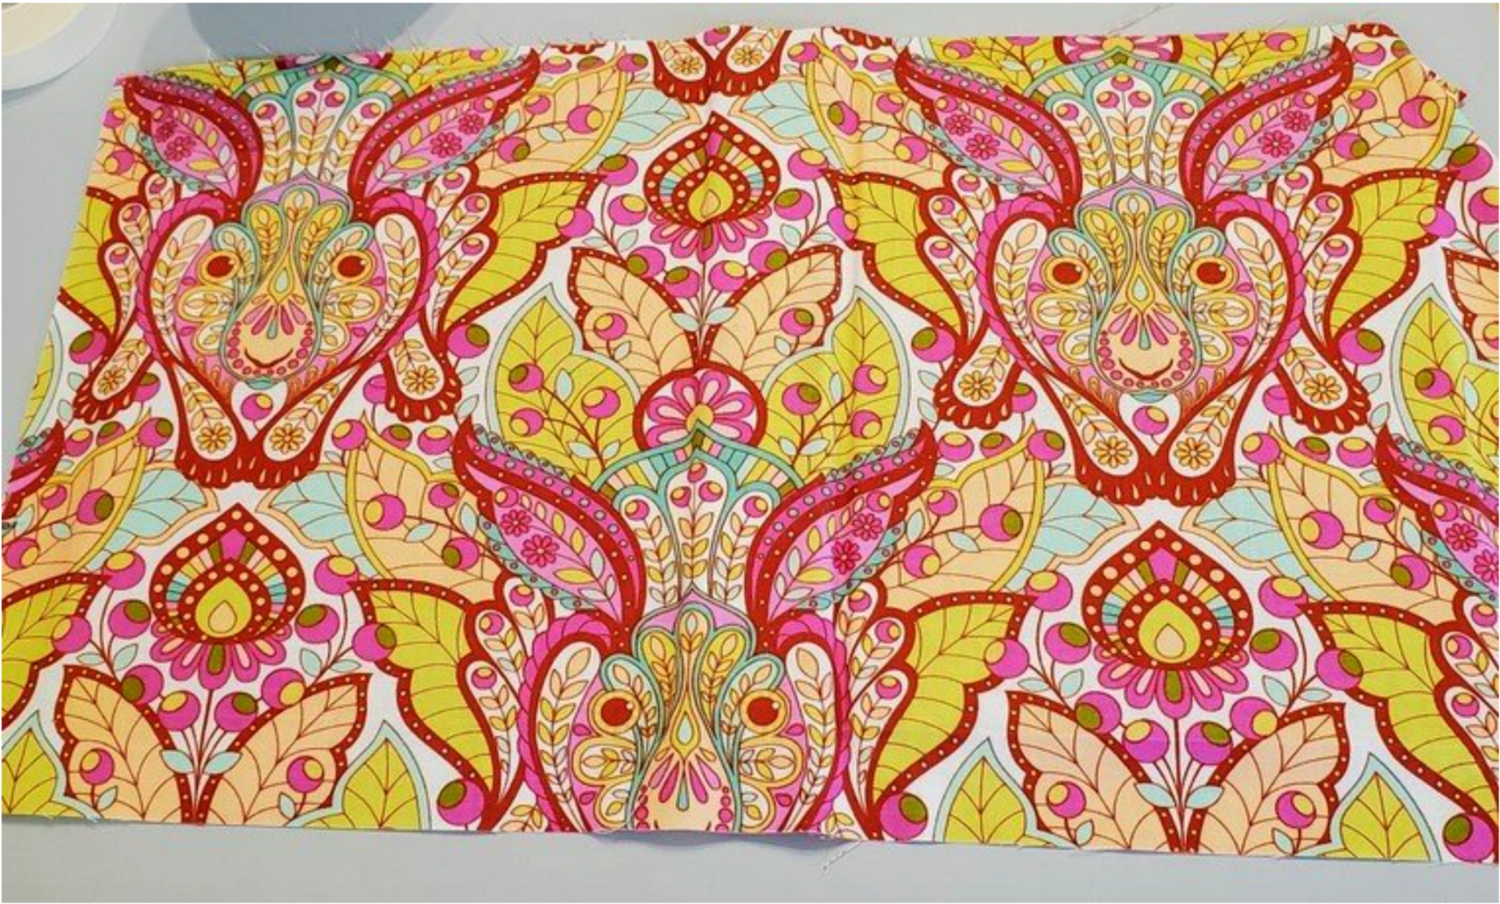
With your hands, press and smooth the fabric to allow it to adhere to the book cover. I used a craft rolling pin to apply even pressure across the surface. Next, with a pair of short and sharp to the tip scissors, cut a square from each corner of the fabric to reduce the bulk as you glue to the inside cover.
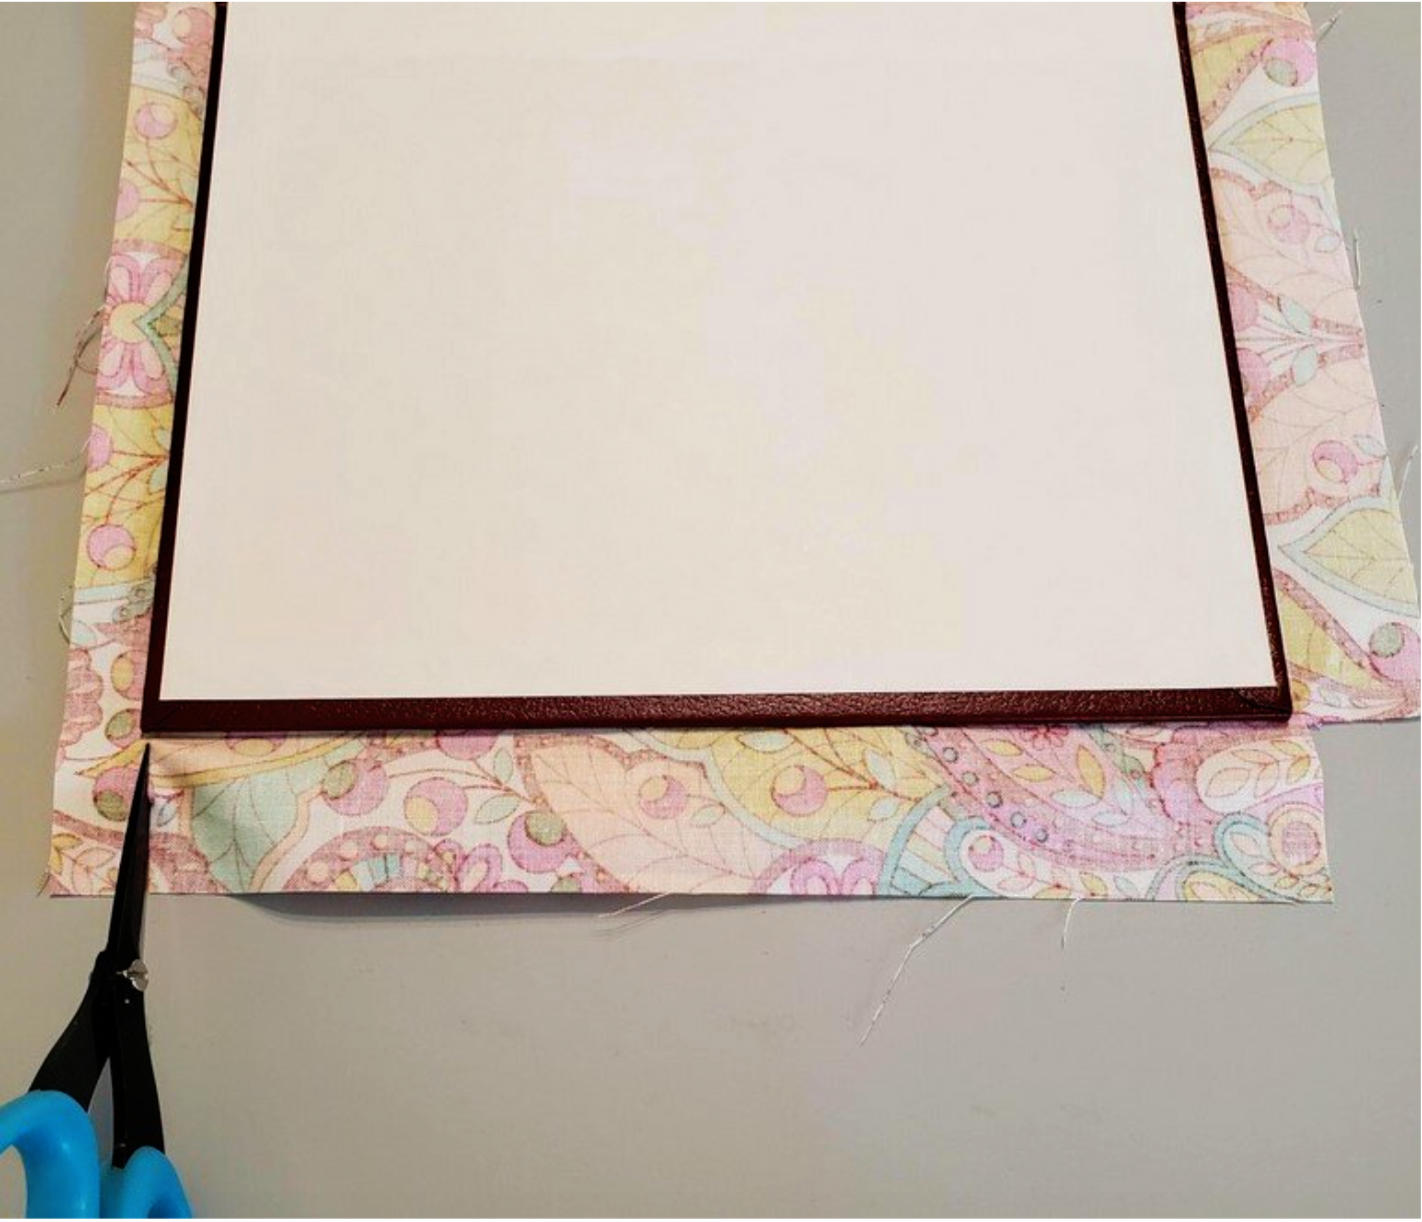
Do not cut all the way to the corners, leave about ⅛” so the fabric covers all of the book corners. Cutting the short ends at a slight angle will assure that the fabric edges are not showing on the outside of the box. Apply a thin layer of glue to the inside edges of the book, starting on the long sides. (In the first book I constructed the pictures show a piece of wood glued to the spine. I discovered this was in the way and recommend adding this after gluing the fabric in place.) Next glue the short end in place. You can see how the edges are angled here.
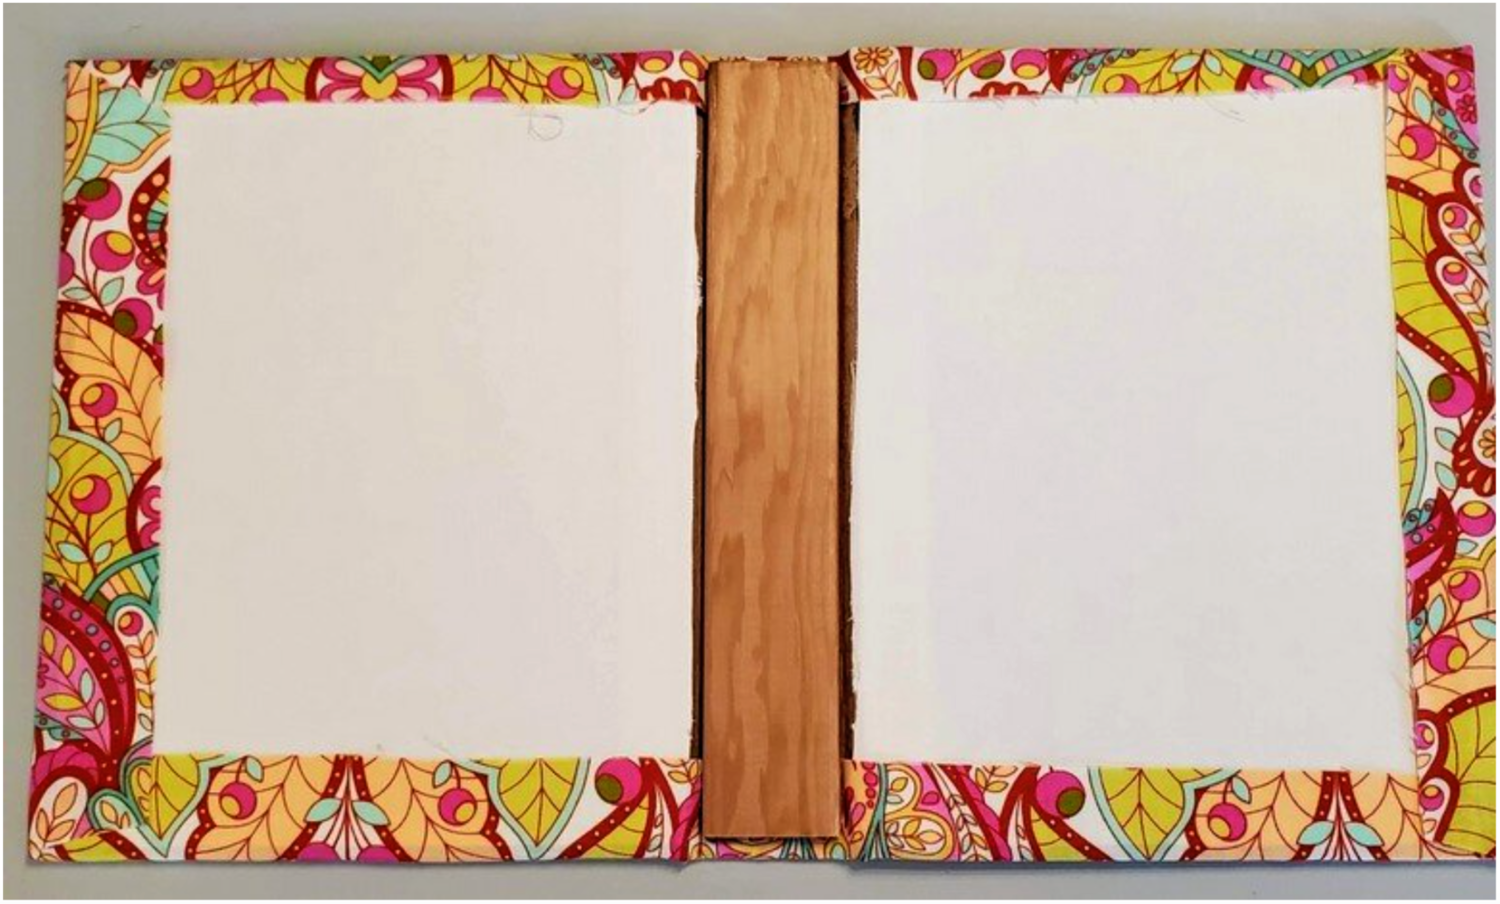
Now you will measure for the card stock. I recommend using a heavy weight cardstock for durability. I left about ⅛ “ of fabric visible from underneath the cardstock. Measure and cut the cardstock. Apply a thin layer of glue on the surface of the book cover, making sure it is smooth. Remember to leave ⅛” of fabric without glue along the edges. Align the cardstock and press into place, adding pressure to be sure it adheres evenly to the surface.
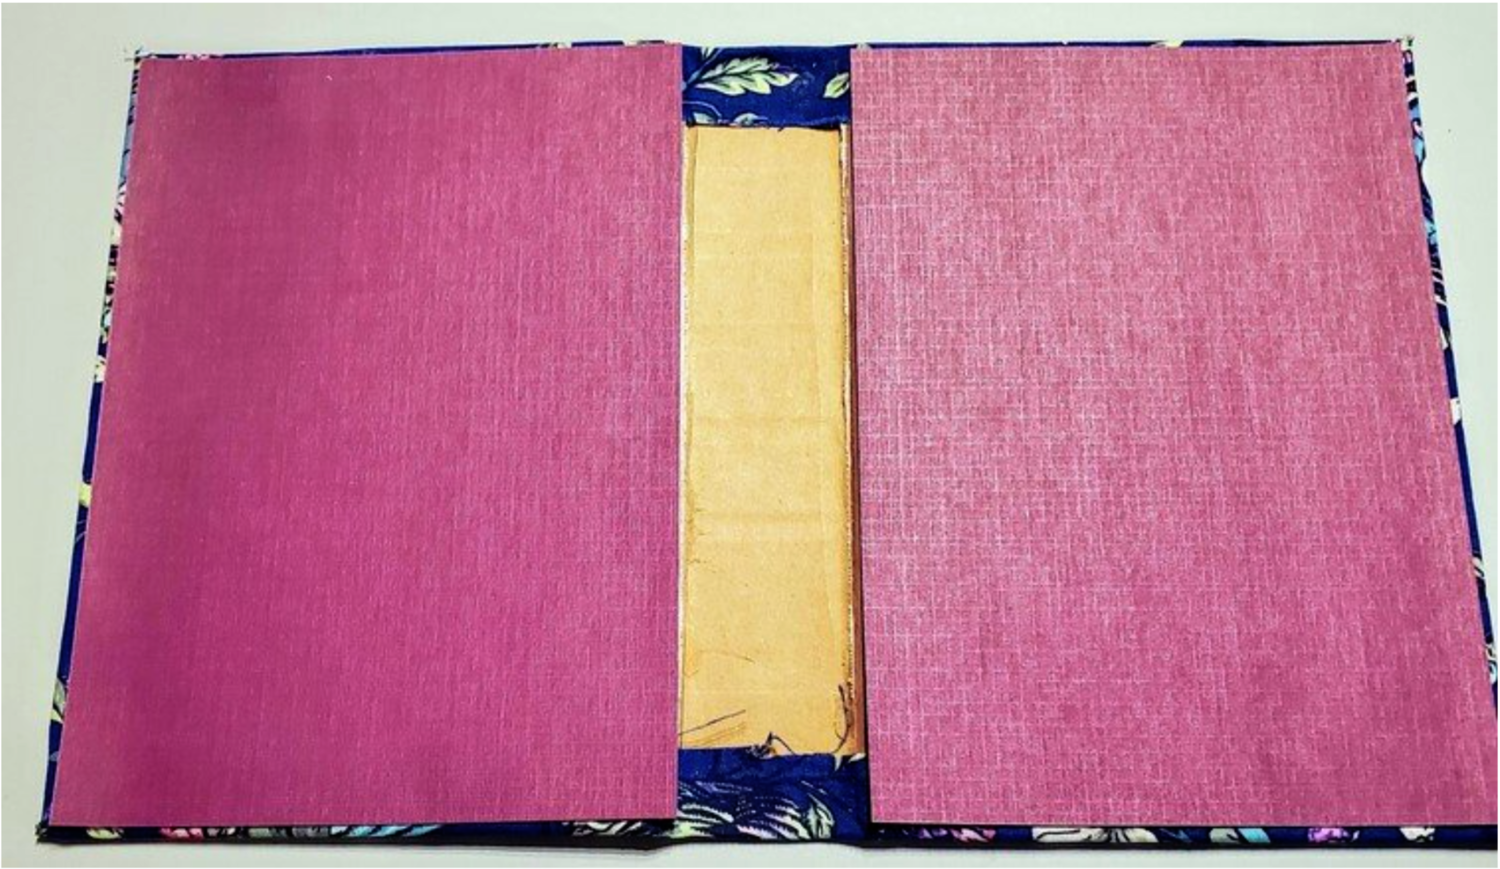
At this point, you are ready to measure and cut the wood or thick cardboard pieces. Measure the spine on the inside leaving about ⅛” on each end of fabric showing. Cut two pieces this size. Apply a generous amount of glue on the spine and lay the piece of wood in place. I applied weight and pressure with my antique iron for about an hour.
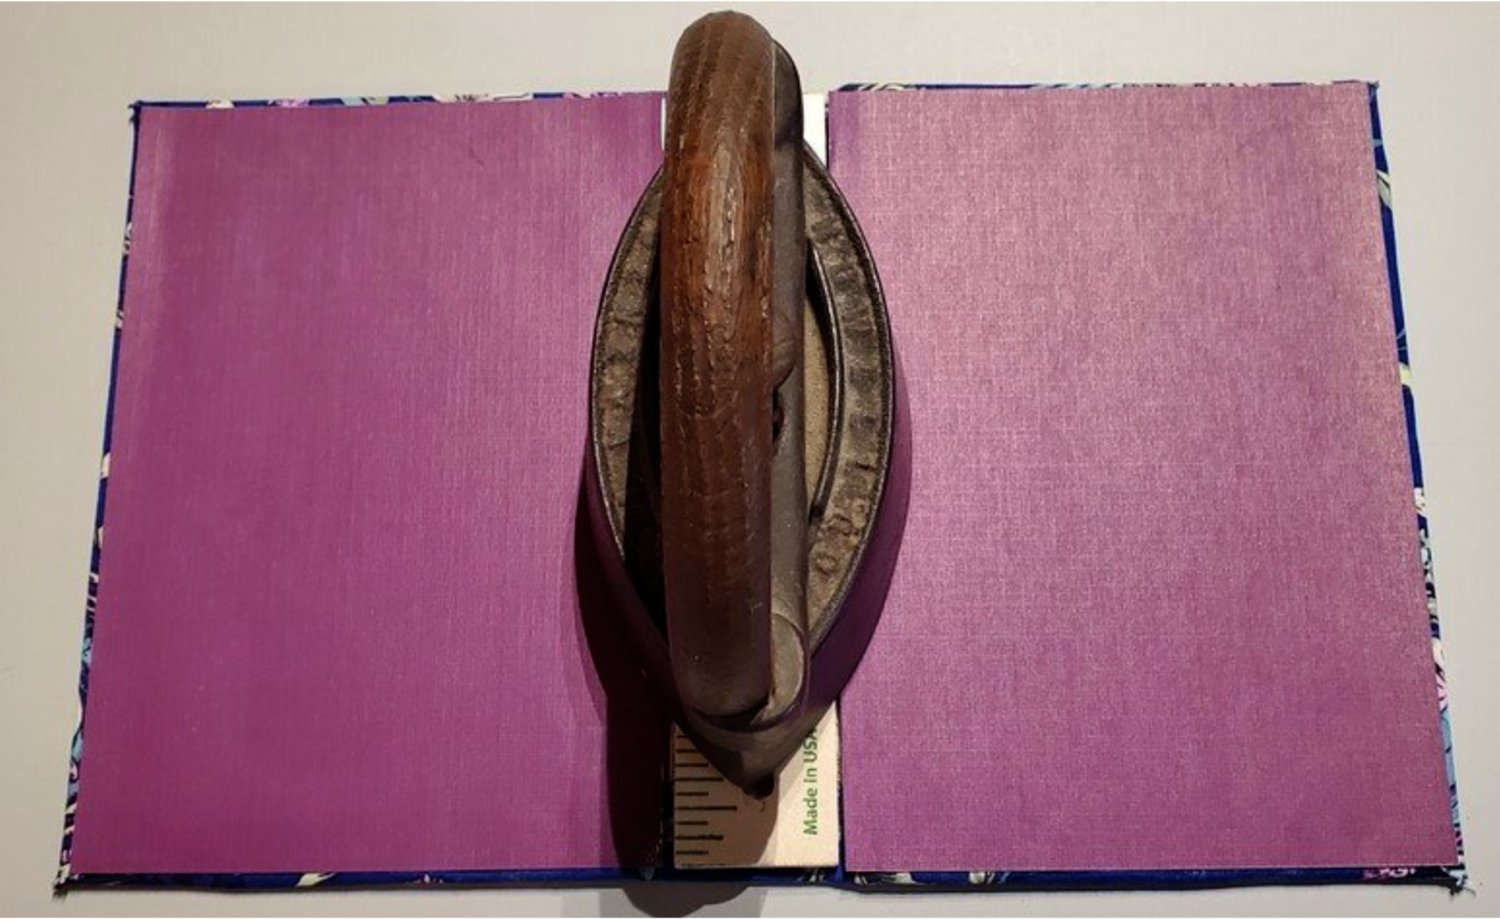
Next, glue the bottom edge only of the wood piece to the outer edge of the book. Referring to this picture it would be on the right side edge. I then closed the book and carefully balanced the weight on the book to apply weight and pressure as the glue dried.
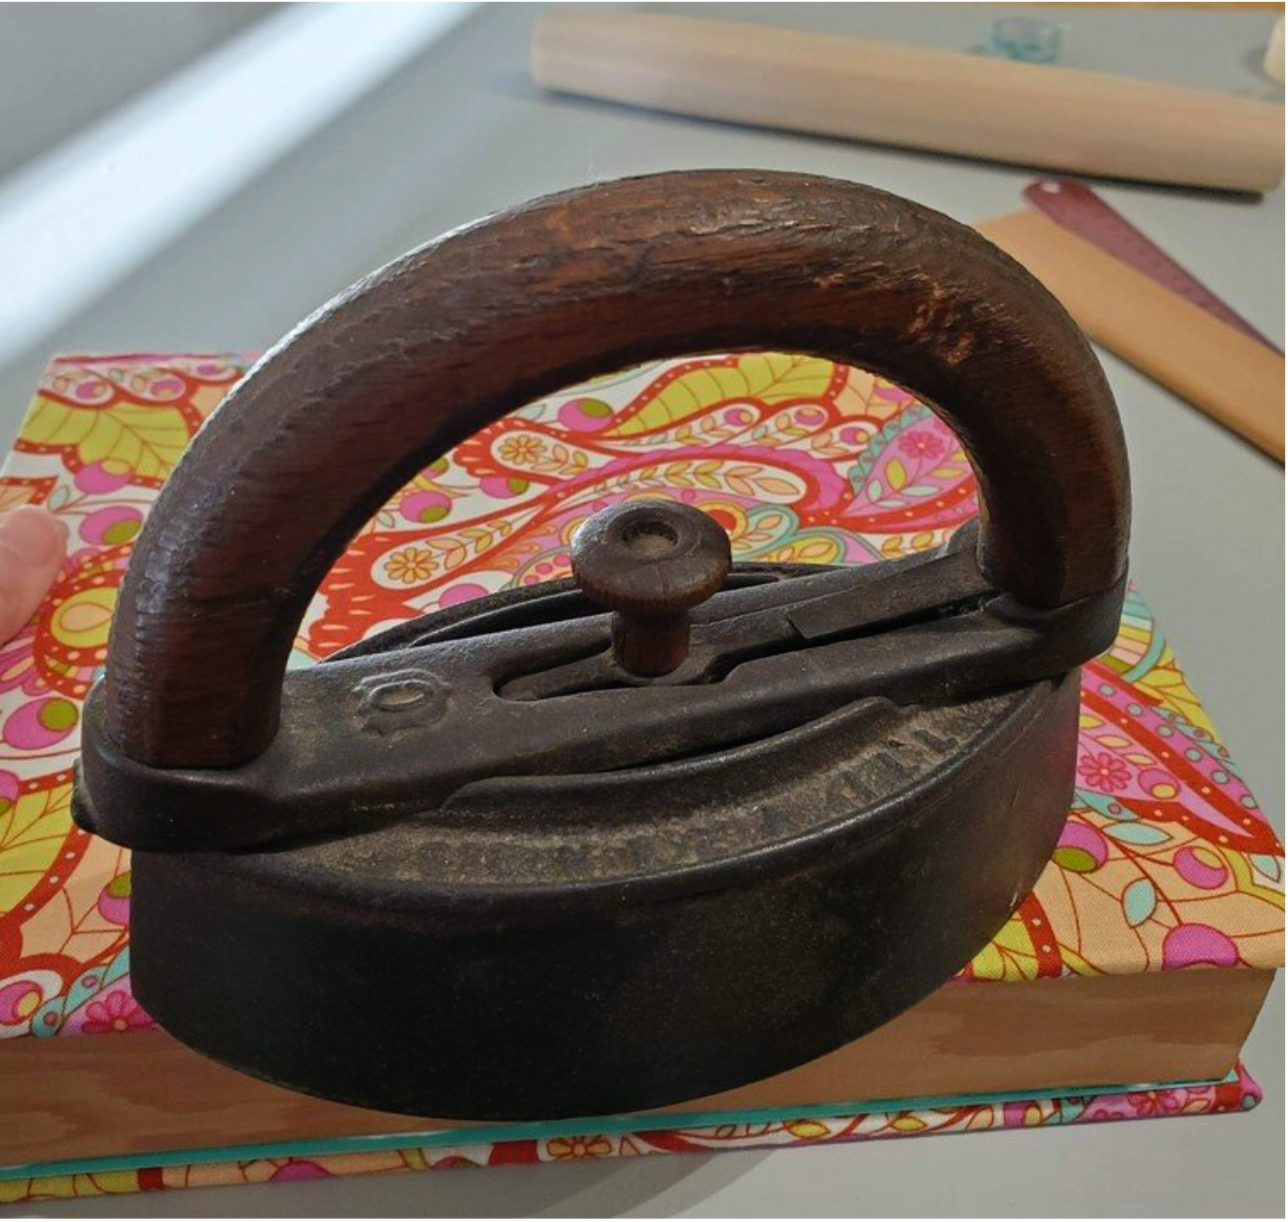
The box is almost complete! With the book closed, measure the space between the two pieces of wood glued in place on the short sides of the book. Cut the wood and prepare to glue in place. This time apply the glue to the bottom edge and the sides as they will touch the sides of the long pieces already in place. Use masking tape to hold in place as the glue dries for at least an hour. If you want, you can add a small strong magnet set to the edge of the wood to hold the box closed. I recommend using E6000 glue.
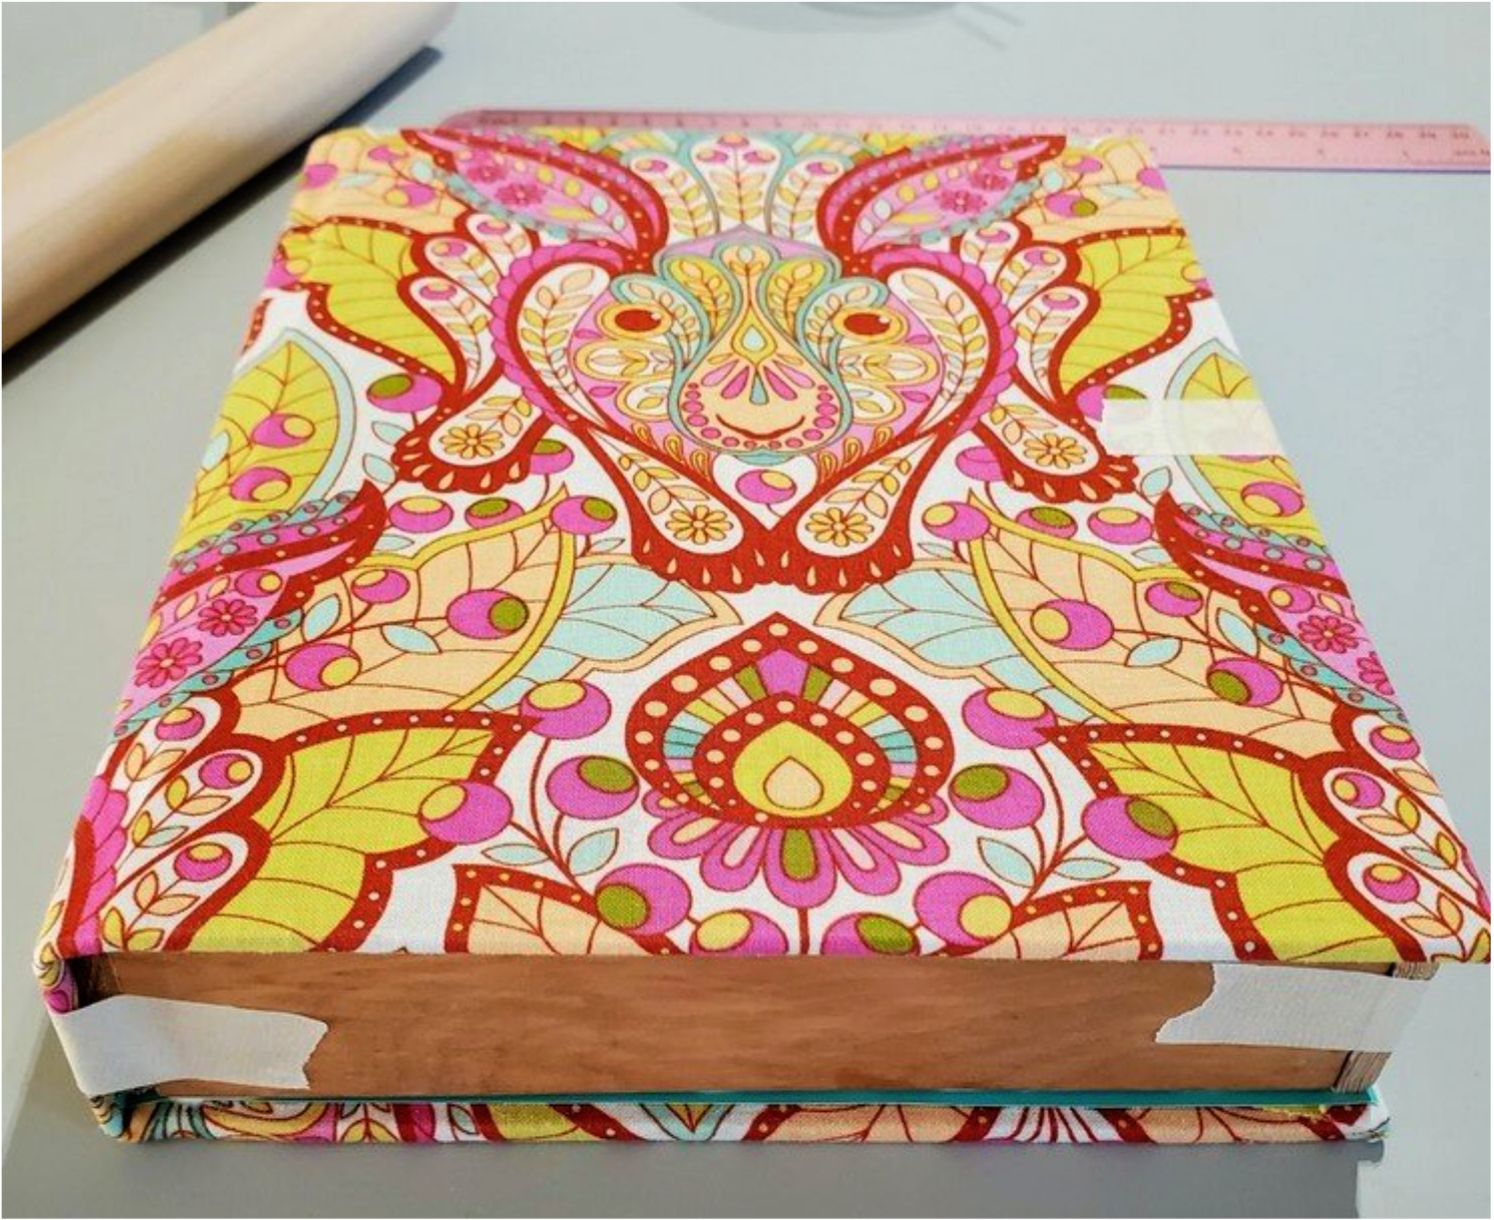
Your book box is complete! Depending on your fabric design and intended use, it could be fun to embellish using buttons, beads or even scraps of fabric. Get the kids involved to make a treasure box for their room. My boxes are going to be used as gifts and to store handy notions in my craft room. Such a pretty way to stay organized!
