Rosa Challenge 2020 Tips
22nd Aug 2020
Hi! Joanne here to share some tips for making the Rosa pattern. My background in quilting started 27 years ago when I took a class at my local quilt shop. I made three quilts and then life got busy with my little girl. Over the years I have always been a maker and enjoyed sewing a dress for every occasion for my daughter. Now that my children are grown, I decided two years ago to get back into quilting. I have been trying all different facets of quilting. This is my first attempt at a raw edge appliqué . I will share my experience as I made this wall hanging.
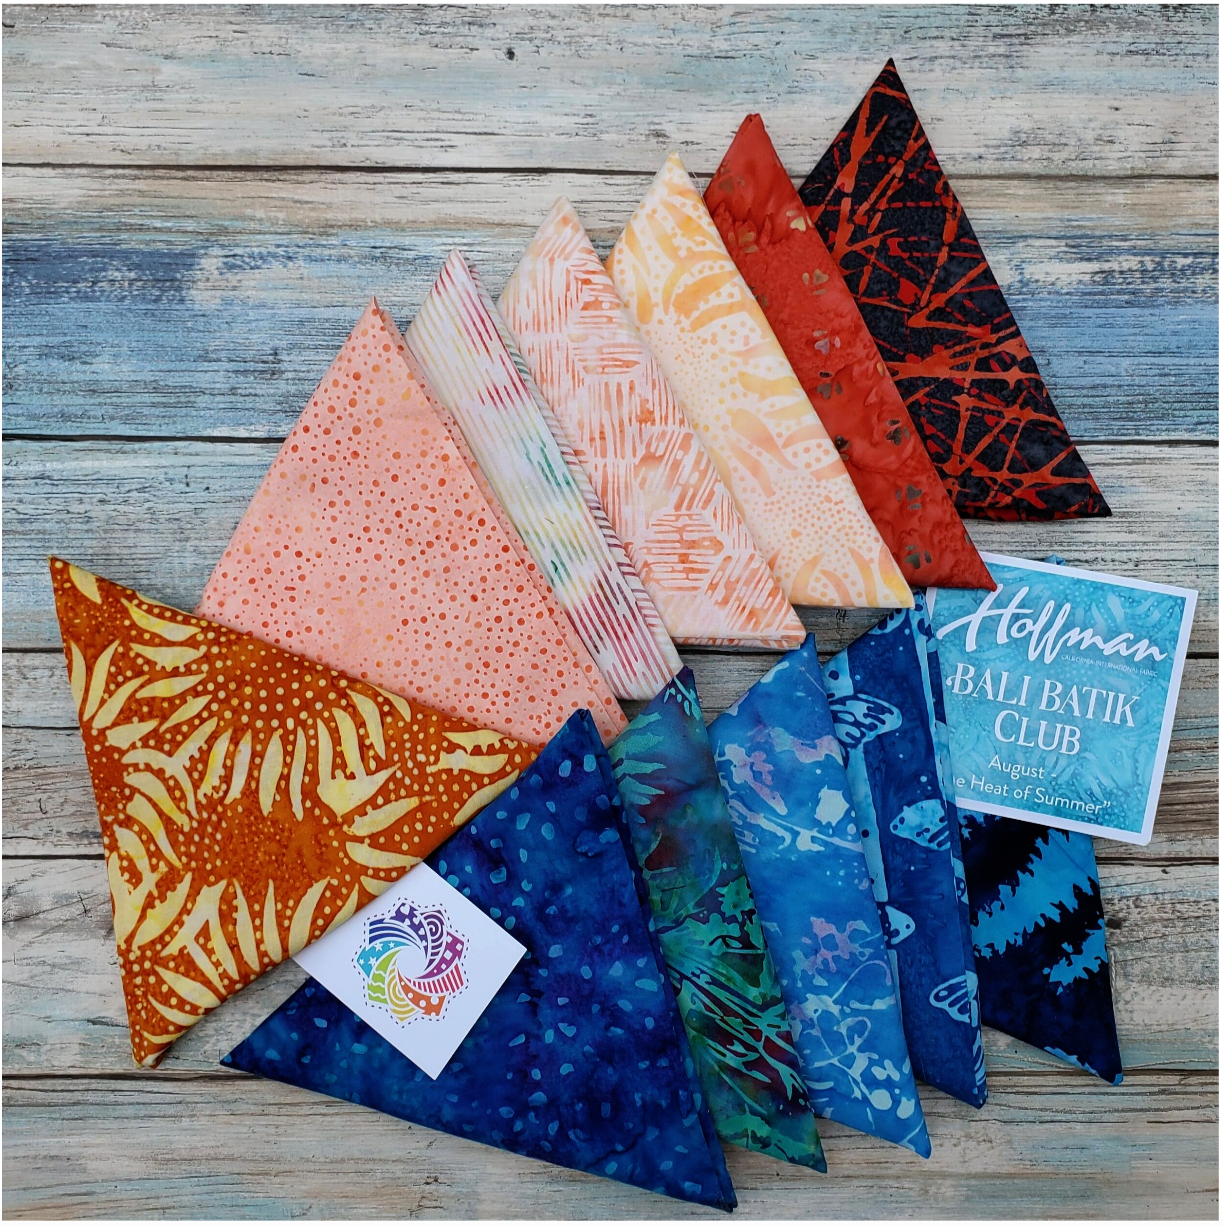
After picking up my August Java fabric, I learned the pattern would be available for Rosa. Kim suggested I should make the wall hanging with these great batiks. Fantastic idea and I was up for a challenge!
I was so excited to start this that within minutes of opening the Rosa link I sent it to my printer. I discovered my printer does not actually print at 100%. You will need to measure the box on the print out that says 2 inches. You may need to make some adjustments to the printer.
I then decided on the fabric to use for each shape. I went with warm and cool colors as the wheel went around. I applied heat and bond to the fabric then traced the cut lines on the paper side. Make sure you have them all going in the right direction, tracing the wrong side of the pattern on the wrong side of the fabric. If using a patterned fabric, maybe consider fussy cutting the shapes. A light box would work great if you have one, but for me it was the window. I recommend doing it in a sunny window. I was struggling because I was determined to get them traced before the sunset.
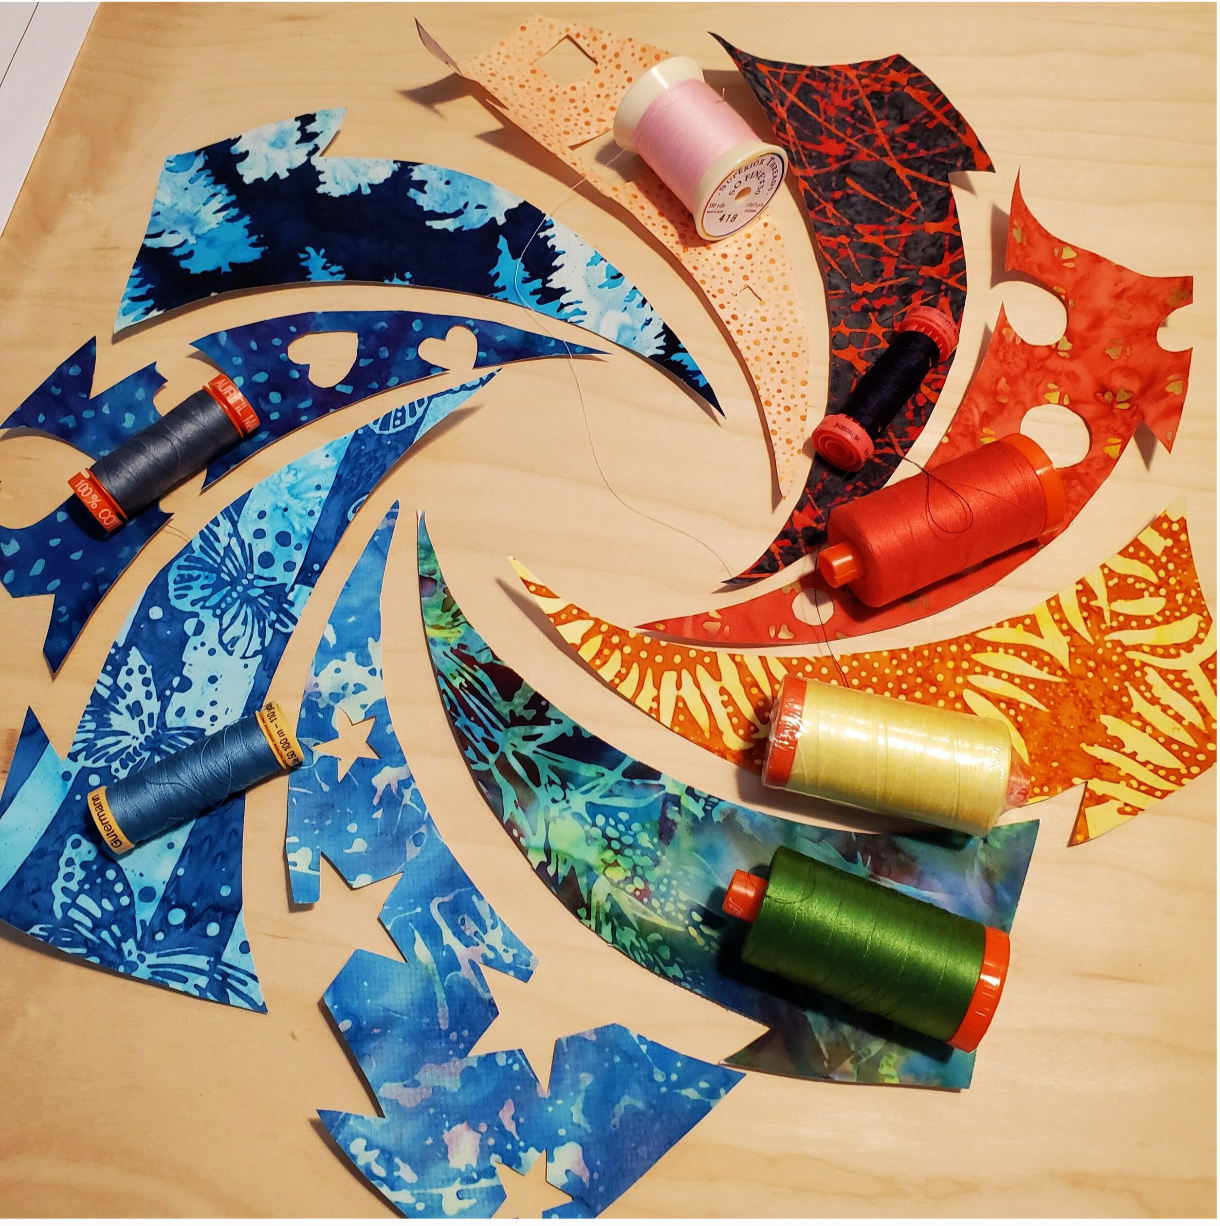
My cute puppy Reggie decided to “ help” take the heat bond off the fabric pieces for me. You know it is going to be a great project when your pet wants to be involved.
I had my background piece cut at 29x29 inches. Fold the fabric in half and half again to mark the center point. I laid out the pieces to decide on the placement and mark with a removable pen. I tried a new blue pencil that said easily removed with water. I marked my 9 pieces and placed them on the background. I thought I would just take a paint brush and water to remove the lines. It seemed to work so I went ahead and pressed the heat and bond pieces in place. As the fabric dried, I realized the blue was still there. I used lots of water, but it was not going away… it became a design element!
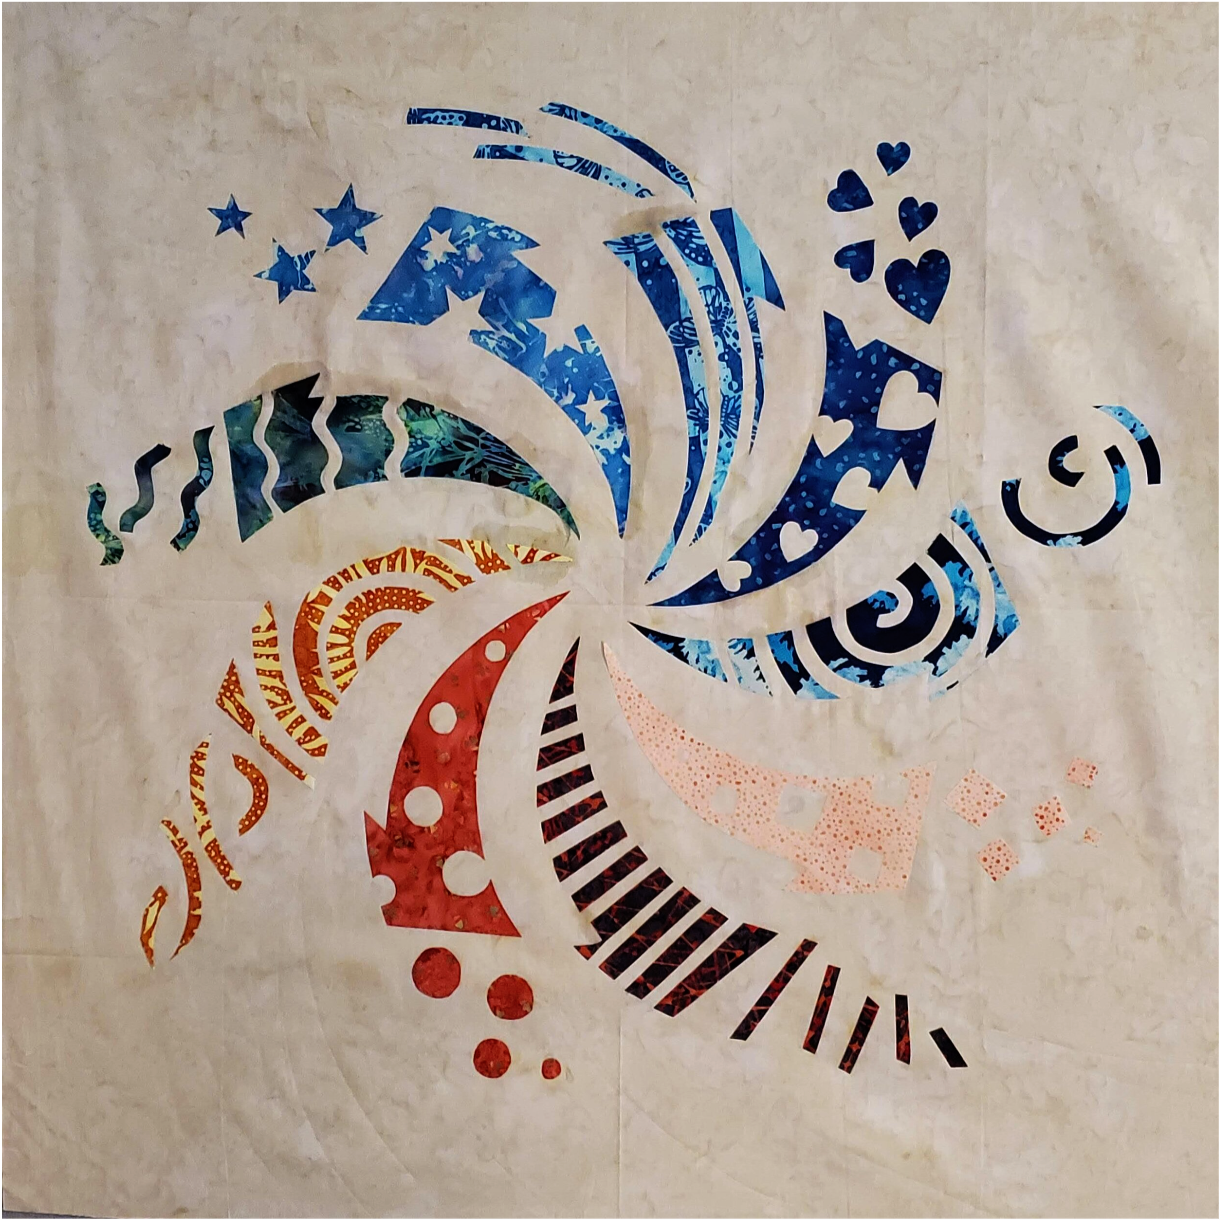
So test first and never put the iron on something you don’t want to keep on the quilt. I now clearly understand how to heat set colors onto fabric.
When doing raw edge appliqué you need to sew around all the pieces to hold them in place before you make the quilt sandwich. For my lightest colored piece, I used a 30 weight thread to outline it to balance it with the other pieces. I would practice this on scrap fabric to adjust the tension and stitch length.
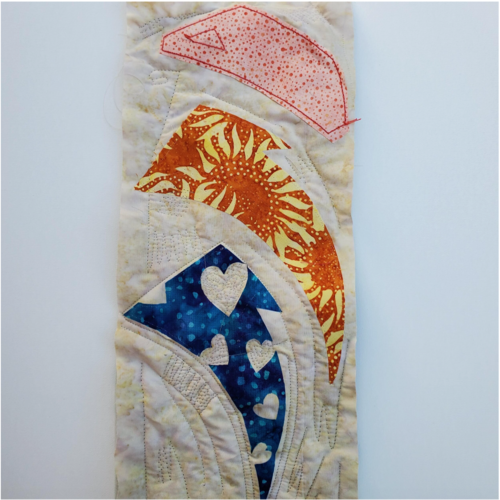
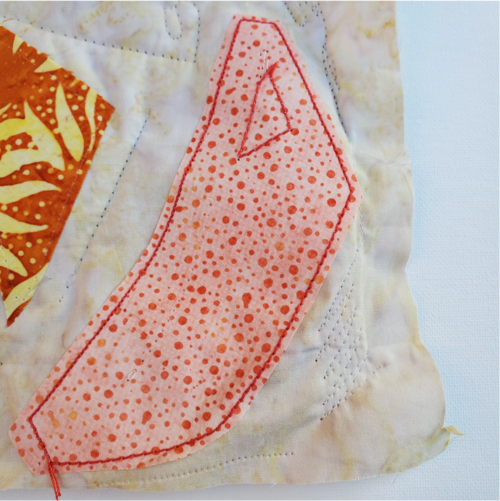
Since I have not been quilting for very long, I don’t have a big selection of thread colors. I did have clear mono poly thread and decided to give it a try. Again, it is a good idea to practice on scrap fabric to set the tension. It needs to be set lower at about 2 for the tension. I did learn not to back tack because it can tangle up the bobbin and it is really tricky to see the invisible thread when it gets caught in the bobbin case holder. This is when I called it a night, time for a break.
The next day, I was ready to make the quilt sandwich. I had read that wool batting can give a nice dimension to a wall hanging so I went with that. I always press my fabric before laying it out so it is nice and smooth. So I did this on the top and backing. Another revelation, you must use a pressing cloth or Teflon sheet to cover the mono poly thread because it melts. I didn’t realize this until I was pretty far into quilting that my stitches had melted away. So I figured with all the different quilting lines it would not show to catch the edge of the colored fabric here and there to hold it in place When you have creative piecing going on add some distraction.

To mark my quilting lines for the curves, I used a bendable ruler and a Hera marker. A Hera marker is a great tool that simply puts a crease line in the fabric, no color to worry about removing. I decided to add some free motion quilting to accentuate the shapes coming out of the spinning pinwheel. When doing this I went for an “ organic” look, which is not perfect. I wanted it to look handmade with my own personal style. You can practice with pen and paper first and the scrap fabric to get a feel for the design.
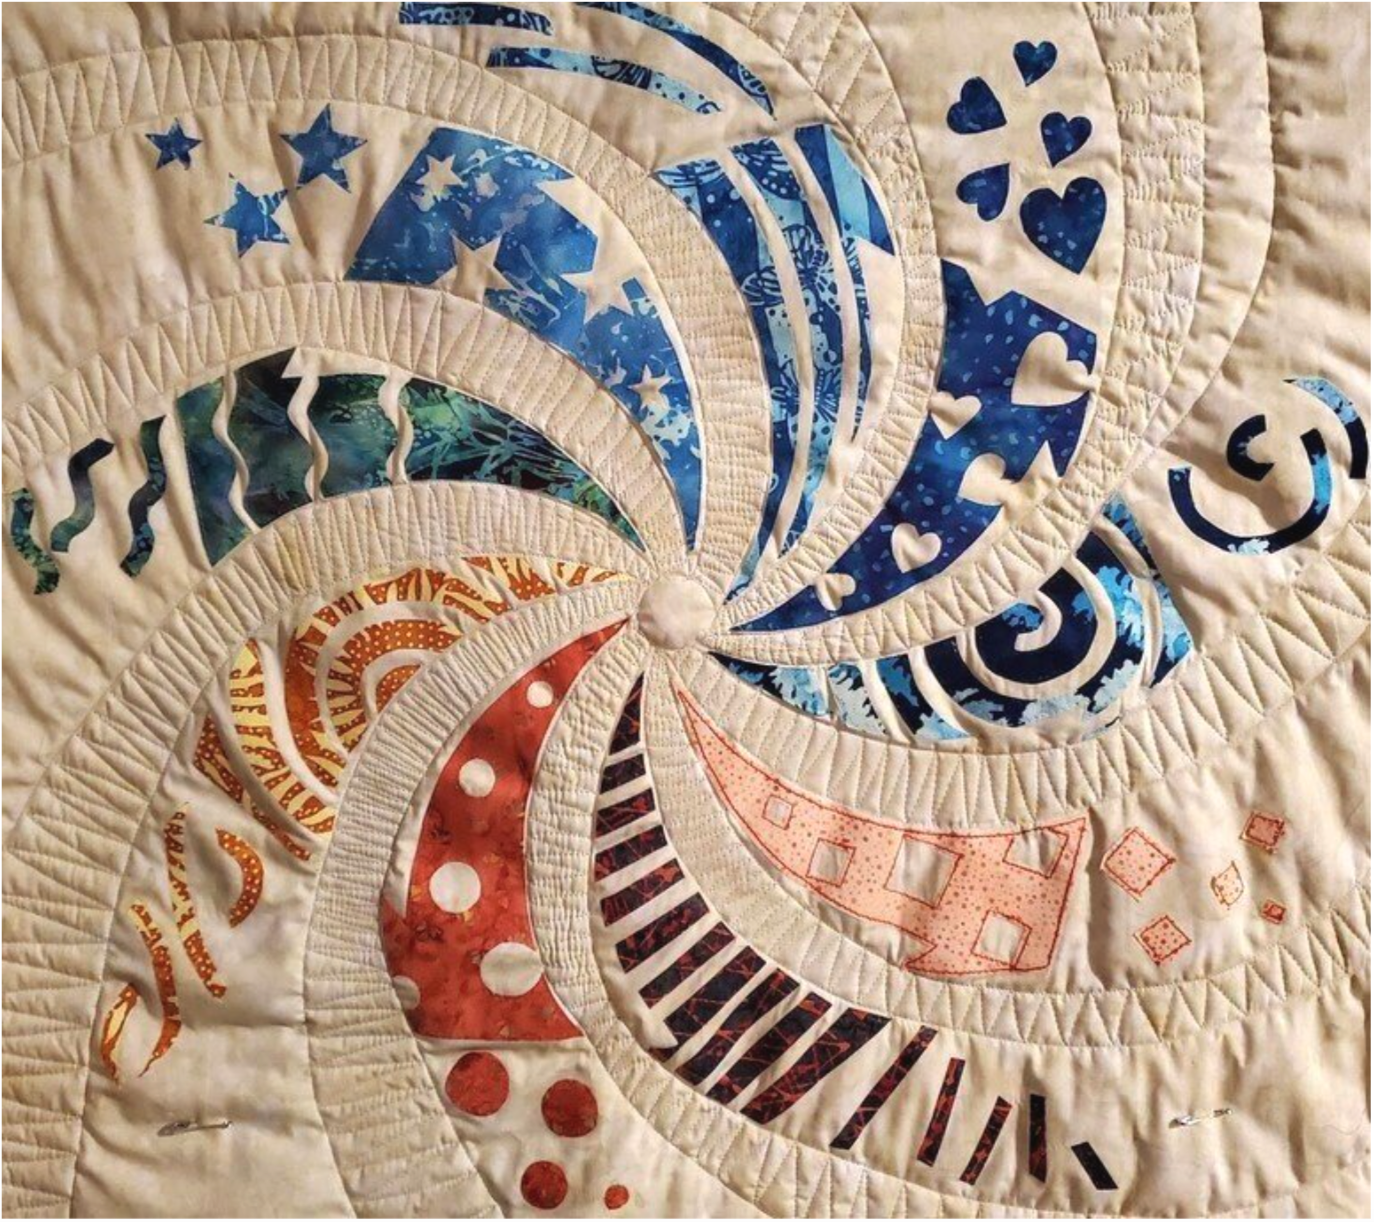
I did the quilting in two sessions because it can get intense to keep at it for hours at a time. As I looked at different options for binding I decided to go with a facing finish. With the movement of the spinning wheel I felt it was best to not have a defined edge. Facing is basically sewing a 2 inch piece of fabric around the edges and pressing to the back for a clean finished edge. I hand sewed it to secure it to the back.
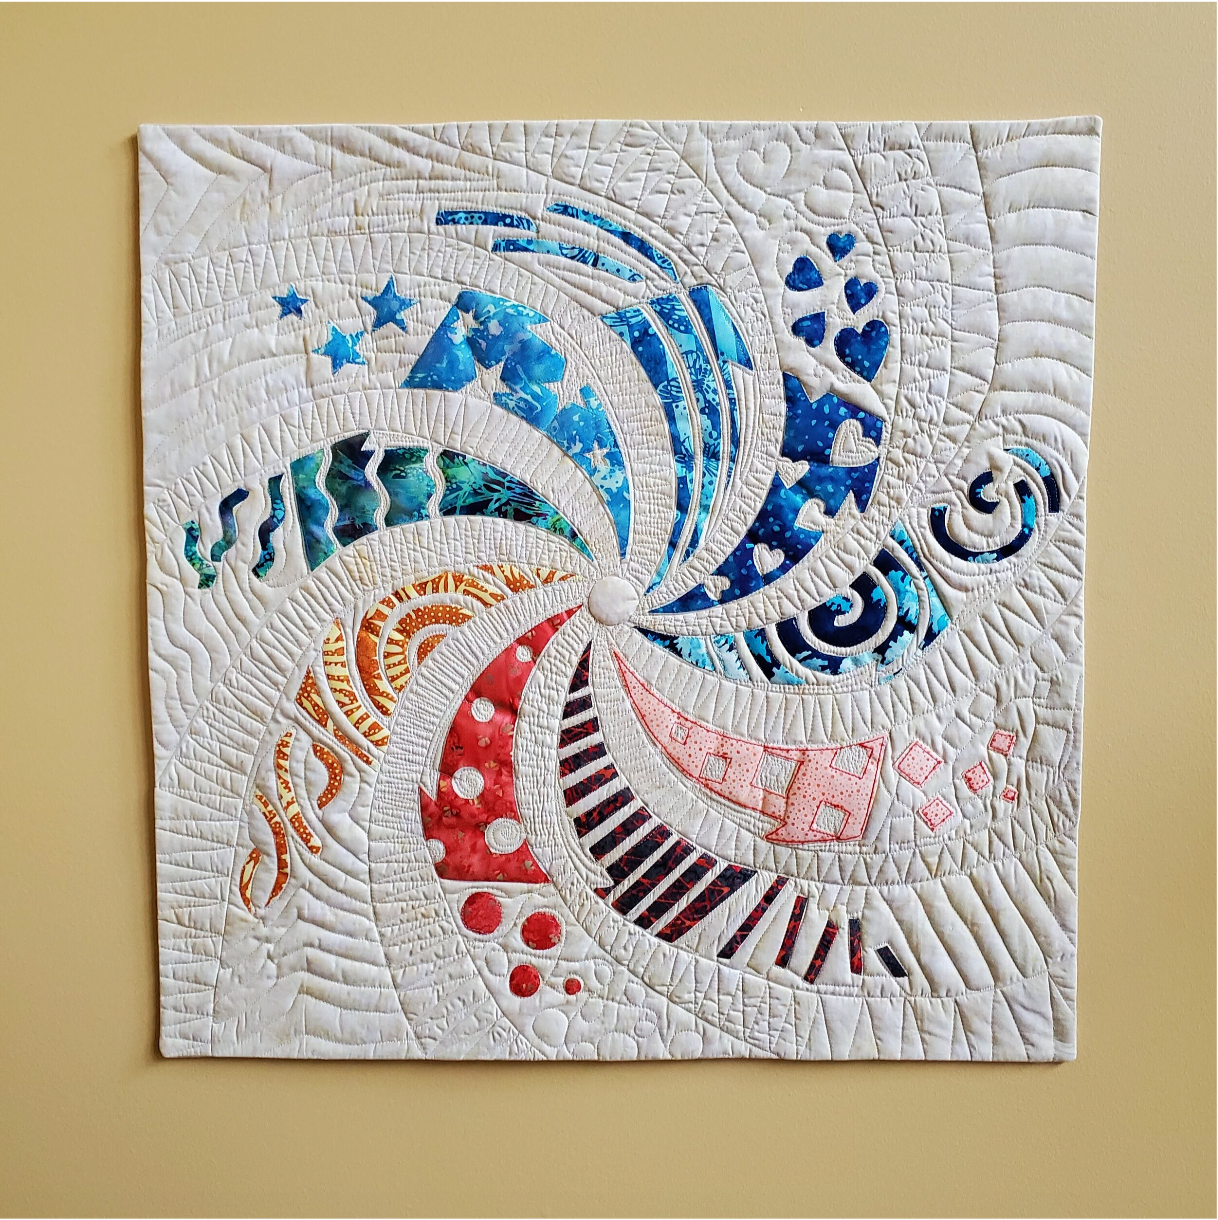
Be adventurous and let your creativity shine! I can be fearless in quilting because it is just a piece of fabric, some thread and my time.
Now, are you ready to take on the Rosa challenge? Check out the Rosa Challenge 2020 blog post to learn more. All entries are due on August 27th and voting starts on the 29th! One winner will receive our biggest prize yet - A one year membership to any of our products!


