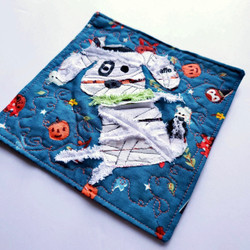
The Artist Process
16th Sep 2021
This week I invite you to play with color and fabric using the free flowing creative energy you enjoyed as a child. Try something different and see what happens! Just do it for yourself to see what brings you joy. It is a fun process to see what you can create just from scraps. If you need help picking out some new fabric outside your comfort zone, our monthly membership offers the Classic and Modern Maker boxes curated by our fabric enthusiast will get you started.
I will share my creative process as I created the “mummy” from the selvage fabric I sewed last week. I did some research looking at lots of pictures of mummies to get me inspired to draw out a design. If you prefer you can search free clip art and copyright free images on the internet. I drew it in pencil and enlarged it on the printer to create the pattern.
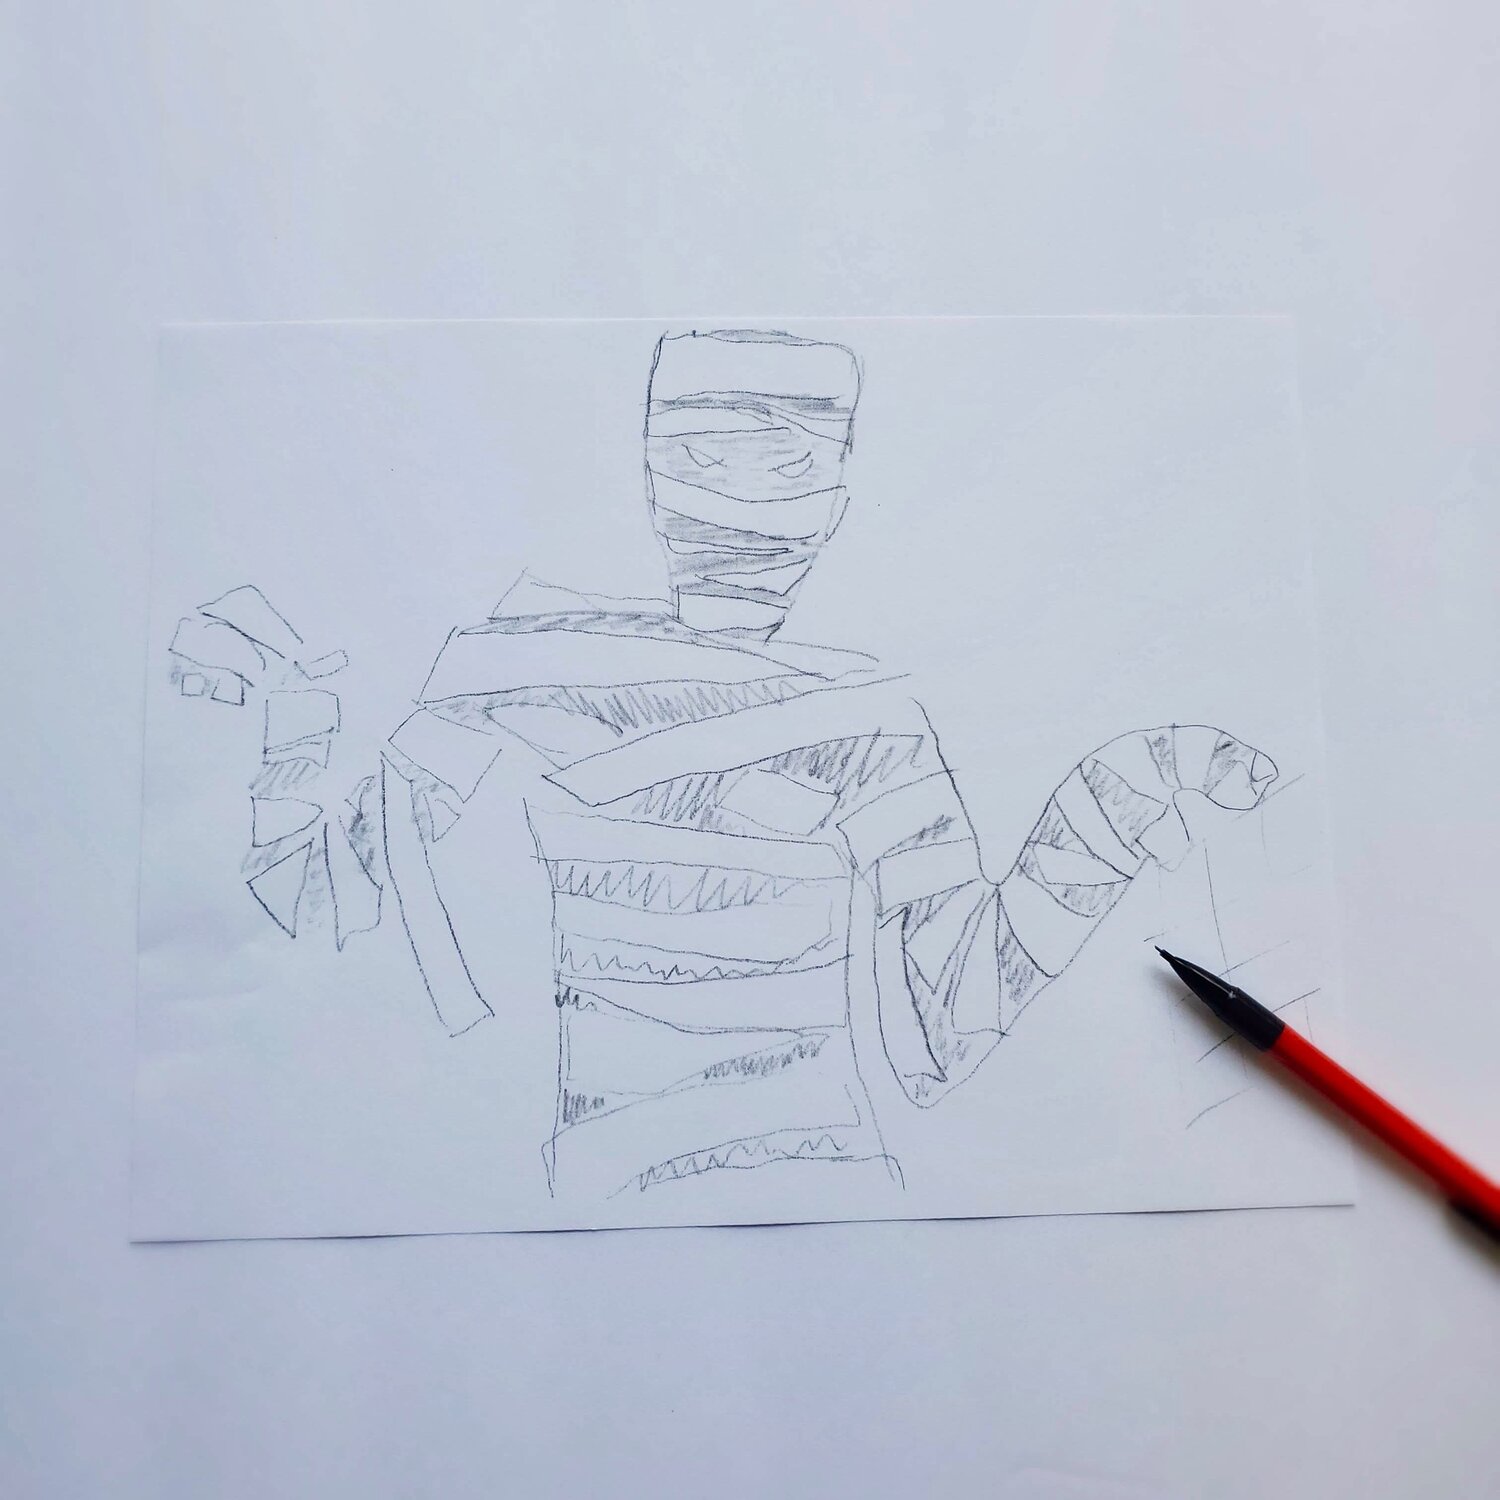
To enlarge the drawing on the printer, I simply folded the drawing in half and half again numbering the rectangles 1 - 4. I set the printer to enlarge at 160%. Print each section and then tape the pages together to make the pattern.
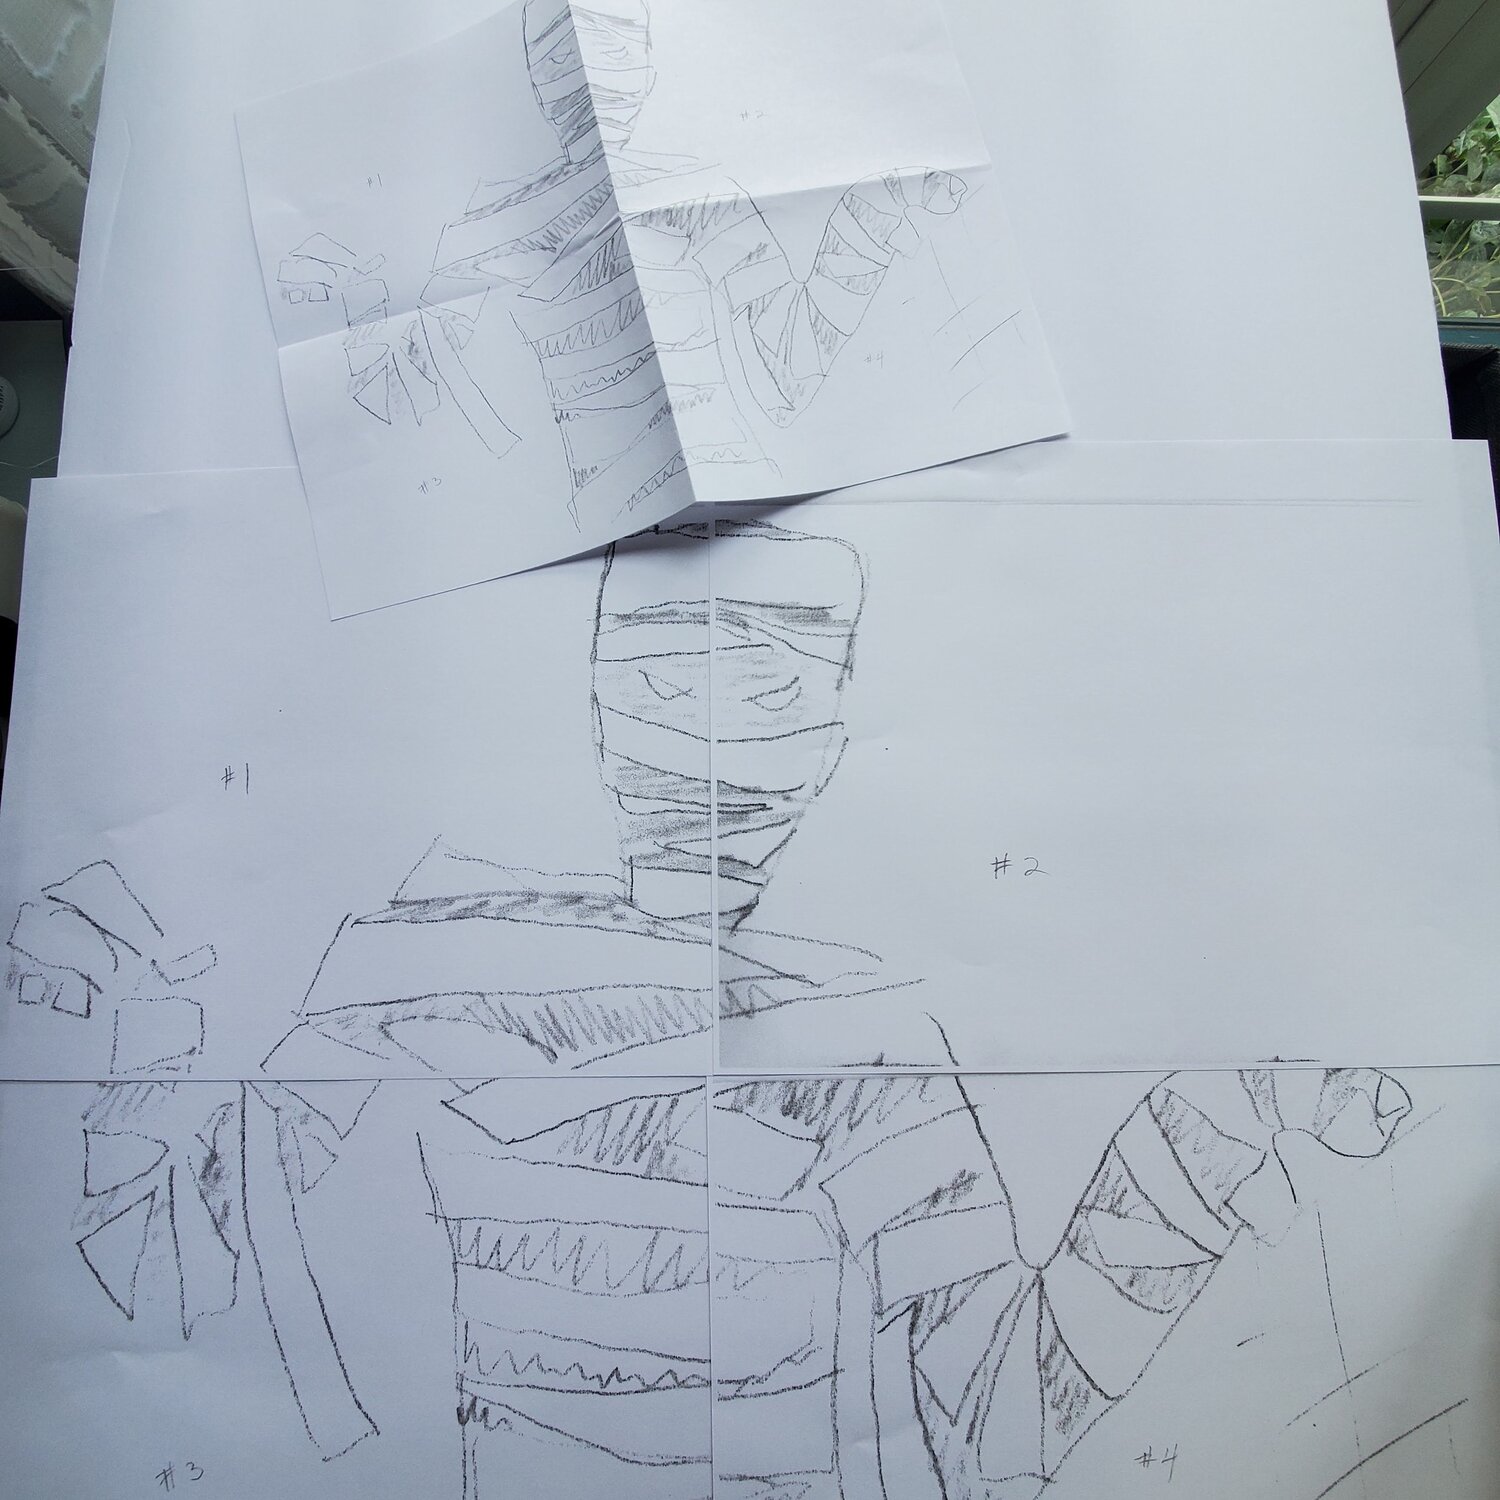
I laid out the design on the selvage fabric, deciding to place it on an angle and traced around the pattern.
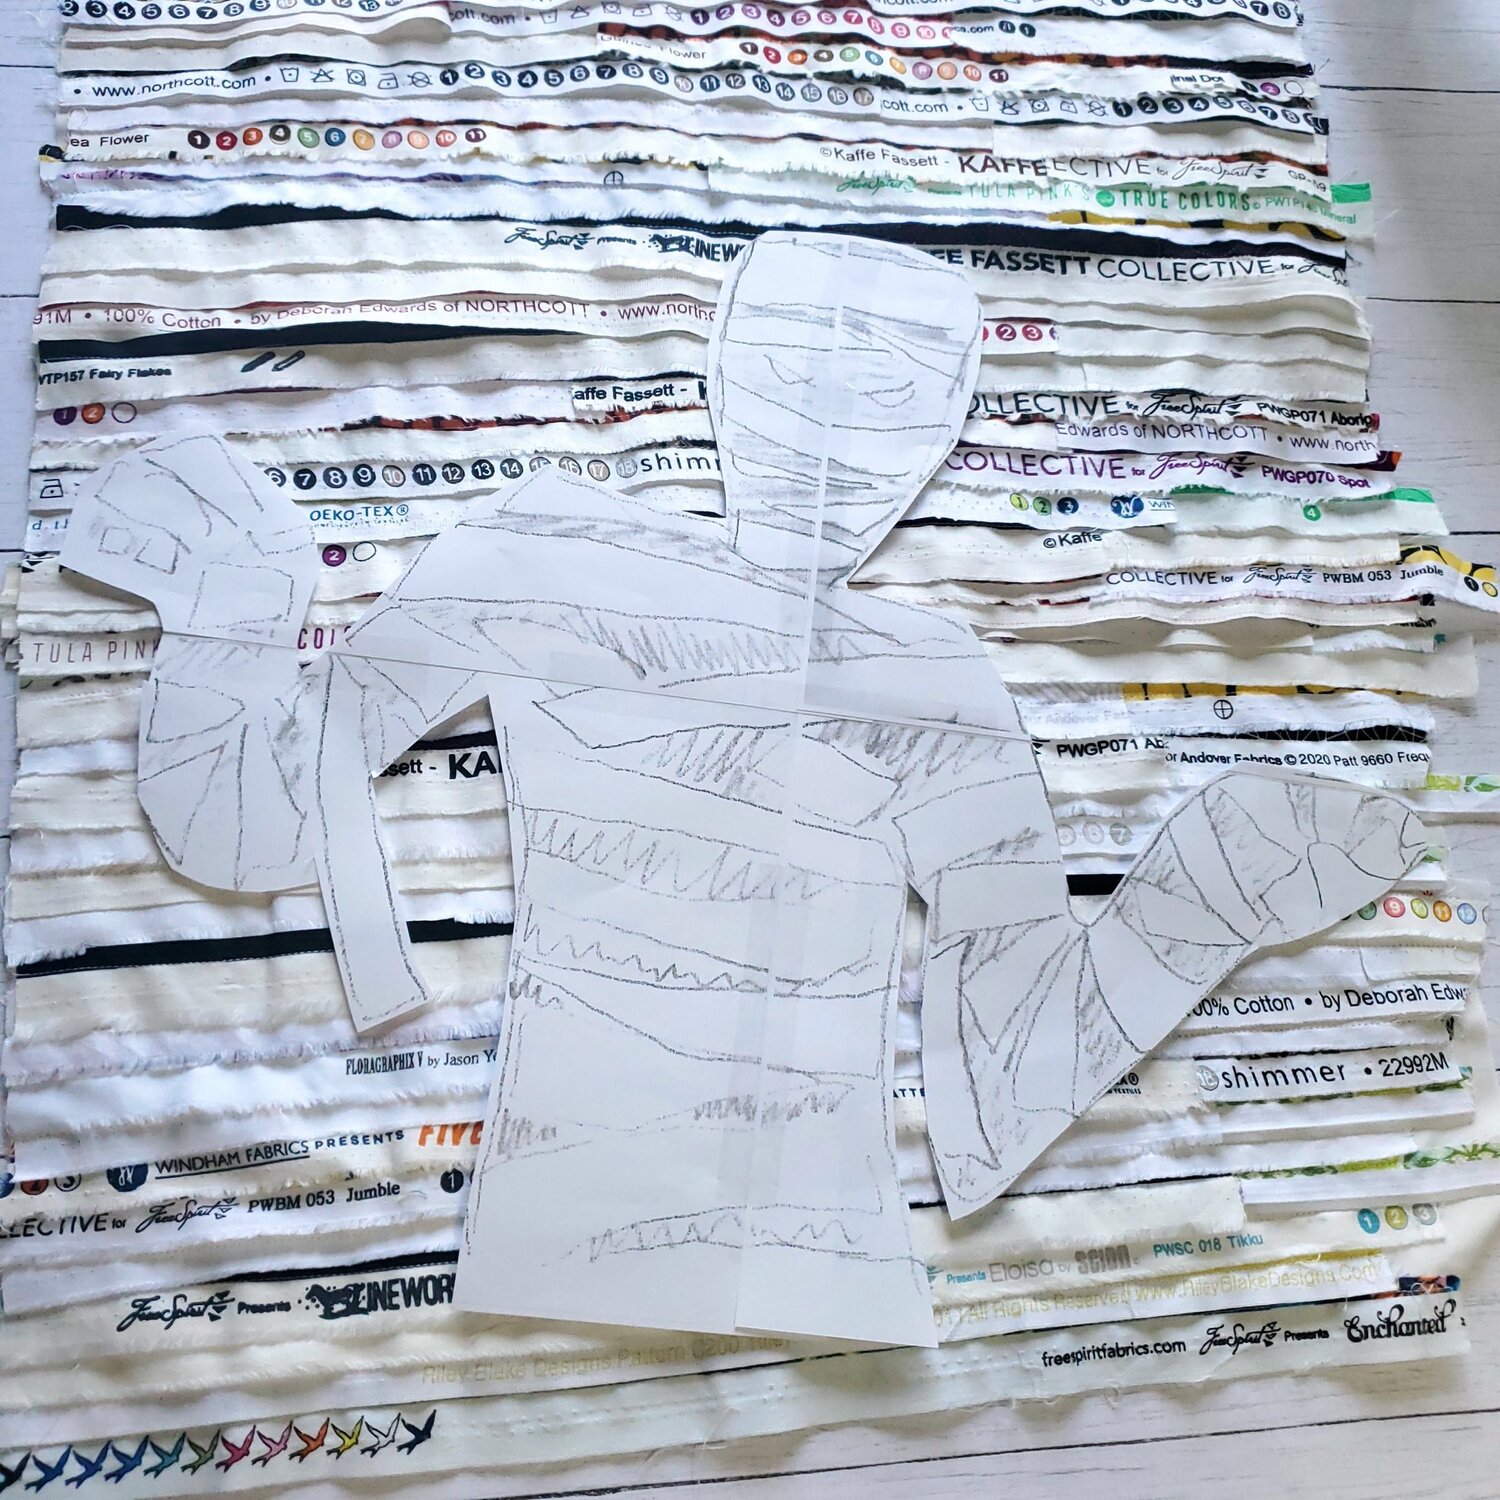
Cut the shape out. I added several black selvage pieces on the mummy to define the figure. My process for this step was I cut several selvage pieces to add and auditioned the layout before using Mistyfuse to hold it in place. Next I placed the mummy figure on the background fabric to determine the placement and cut the fabric with a few extra inches to allow for changes.
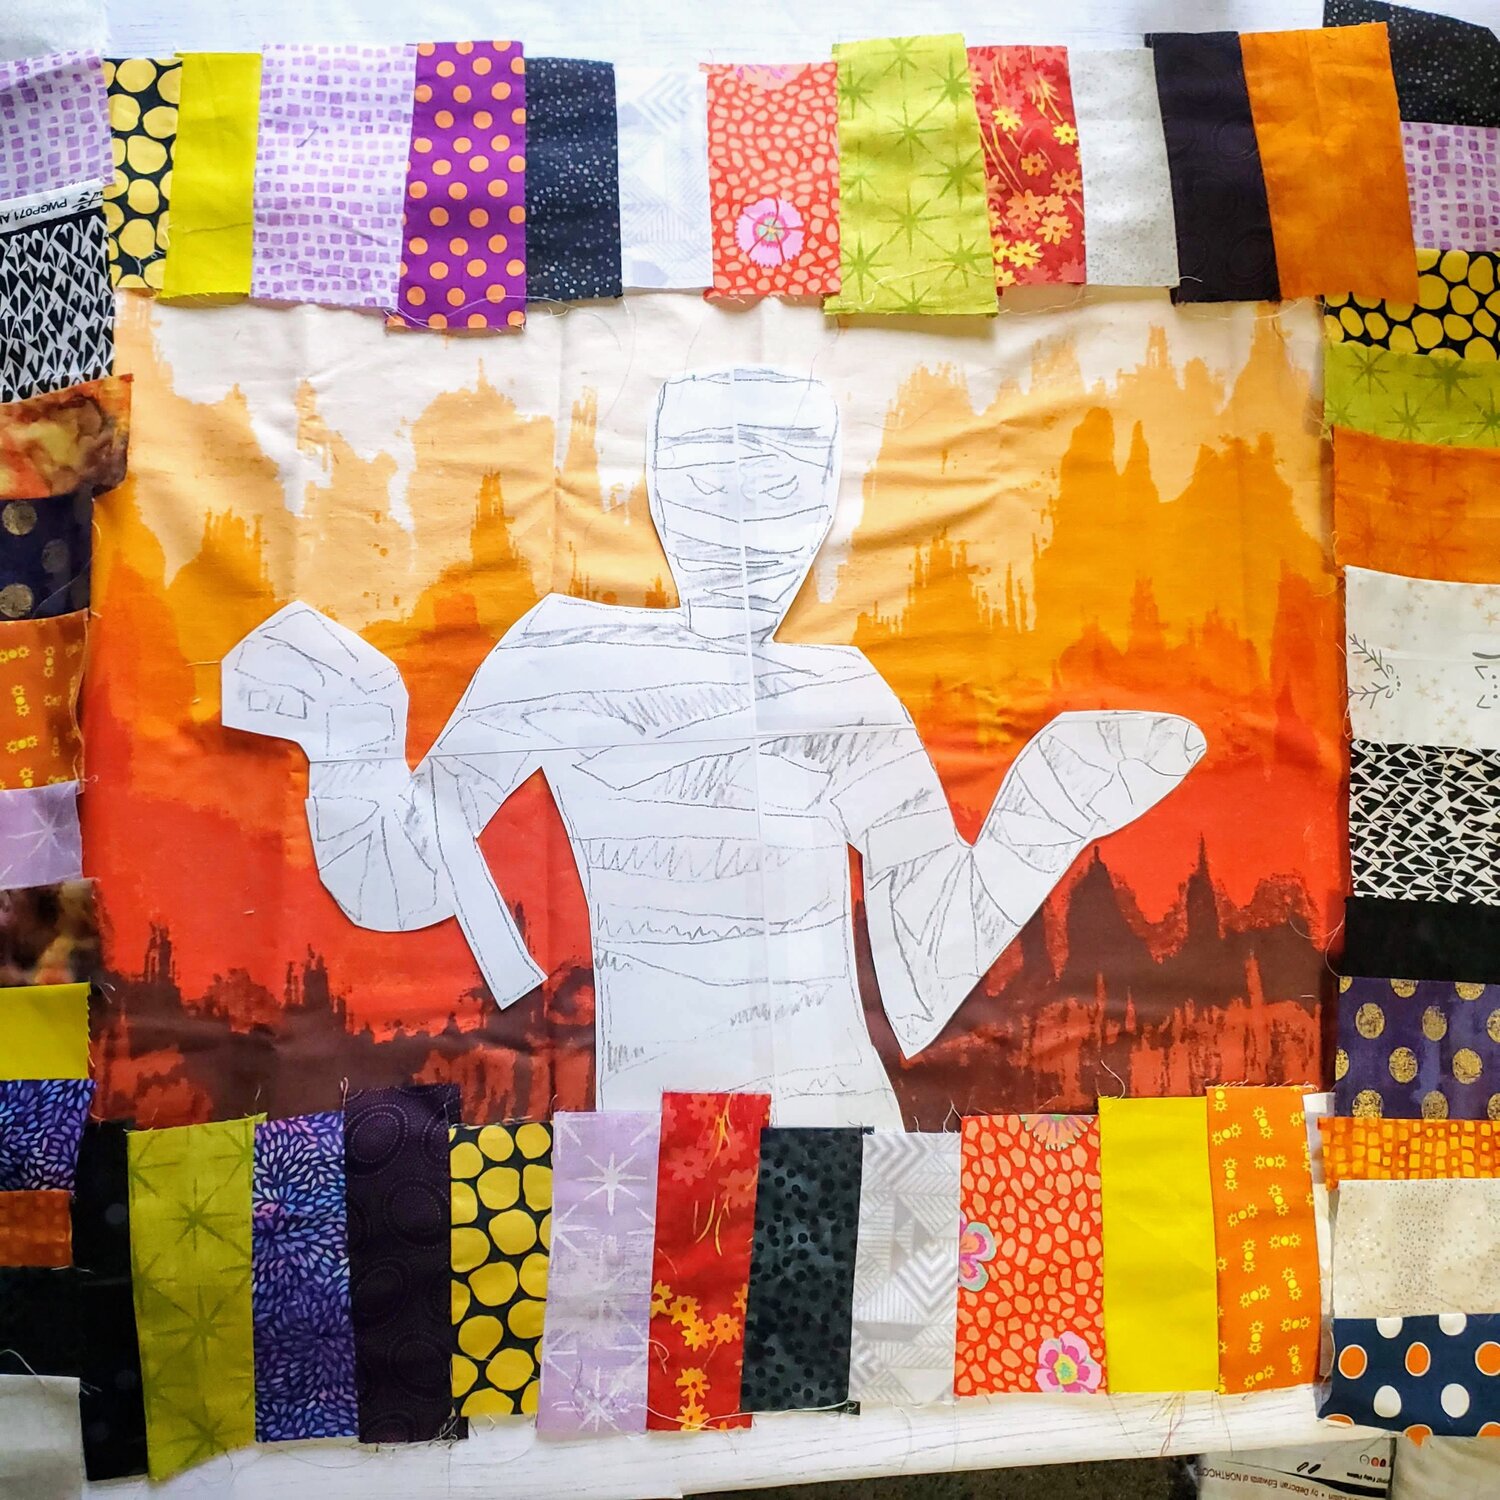
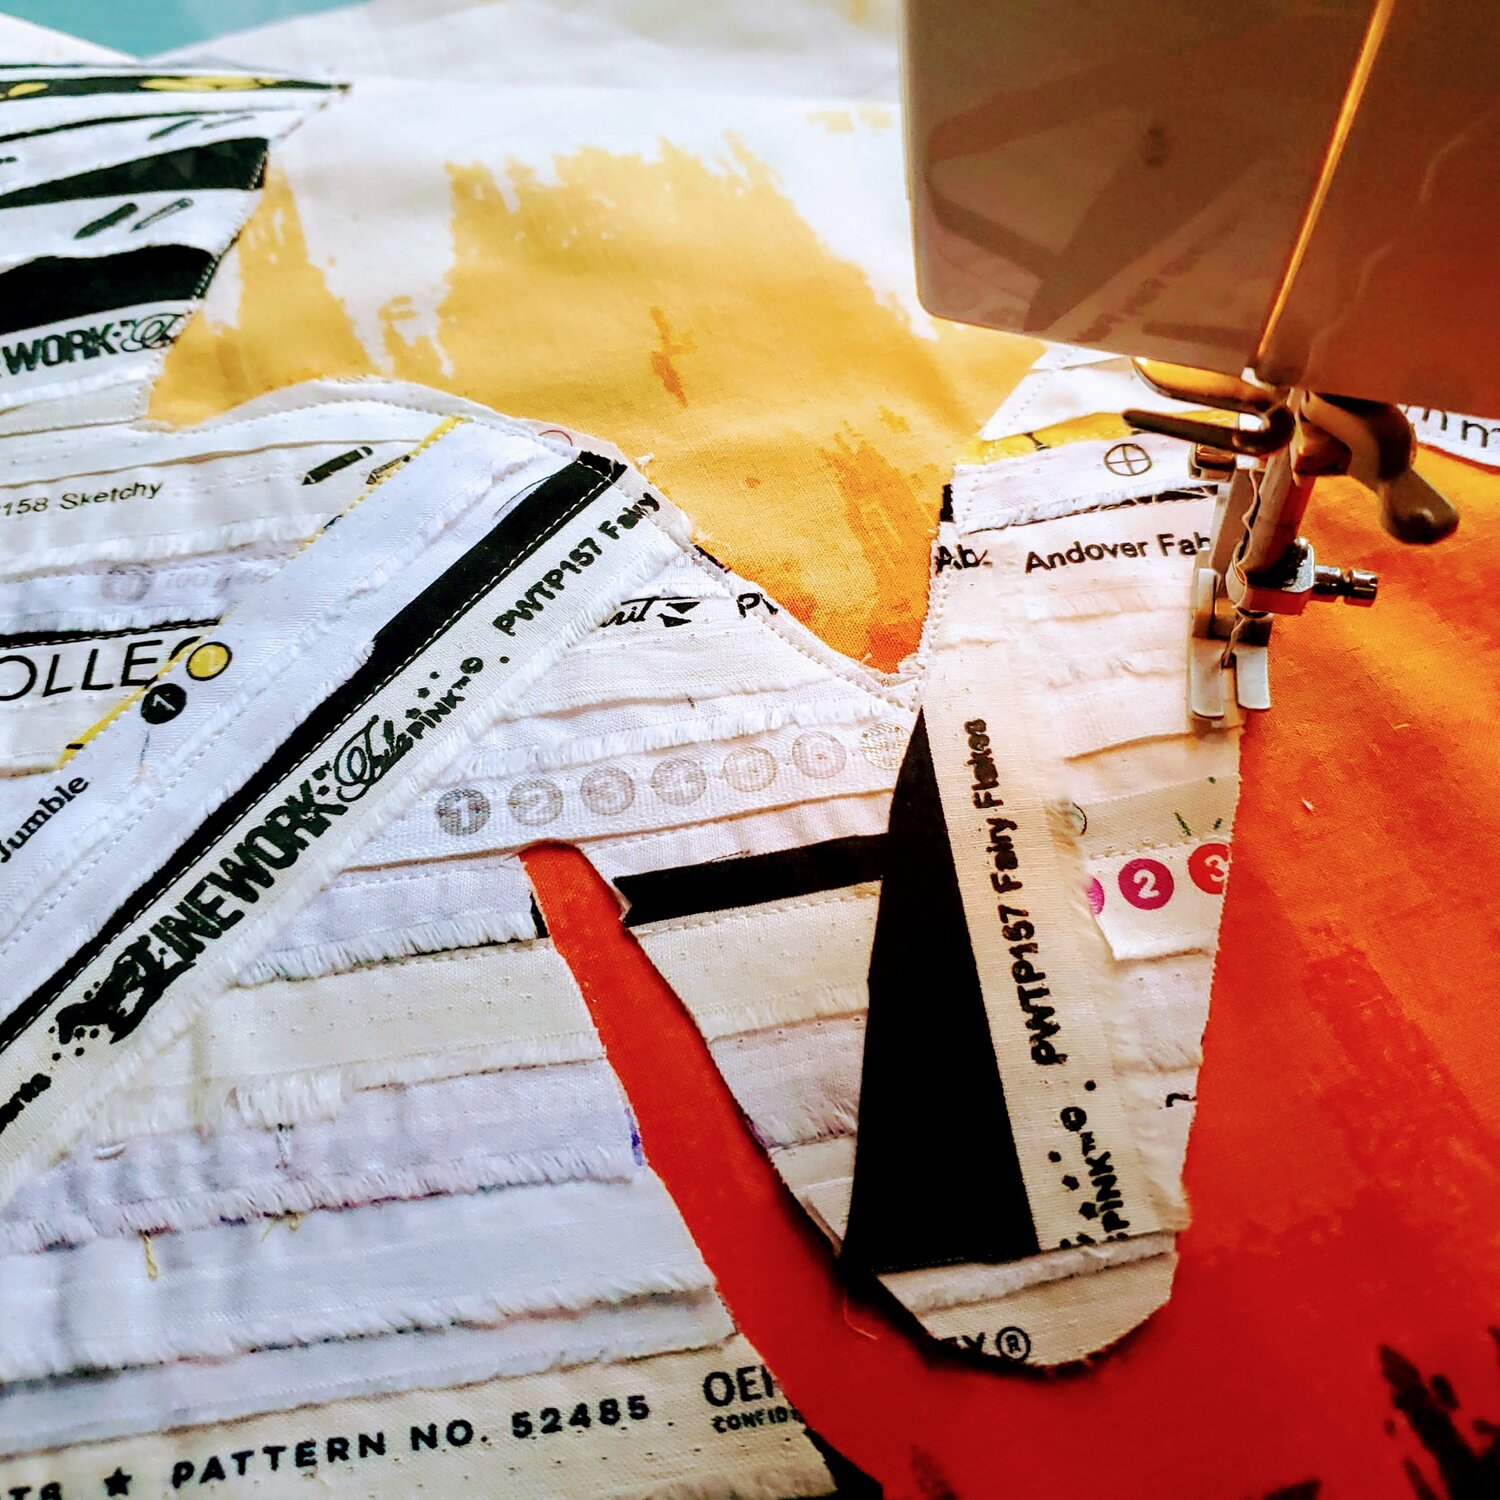
I cut a large piece of Mistyfuse to fit under the figure to adhere the mummy onto the background fabric. Using a Teflon sheet will protect the iron from any stray fusible pieces. Next, sewing close to the edge of the mummy I topstitched the figure onto the background fabric as you would for raw edge appliqué.
I laid out the border pieces to decide placement and cut the pieces 4” wide
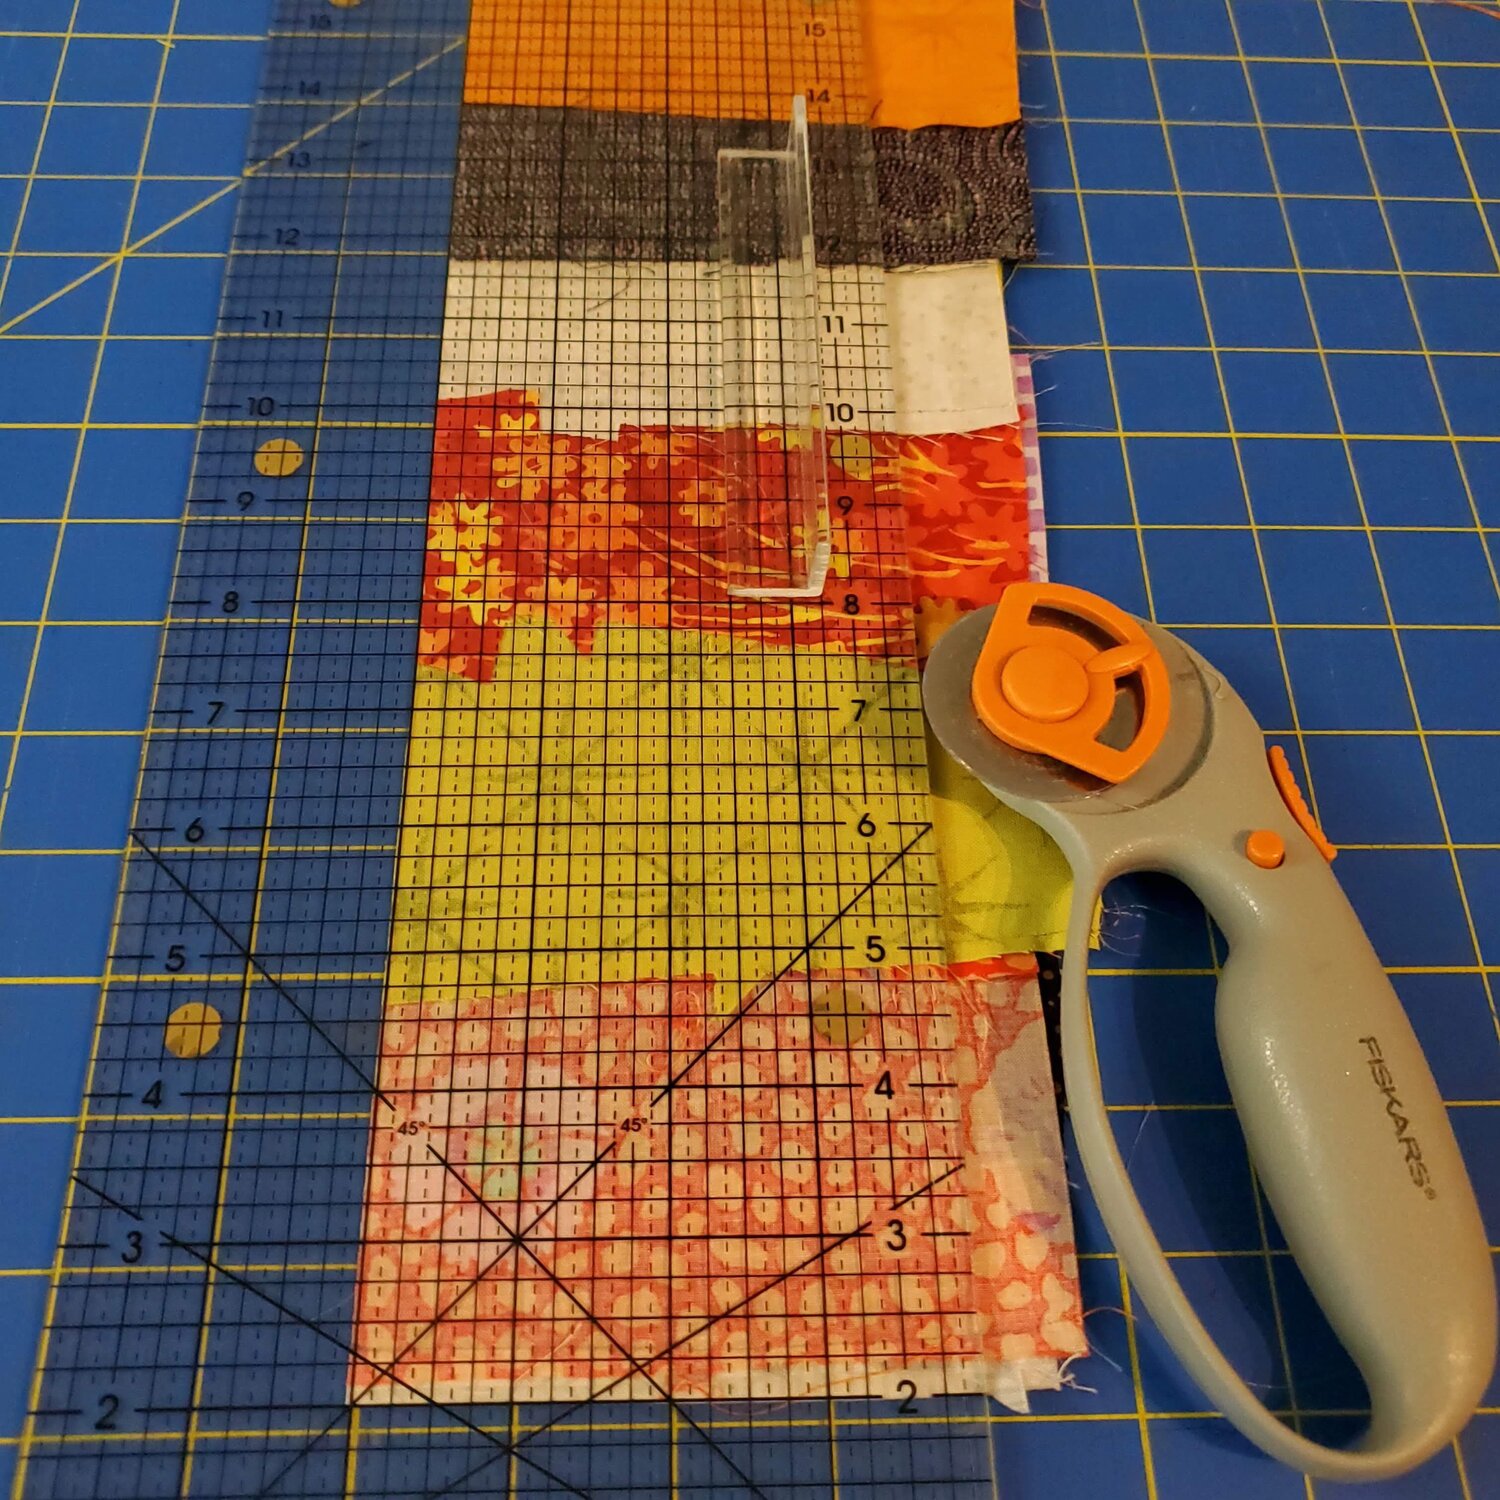
You can always cut more off which I did adjusting to 3” after sewing them in place. The best part of Improv sewing for me is the creative thinking process and problem solving as you go along, making decisions about how it looks on the fly. Try not to over think, and go with your first impulse decision. I found using the design wall was really helpful to stand back and take a look from a distance, even walk away for a while and come back with fresh eyes.
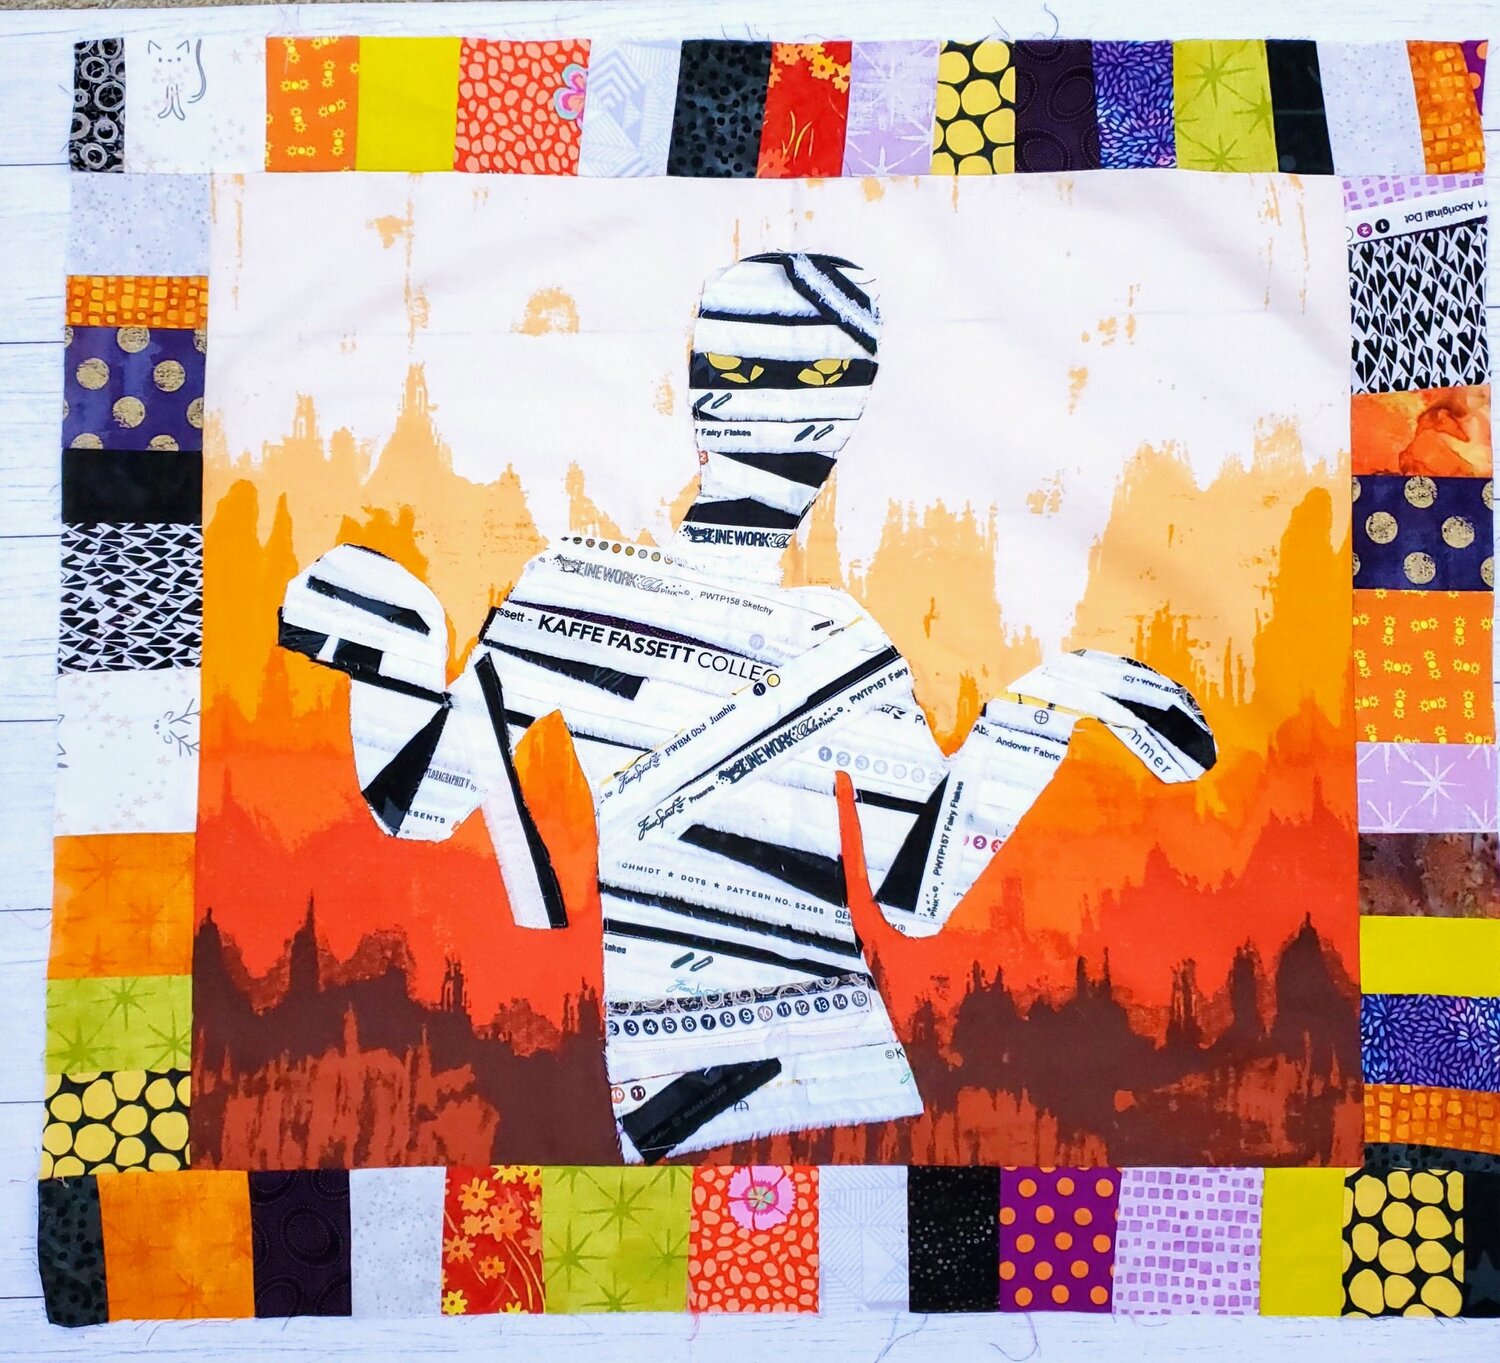
After I sewed the mummy figure in place on the background fabric it felt like she needed to hold something in her hand. Of course she is a quilter… why not add a mini quilt of her puppy?! I got to work using the same method on a smaller scale to create the mini quilt for her to hold.
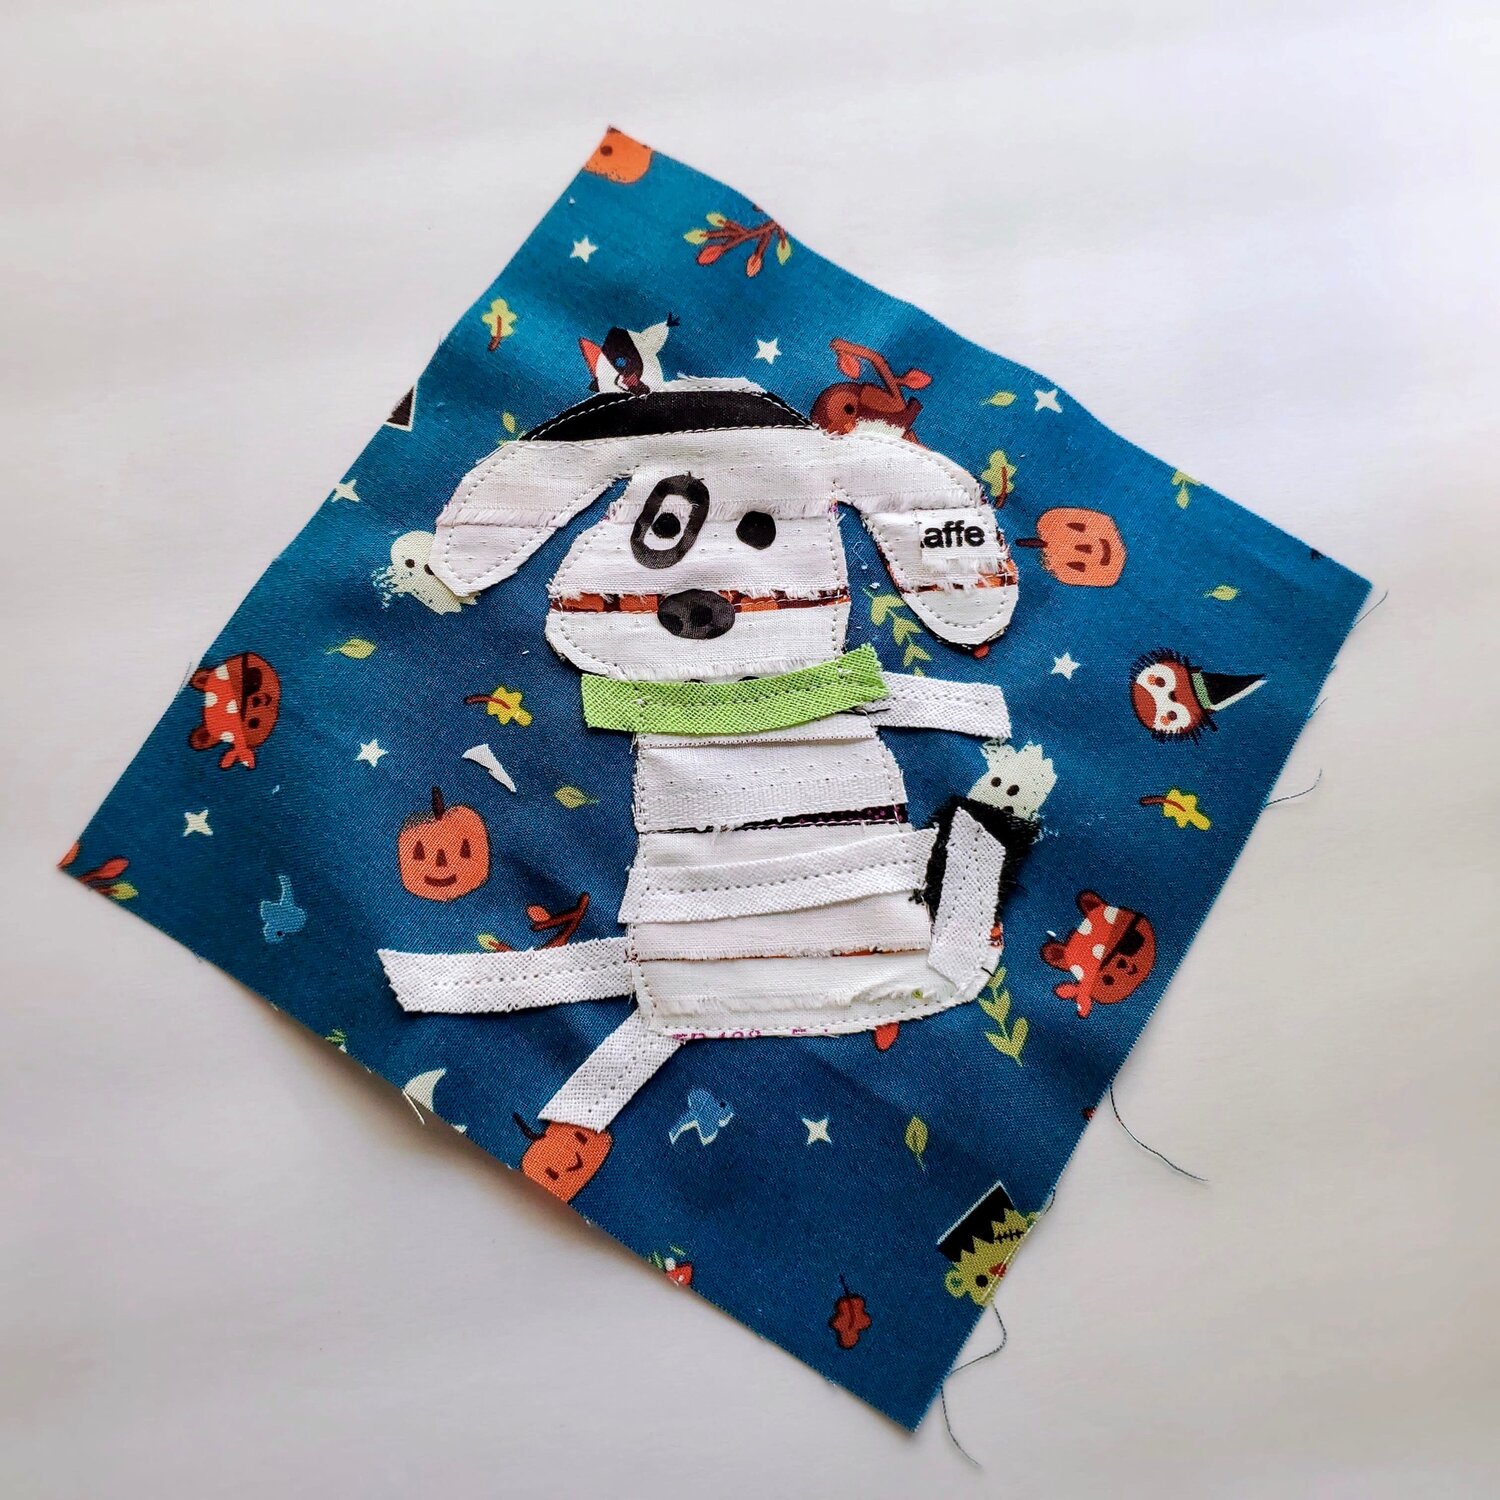
I added a few pieces of Chenille-it to enhance the mummy strips in a few places.
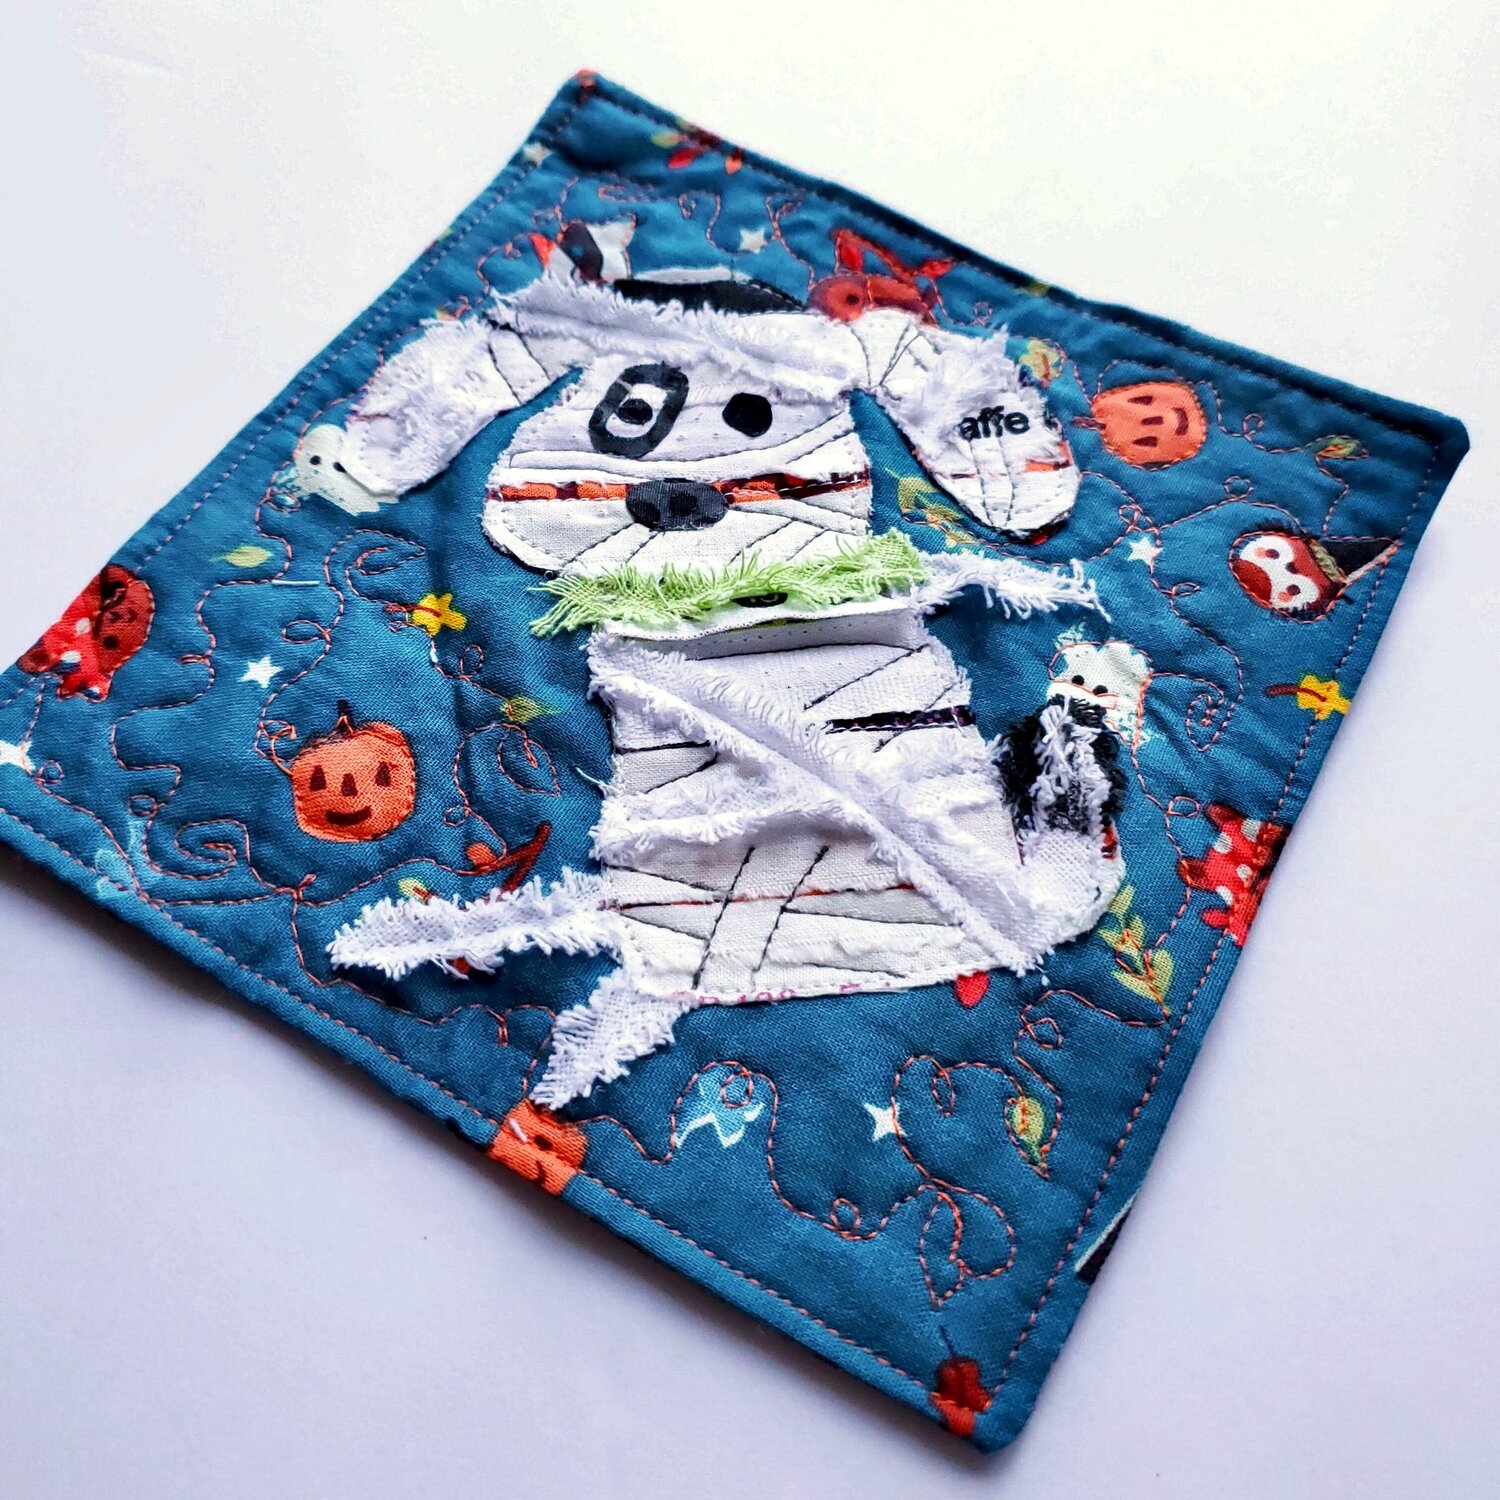
This mini quilt will be added after the quilting is finished on the quilt top to add some interest and dimension to the wall hanging.
I hope that you will try a new technique and design a small quilt that reveals the artist within you. I think you will be surprised by the outcome. Check out this Pinterest link with Improv quilting inspiration. Join me next week for the final reveal of this work in progress.

