

The Flipside -- Backing
Posted by Robyn Thomas on 15th Jul 2024
You've spent your sewing time piecing together that gorgeous quilt top. Whether you are cutting and sewing together freestyle, following a pattern or sewing together a pre-cut kit, your quilt top is coming together, looking beautiful, and you can't wait to see your hard work assembled into a finished project.
But, you are not done yet. There are still decisions to make.
Maybe we refer to them as the three Bs:
Batting, Backing and Binding
Fortune Teller was sewn by Krissi Sandvik. This completed quilt is from our previous PMQ, Carnival.
Let's review Backing.
Quite simply, your backing is obviously the back of your completed quilt top. And there are no hard and fast rules as to what you put on the back of your quilt. Finish it with what works for you and your wallet, and what makes you happy.
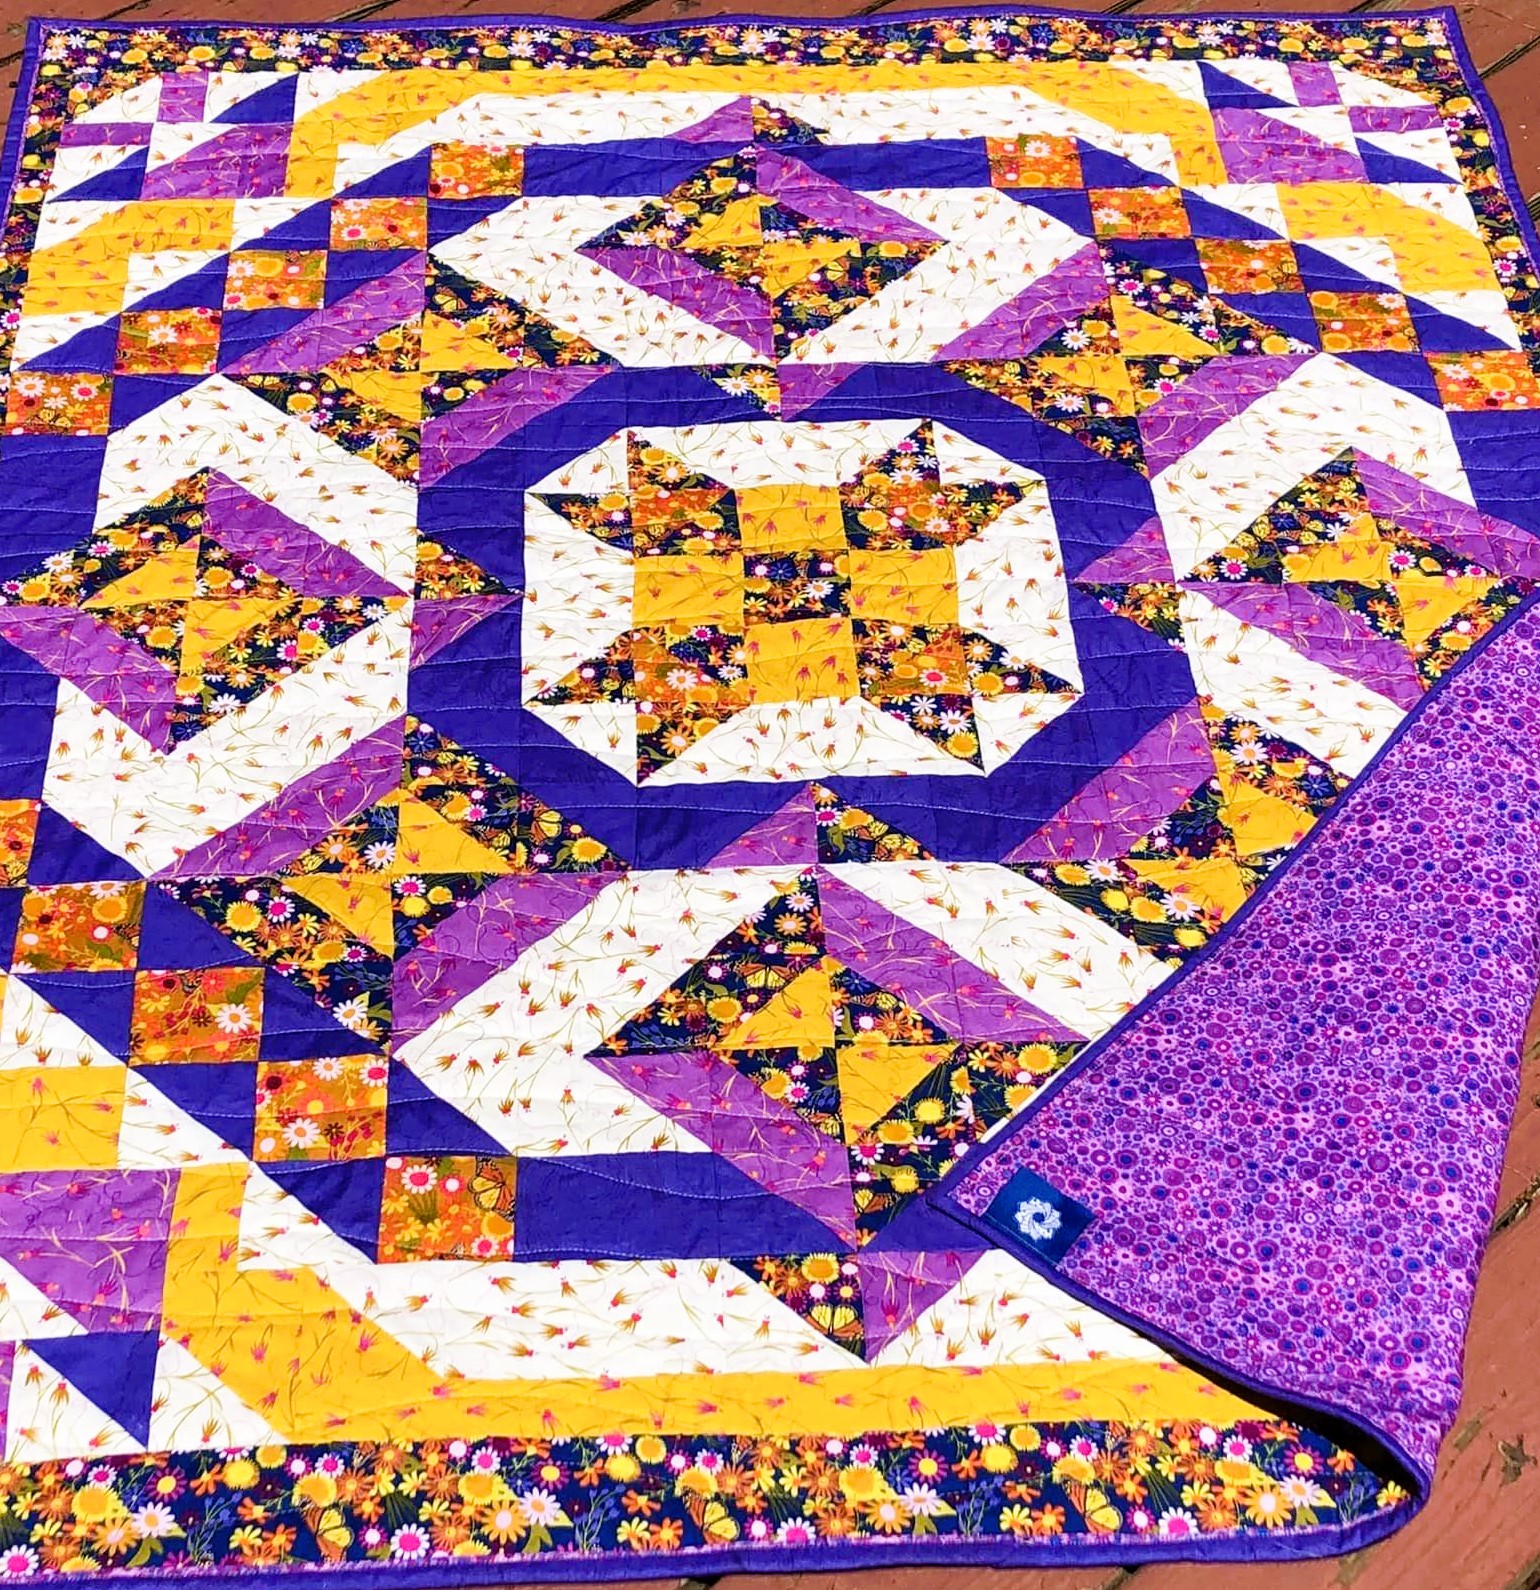
Perhaps one of the easiest choices for your backing is to choose a fabric from your quilt top. Which one was your favorite? Which one had a lot of yardage available when you collected your fabrics for your quilt top?
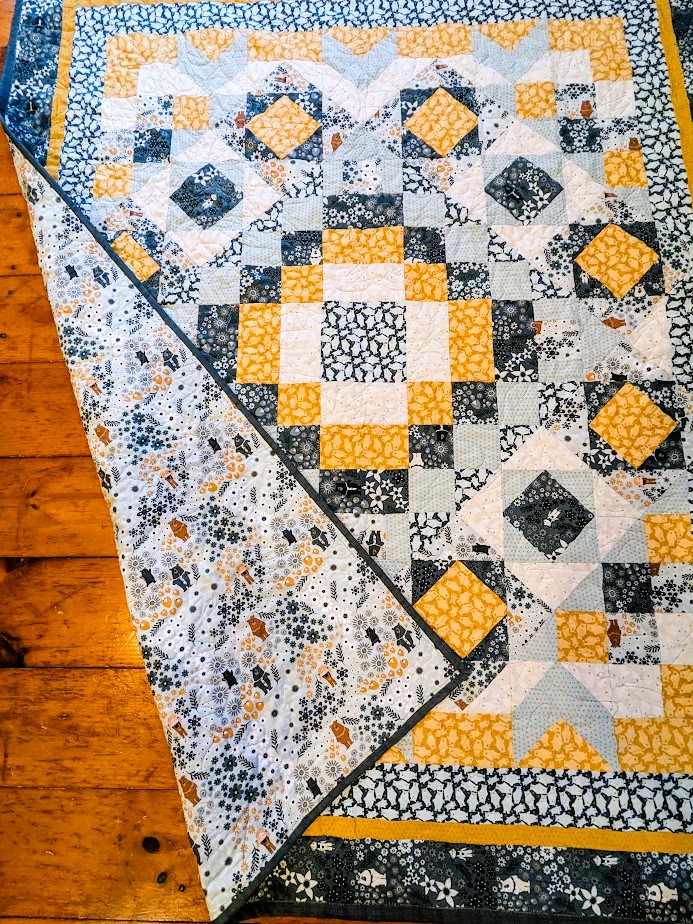
Kathi Gatti chose one of the six fabrics from our PMQ Village Green Daffodil as her backing fabric. What a great choice to really showcase the fun fabric with those adorable bears.
An easy and cost-effective choice for your backing is to use a bed sheet. It will give you the option of one large piece of fabric. Make sure it has a high thread count. This will ensure that your backing will help your quilt last for a long time. Flannel and fleece sheet options work as well. And jersey style (T-shirt) sheets would be another option. Just be careful as it is such stretchy material. Make sure you baste well with a spray baste or lots of pinning. And understand that it will be a challenge to quilt. But the result will be so comfy and cozy.
Try another unexpected fabric such as minky. How cozy would that be?
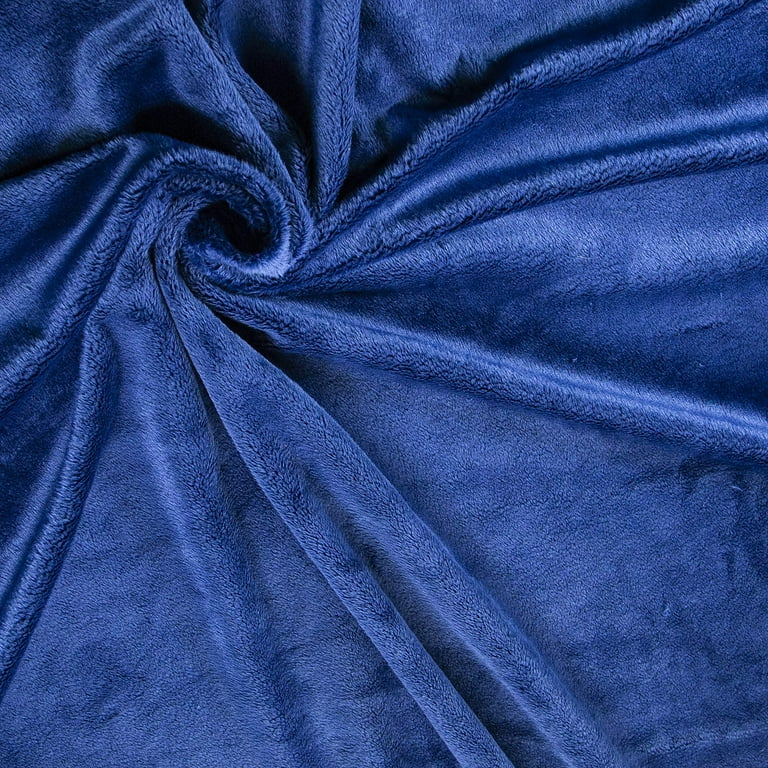
Here is an example of minky material. It is so soft and cozy. And kids love it!
Scrappy Backs
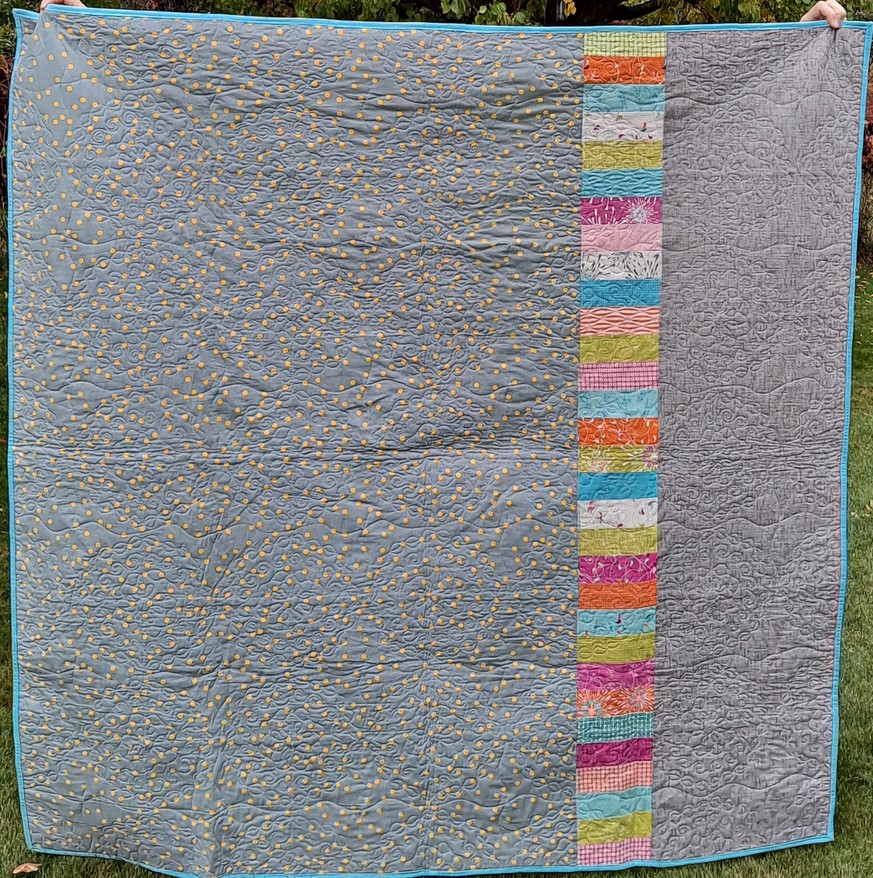
Does the backing of your quilt have to be one fabric? Of course not. Choose elements from the front of your quilt to create a fun surprise on the back of your quilt as well. Some crazy ideas: Choose two fabrics from the front to create the back. Try a simple pieced strip down the center of your backing, with a simple material on each side. Or maybe add a creative element just to a corner. Why limit your creativity just to the front of your quilt? Let those creative juices flow.
For inspiration on scrappy backs, take a look at Aunt Em's Quilts. There are some great ideas here, as well as tutorials to get you started.
Tips for Selecting and Finalizing your Backing:
- 4 to 8 inches on each side (All 4 sides!) is how much more backing you need to accommodate the final dimensions of the quilt, giving your quilt enough "space" for the front quilt top.
- If you are using directional fabric for your backing, you will need MORE fabric to make sure your prints line up correctly to make a cohesive back.
- 108 wide back: Fabric that is printed 108 width of fabric off the bolt. 108 inches is a very common measurement for a bolt, so they are making them in this measurement so that you do not have to piece the back of your quilt, or worry about the directionality of your print. This cut will be more expensive, of course, because there is less work to put it onto your quilt.
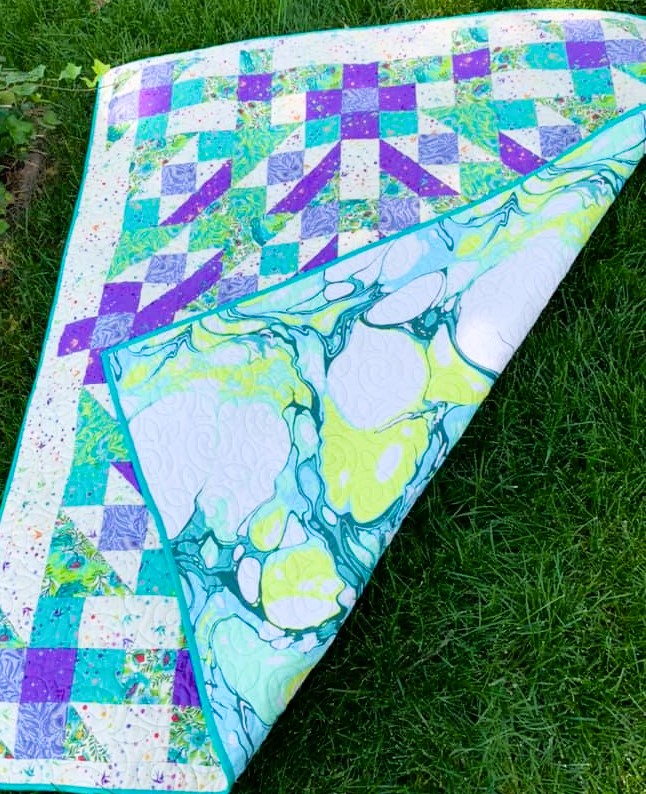
Laura Patterson found the most beautiful and unique fabric to back up her finished quilt.
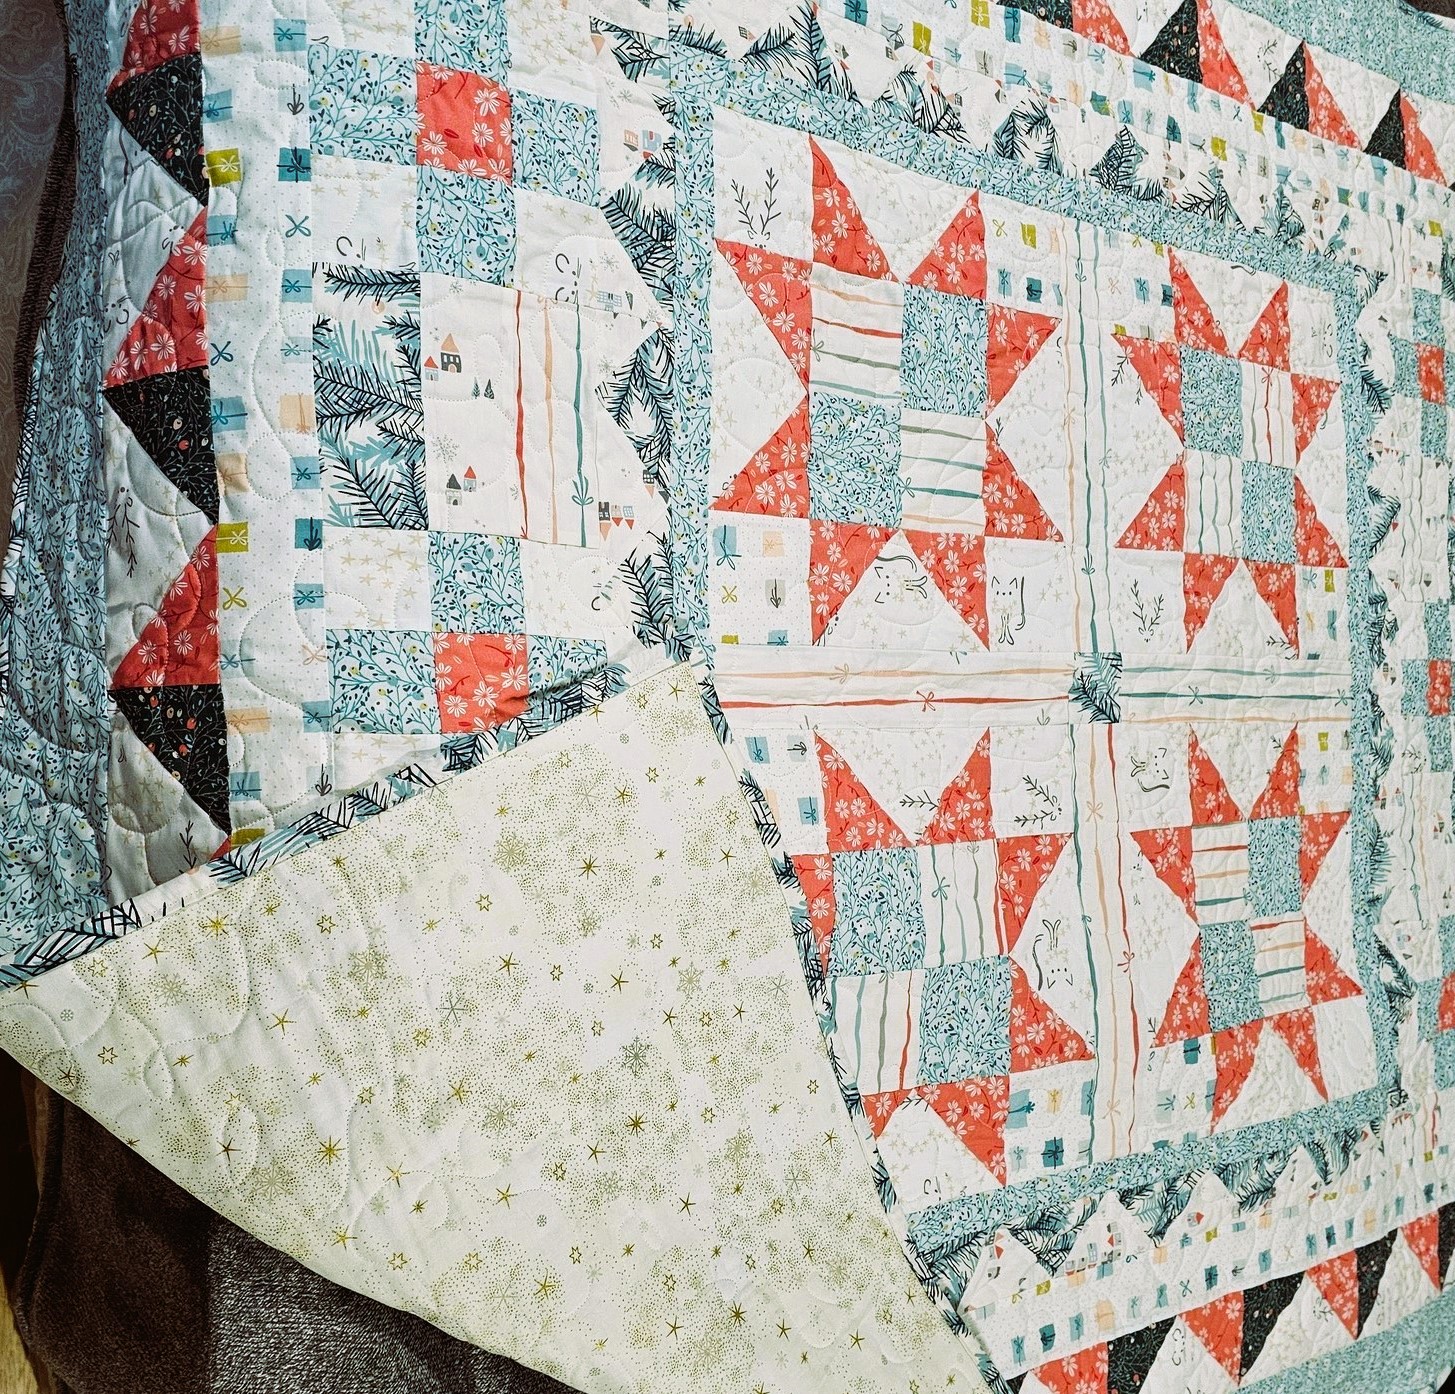
Here is another fantastic example from our Cotton Cuts Fabric member Delia Beckman. How cute!
For help with measurements for your backing, use Robert Kaufman's The Quilter's Little Helper. You will find this app to be so useful for helping you with a variety of measurements needed for your quilting elements.
Make sure that you watch our Cotton Cuts LIVE "Everything Backing" for lots of tips and a great explanation from Kim on how to measure your fabric.