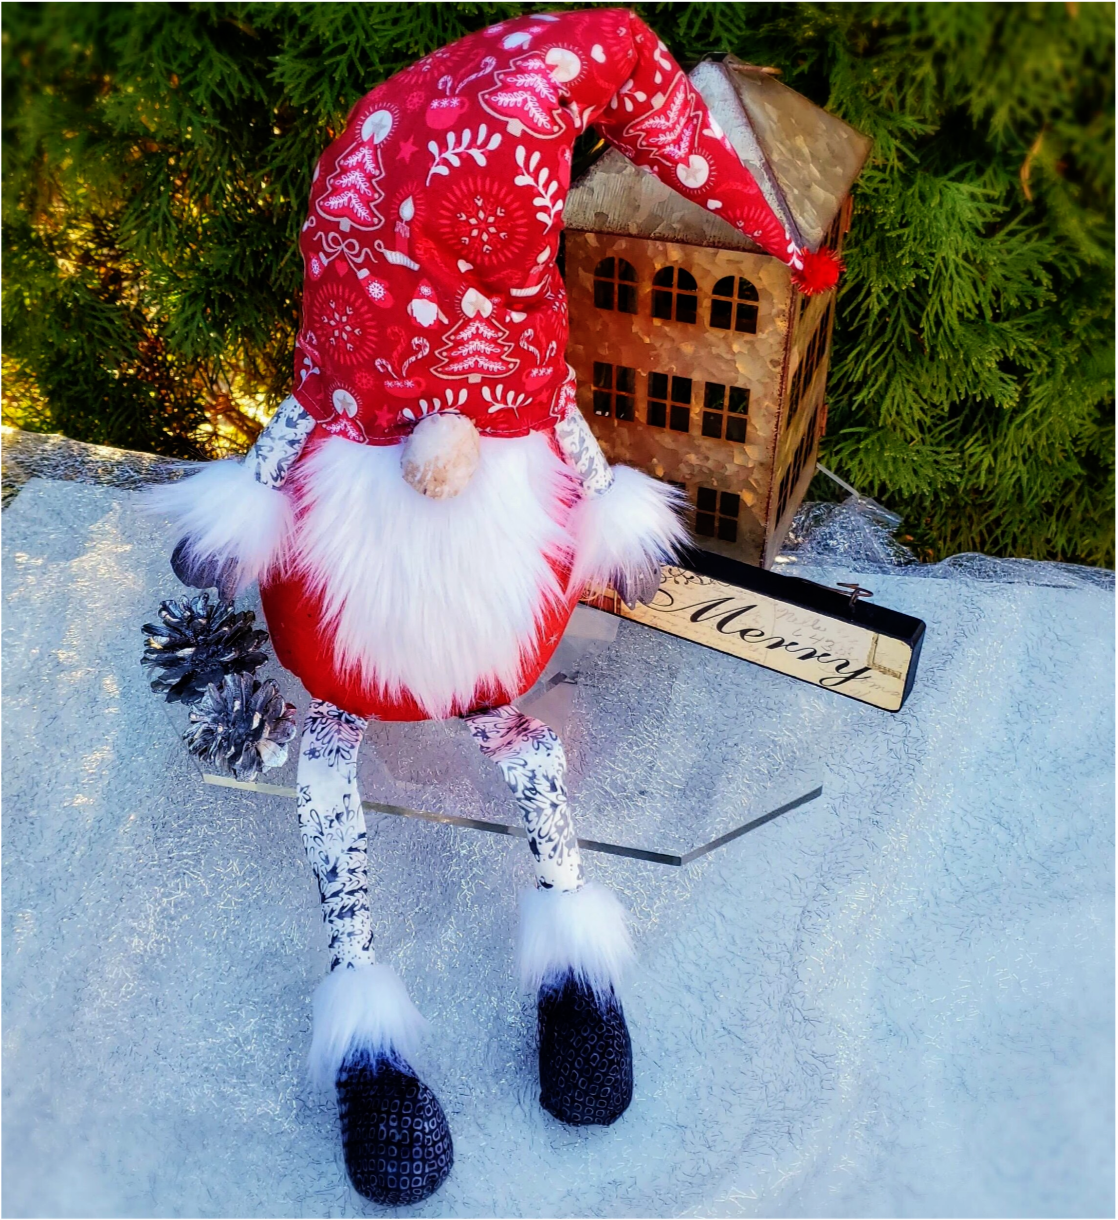
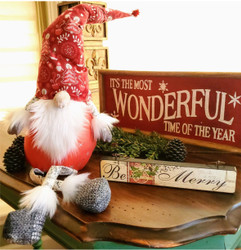
DIY Christmas Gnome
23rd Dec 2020
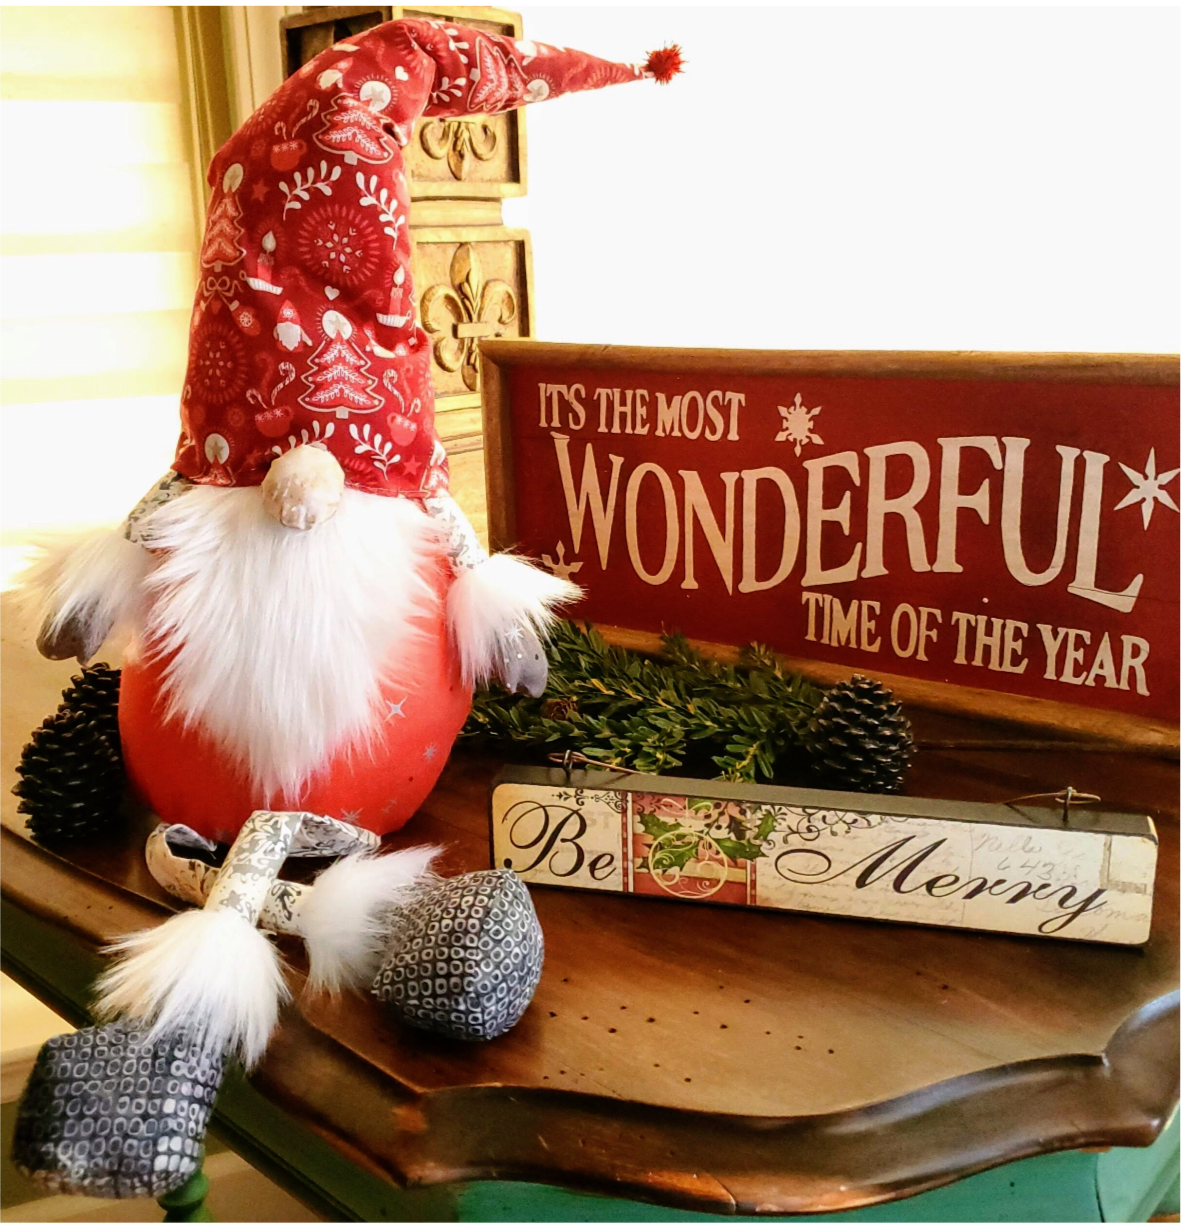
Gnomes are a symbol of good luck. I think we all would like some good luck heading into this new year! Gnomes first showed up in Northern European folklore around the 1300’s. The Scandinavians made the connection with the Christmas season and the German immigrants brought gnomes to the United States in the mid 1800’s. Their popularity increased in 1930 with the Seven dwarfs movie. In today’s culture you can find a gnome for any season and this one is the perfect way to decorate for the holiday.
Materials needed
2 Fat quarters for hat and body Mystery Fat Quarters and Cherry Fairy Dust
10x10 for boots September Java Batiks
6x6 for hands Fairy Dust
10x10 for arms and legs Java batiks subscription
4x4 for nose Wishwell Parchment
7x4 piece of fur
Coordinating Aurifil thread
Poly-fil
Pipe cleaners or wire 12” long
Hot glue
Bag of sand
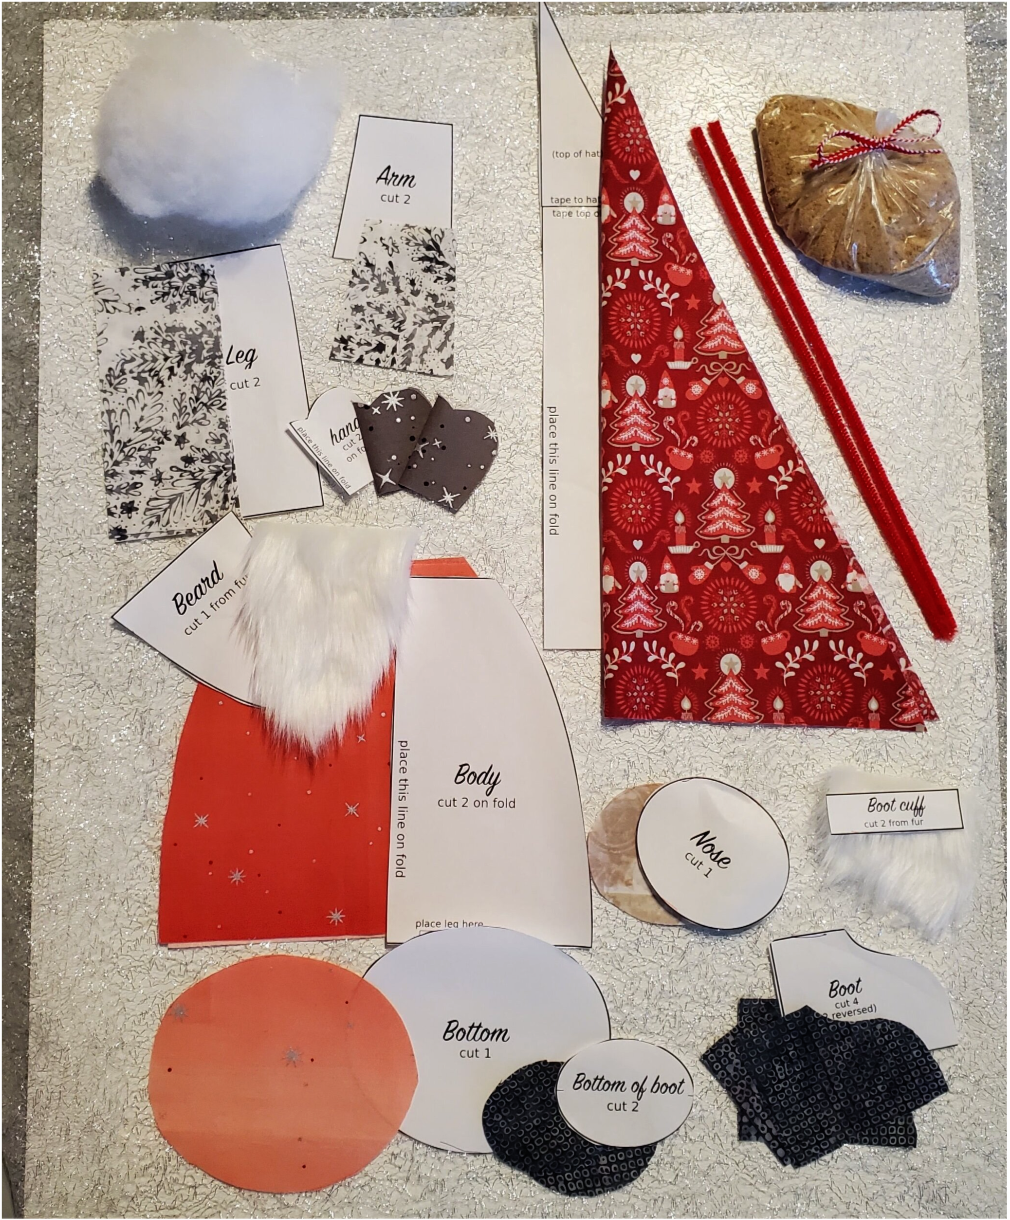
To get started you will need to download and print the free pattern from Sew Can She
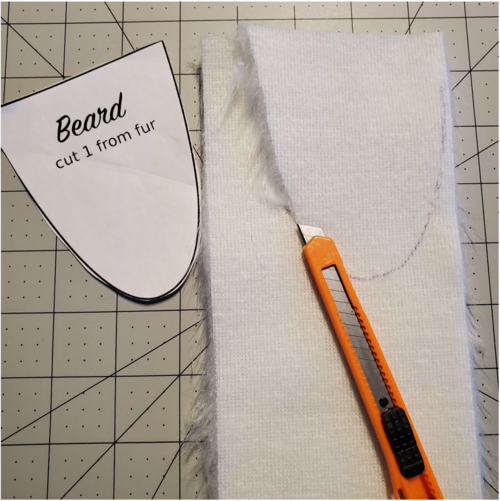
Cut out the pieces needed keeping the paper pattern stacked with the fabric to keep the parts organized. To cut the furry beard and cuffs you will mark on the back of the fur. It is best to use a knife blade to cut along the pattern lines from the wrong side. This method will keep the beard intact. Pay attention to the nap of the fur when you are marking the wrong side.
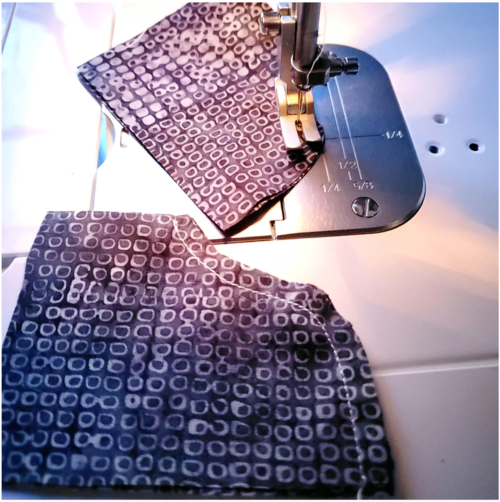
Next sew the boots using a ¼” seam with right sides together along the curve on top of the boot.
Along the top boot line up the leg pieces and sew ¼” seam to connect the parts. Press and fold in half sewing along the long sides to form the legs.
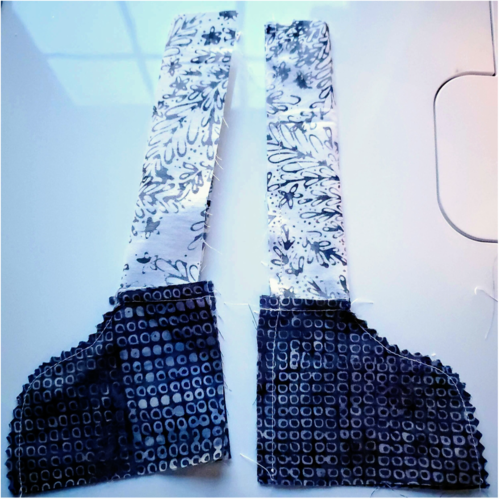
The next step has the option to just continue the seam along the bottom edge of the boot or to fit the oval piece to create a flat bottom on the boot. It will give a different look but if you are going for an easier and quicker method, I would recommend just do the straight seam. It is small and difficult to sew the bottom in place. Turn the right sides out using a tube and dowel stick to push the fabric through.
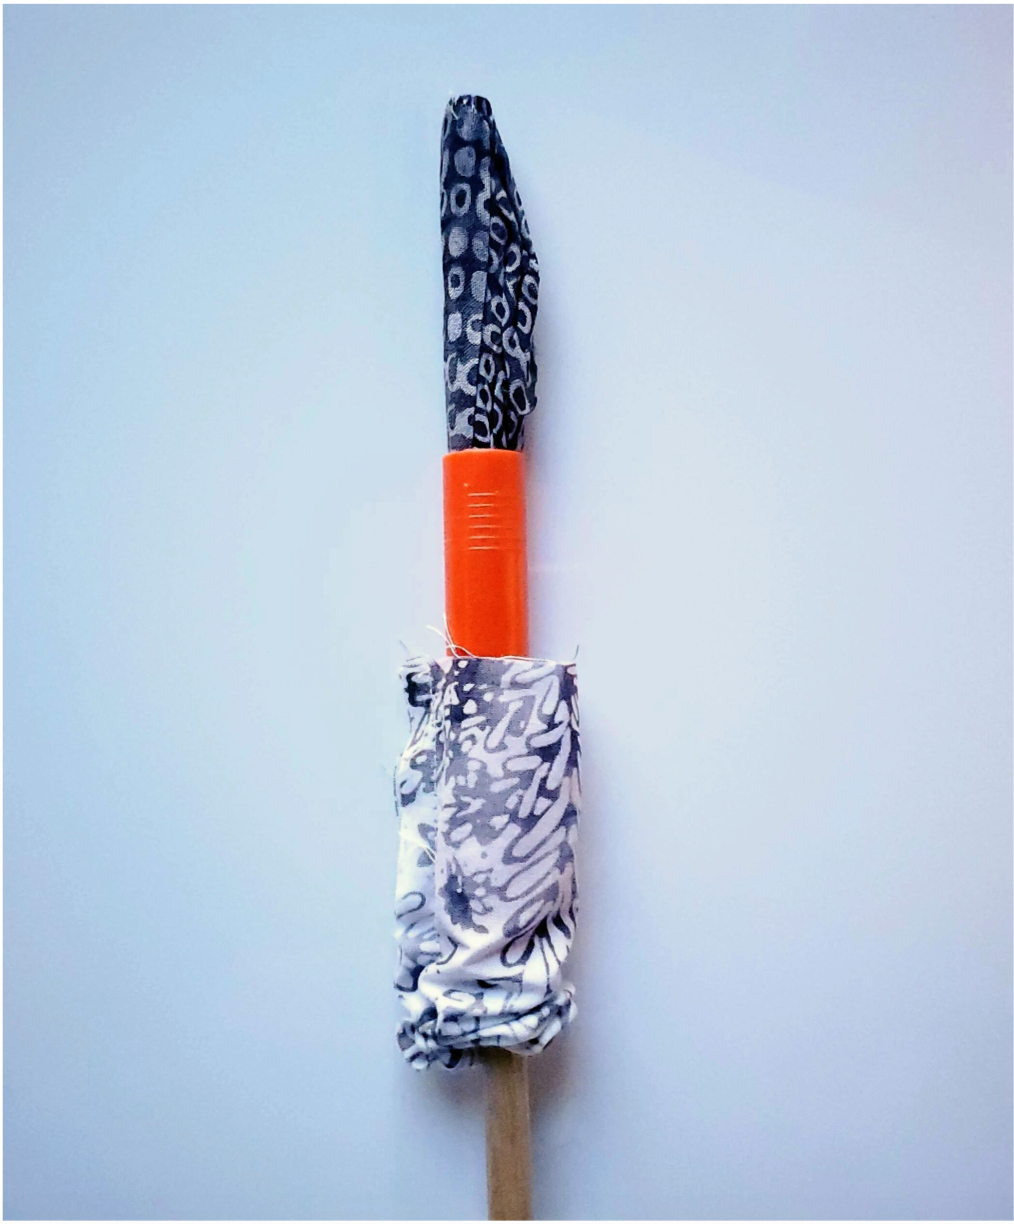
Press carefully to shape the boot. Add some Poly-fil using a straight hemostat. I have found this a useful tool to easily get the fluff through narrow areas like arms and legs. Stuff to achieve desired boot look and lightly stuff to the knee area.
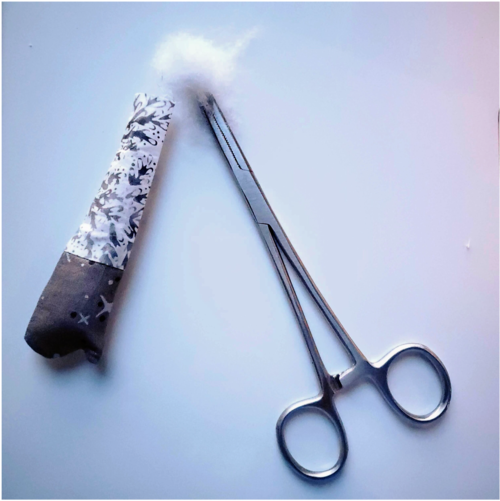

Align the hands with the arms and sew along the straight side. Press. Fold in half and sew around the mitten hand and up the arm. Trim the outer curves with pinking shears and clip the inner curves trimming the bulk to ⅛” seam.
Turn the right sides out and stuff lightly. Next you will need the body fabric and pattern piece. The pattern indicates the proper placement of the legs. They should be 1 ½” apart. Pin in place and sew.
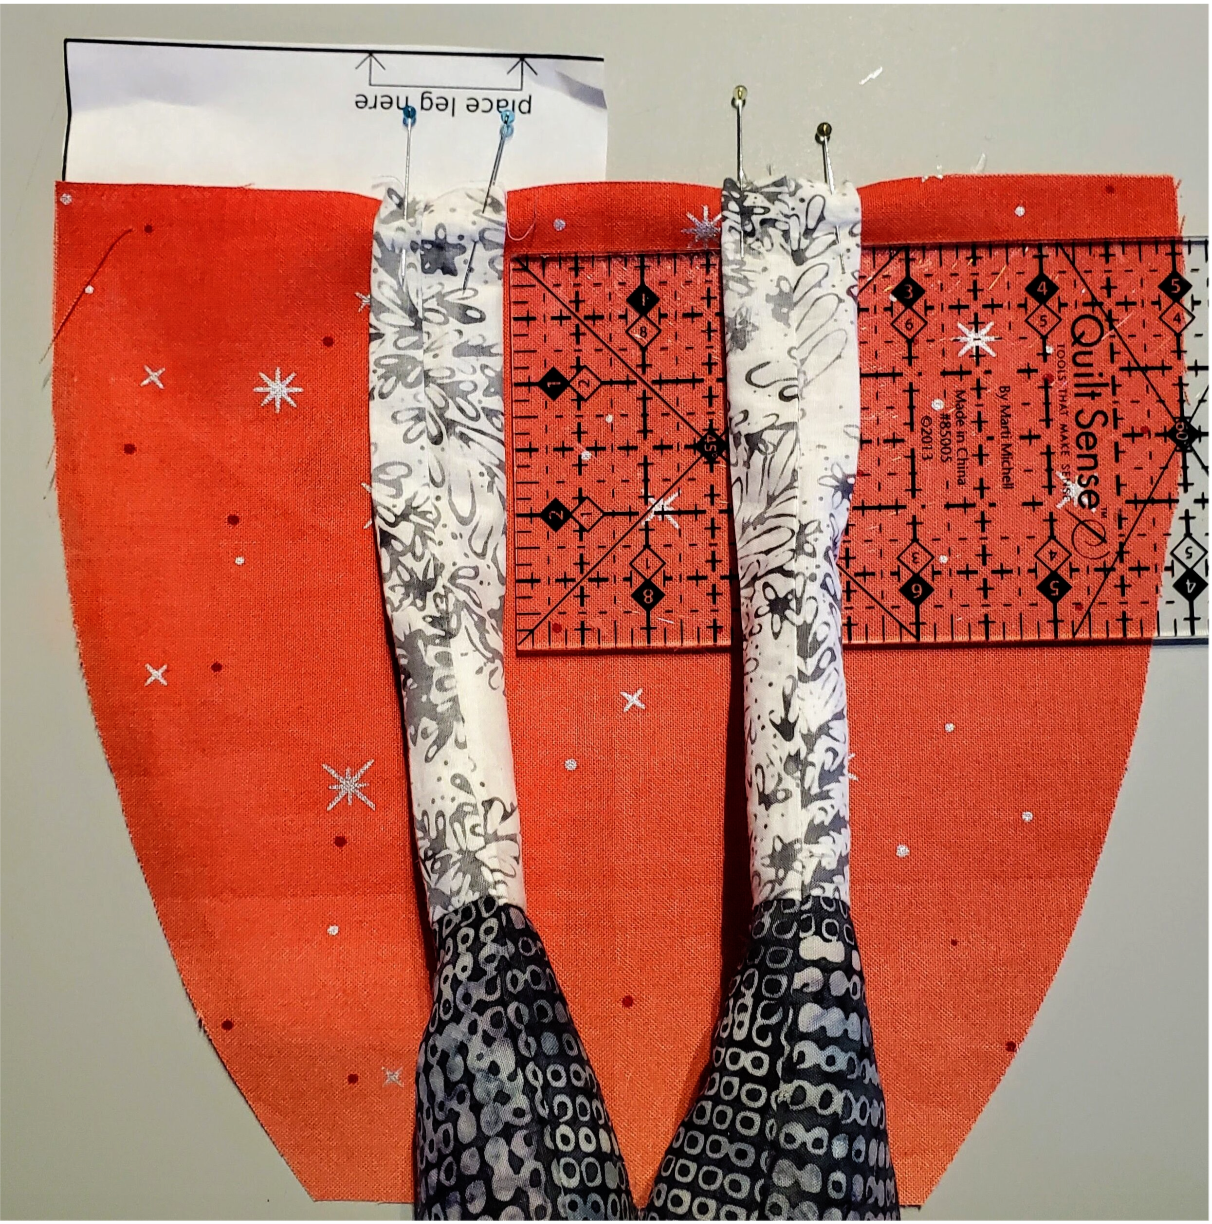
Take the back body piece and place the right sides together and sew the side seams. Using a large running stitch along the top edge sew a seam to gather the top edge in a later step. Take the roundish bottom piece and pin in place fitting in the opening easing as needed. Sew in place with a ¼” seam. Turn right sides out and press shaping the bottom to sit flat. Add the bag of sand to the inside first and then add poly-fil to desired shape.
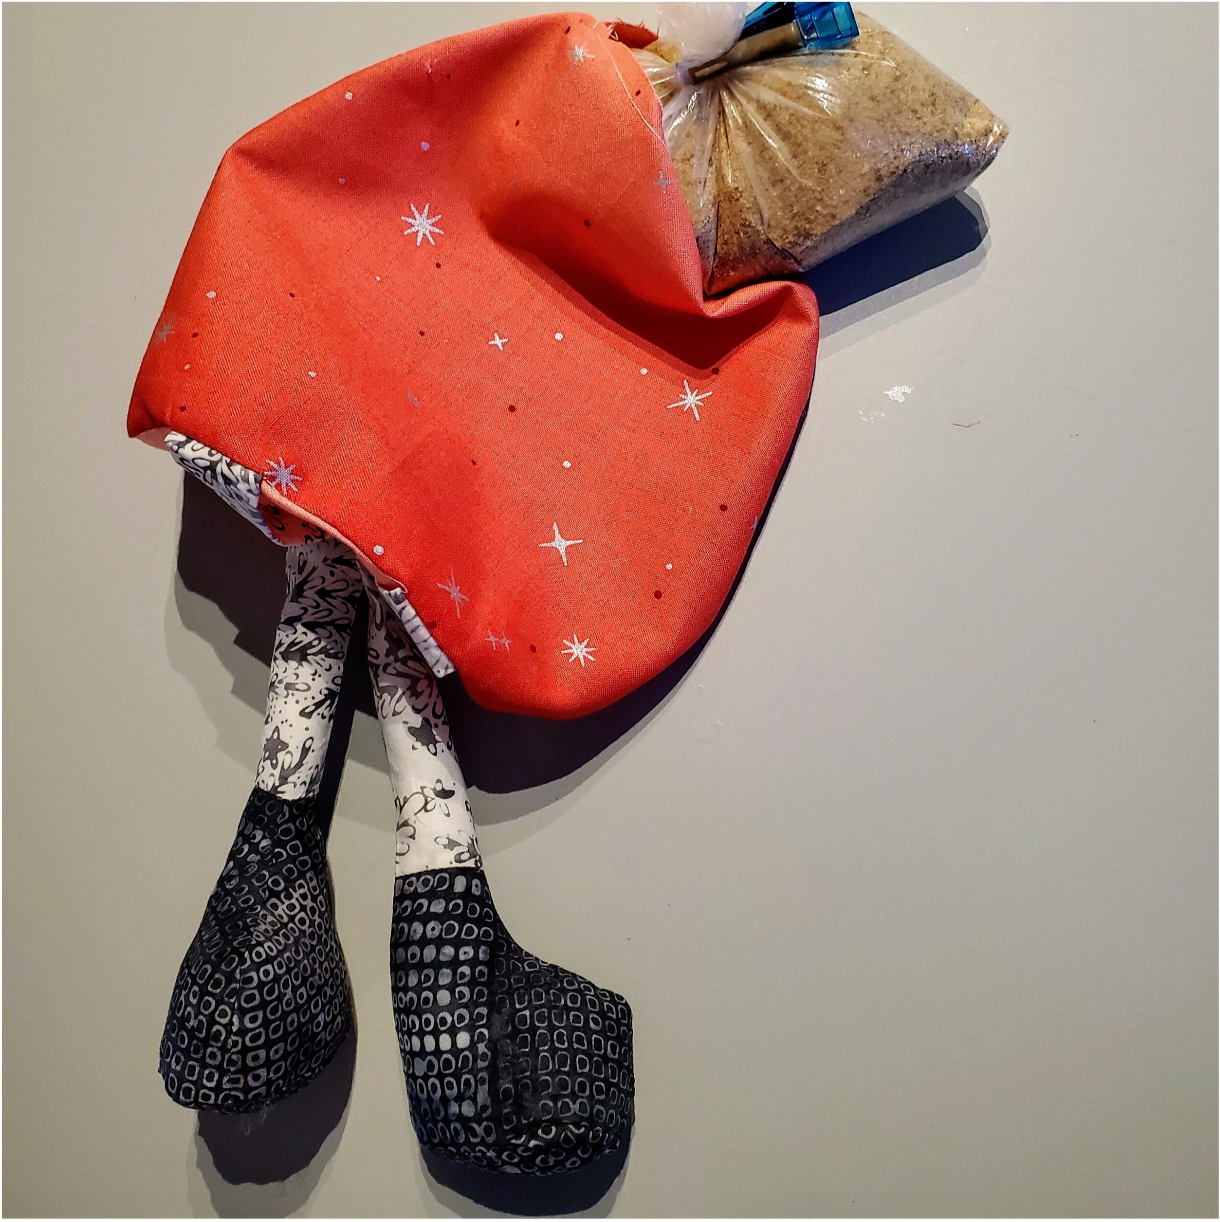
Now it is time to use the threads to pull the top edge closed. Add a drop of hot glue to secure. Sew a long stitch around the nose piece. Add some Poly-fil and pull the thread closed in the same way securing it with hot glue. The final piece to sew is the hat. Fold the bottom edge under ¼” and press. Top stitch along the edge to hold in place. Fold in half and line up the long edges and sew ¼” seam. Turn right sides out and press with the seam to the back. Take the pipe cleaners and twist the wires together. Use a drop of hot glue on the end and place it in the tip of the hat.
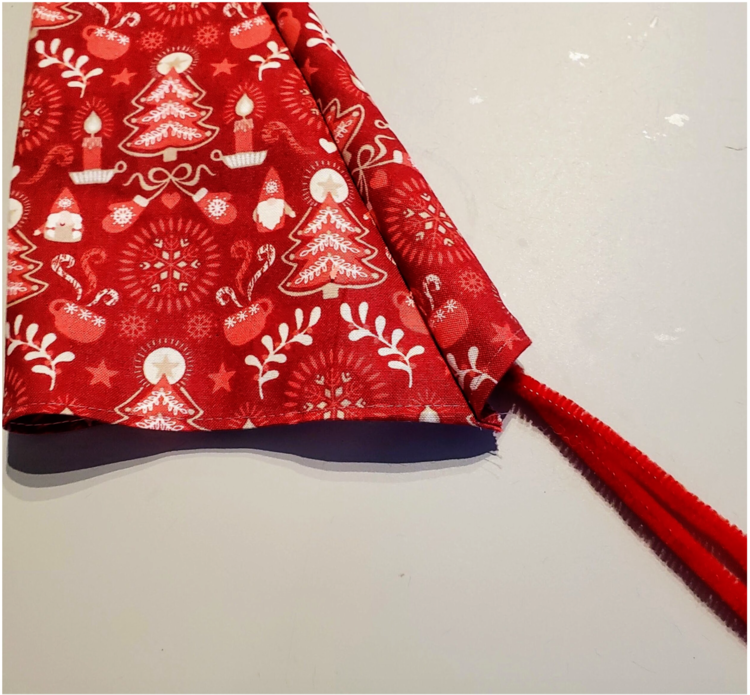
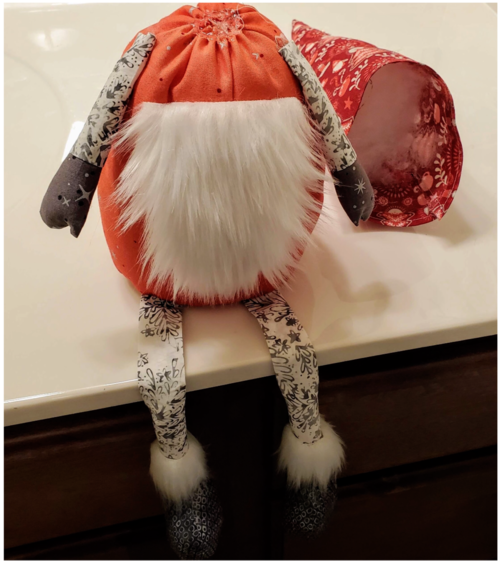
This will allow you to bend and shape the hat. Fill the hat with Poly-fil leave space at the bottom to attach to the body. Hot glue the beard about 2” from the top of the body. Glue the arms in place on the sides of the body. Add the furry cuffs to the boots and along the top of the mittens if desired.
Place the hat on the body with the seam in the back. Add a drop of glue on each side of the beard. Overlap the top edge of the beard with the hat. Continue to add glue carefully along the edges of the hat to adhere to the body. He is ready for his nose centered at the junction of the hat and beard. Add a Pom Pom to the tip of his hat and any other buttons or pins to add to his whimsical charm. Now sit back and enjoy the good luck your gnome will bring to you!
