DIY Christmas Stockings
17th Dec 2020
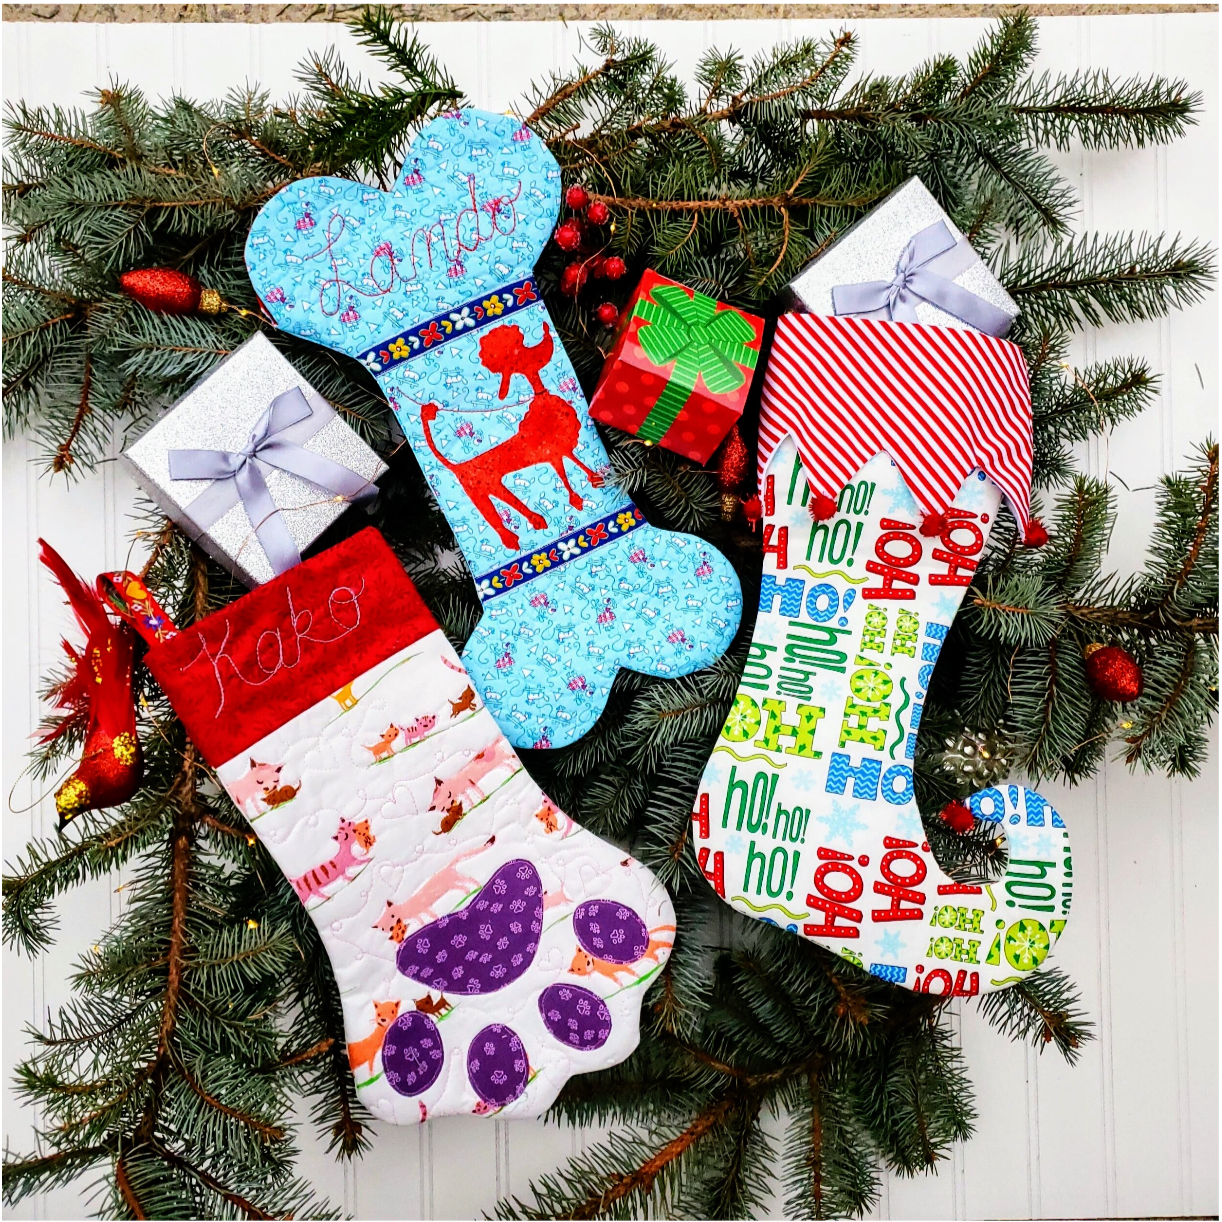
Let’s celebrate the season and the friends that helped us in 2020, especially our furry friends! With pet adoptions at an all time high there are lots of new pets that need a stocking for “Santa paws” to leave some goodies. Show them some love with a personalized stocking made with these great fabrics from Cotton Cuts Classic box and Mystery fat quarters.
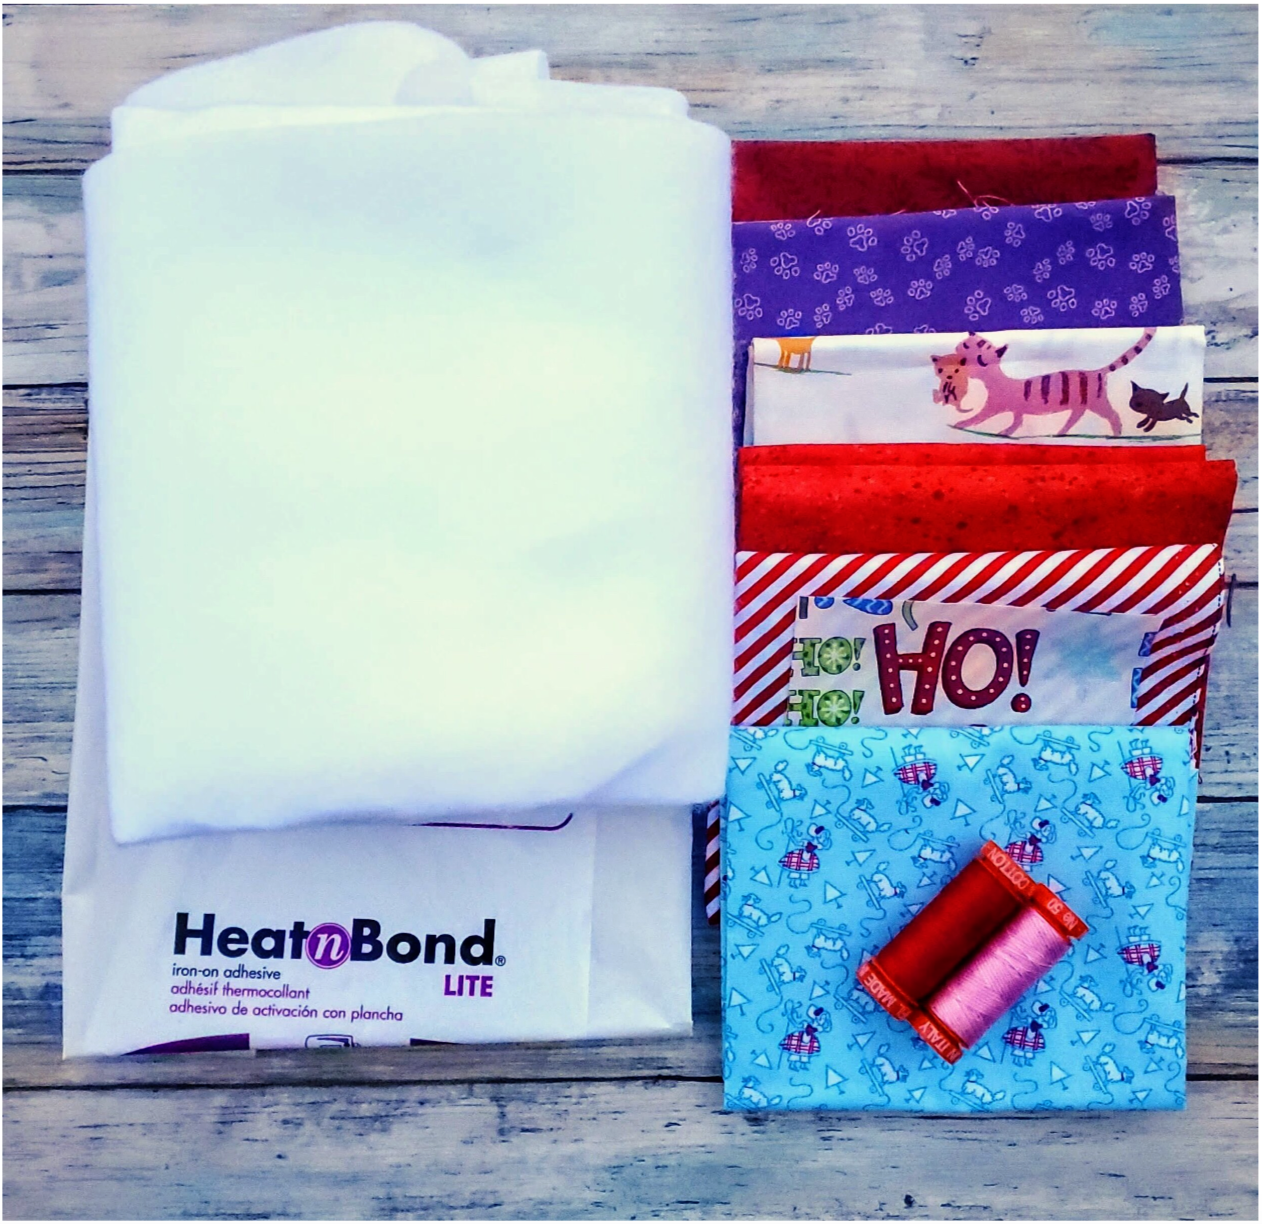
Materials needed
Fat quarters in coordinating colors
Aurifil thread from Chroma subscription
Pellon fusible fleece
Assorted ribbons and trim
Heat n Bond fusible
To get started print and cut out the patterns. You will need to choose outer fabric and a lining fabric for each style of stocking. I find it easier to trace the pattern on the fabric with it pinned together and then cut it out through two layers. To make the paw cuff fold down a few inches at the top of the pattern. Measure the size of the folded part and cut two rectangles from a coordinating fabric adding ¼” seam allowance. Cut two of the lining pieces. Cut one piece of the fusible fleece.
To make the paw pads adhere the Heat n Bond to the wrong side of an appropriate size piece of coordinating fabric. Trace the shapes and cut out of the fabric. Place the pattern under the fabric front to help with proper alignment and press in place. Sew the cuff to the front and back outer pieces using a ¼” seam.
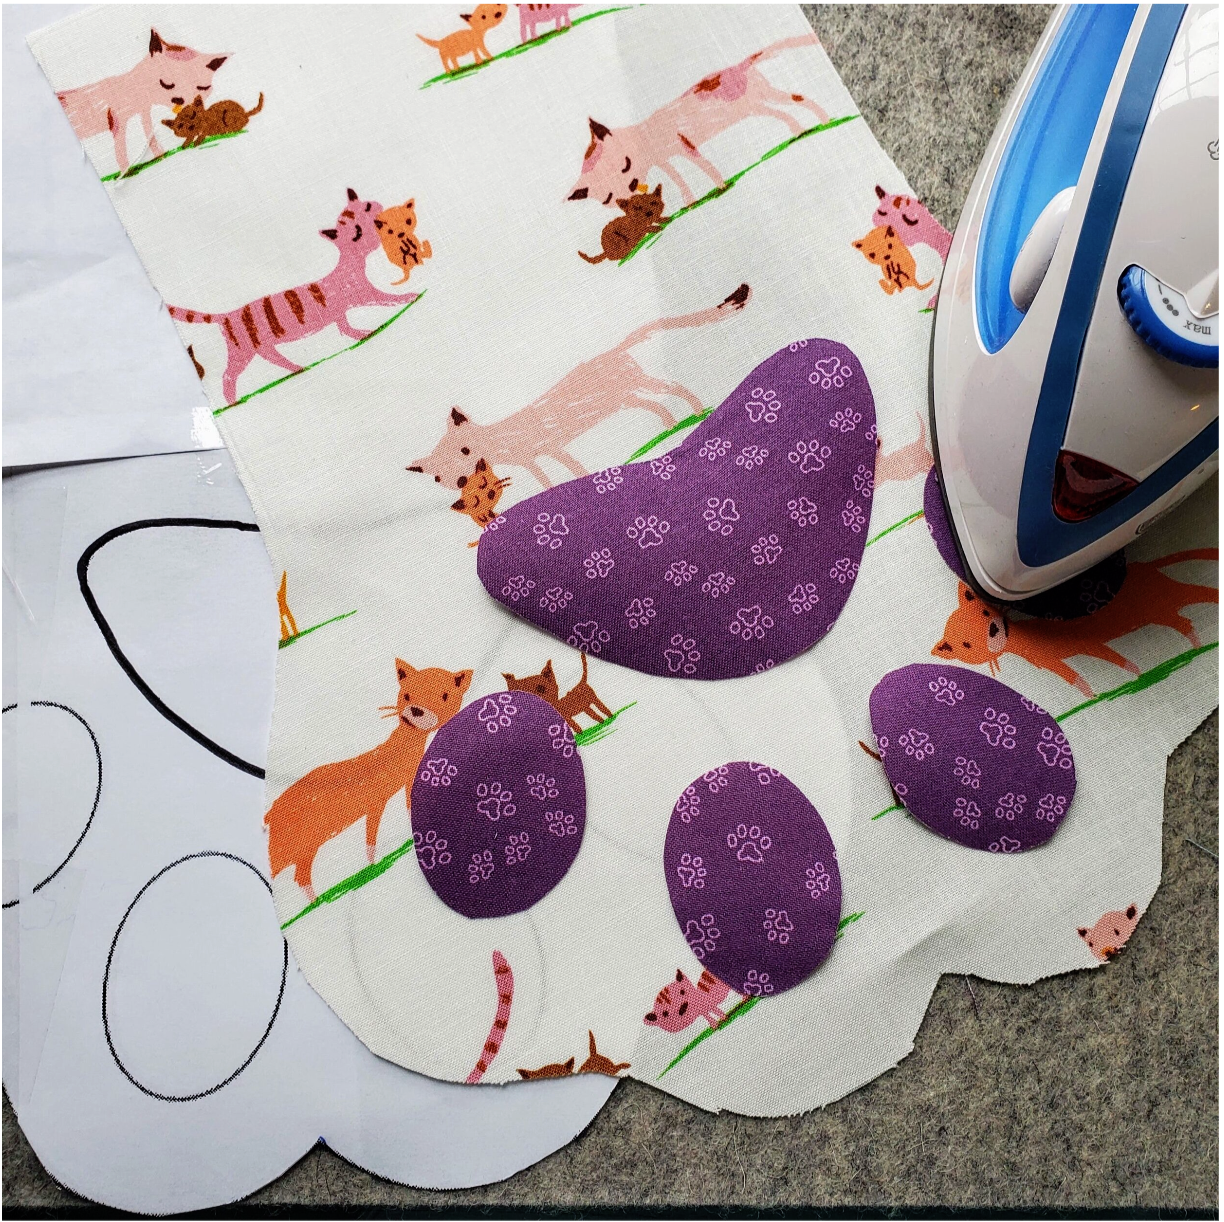
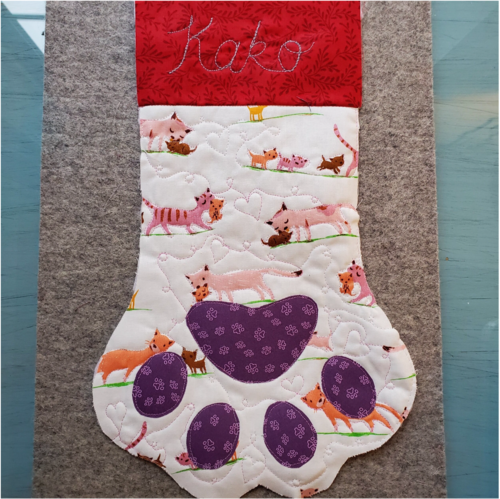
Next press the fusible fleece on the wrong side of the front fabric. If you would like to add a name and some quilting this is the time to do it. I used a Frixon pen to write the name on the top cuff before free motion quilting. The special ink is easily erased using the hot iron. I used a 12 weight thread to ensure the name would show up on the cuff. Practice on a scrap piece to set the tension. Next I added some interest by quilting around the kitty design on the fabric and adding some hearts using the Aurifil 50 wt thread.
Now it is time to sew the outer fabric and the lining together. Along the straight top edge with right sides together sew a ¼” seam joining the lining and outer fabric on both pieces. Then line up the two long pieces matching the paw shapes and pin in place. I used two clips to mark an opening in the lining to turn the pieces right sides out.
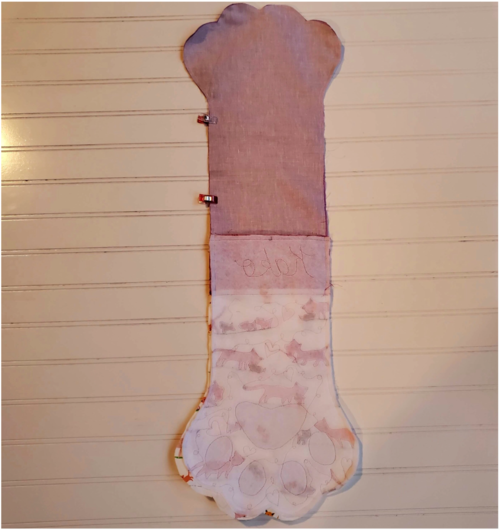

Sew all around using a ¼” seam. Clip close to the stitching between the toes and use pinking shears to trim around the outer curves to help it lay flat. Turn the right sides out and press. Top stitch the lining opening closed and push the fabric inside the stocking. Give it a final press taking care to be sure all the edges are fully pushed out to give it the paw shape. Hot glue or hand stitch a hanger to the top. Kako seems quite pleased with his new stocking!
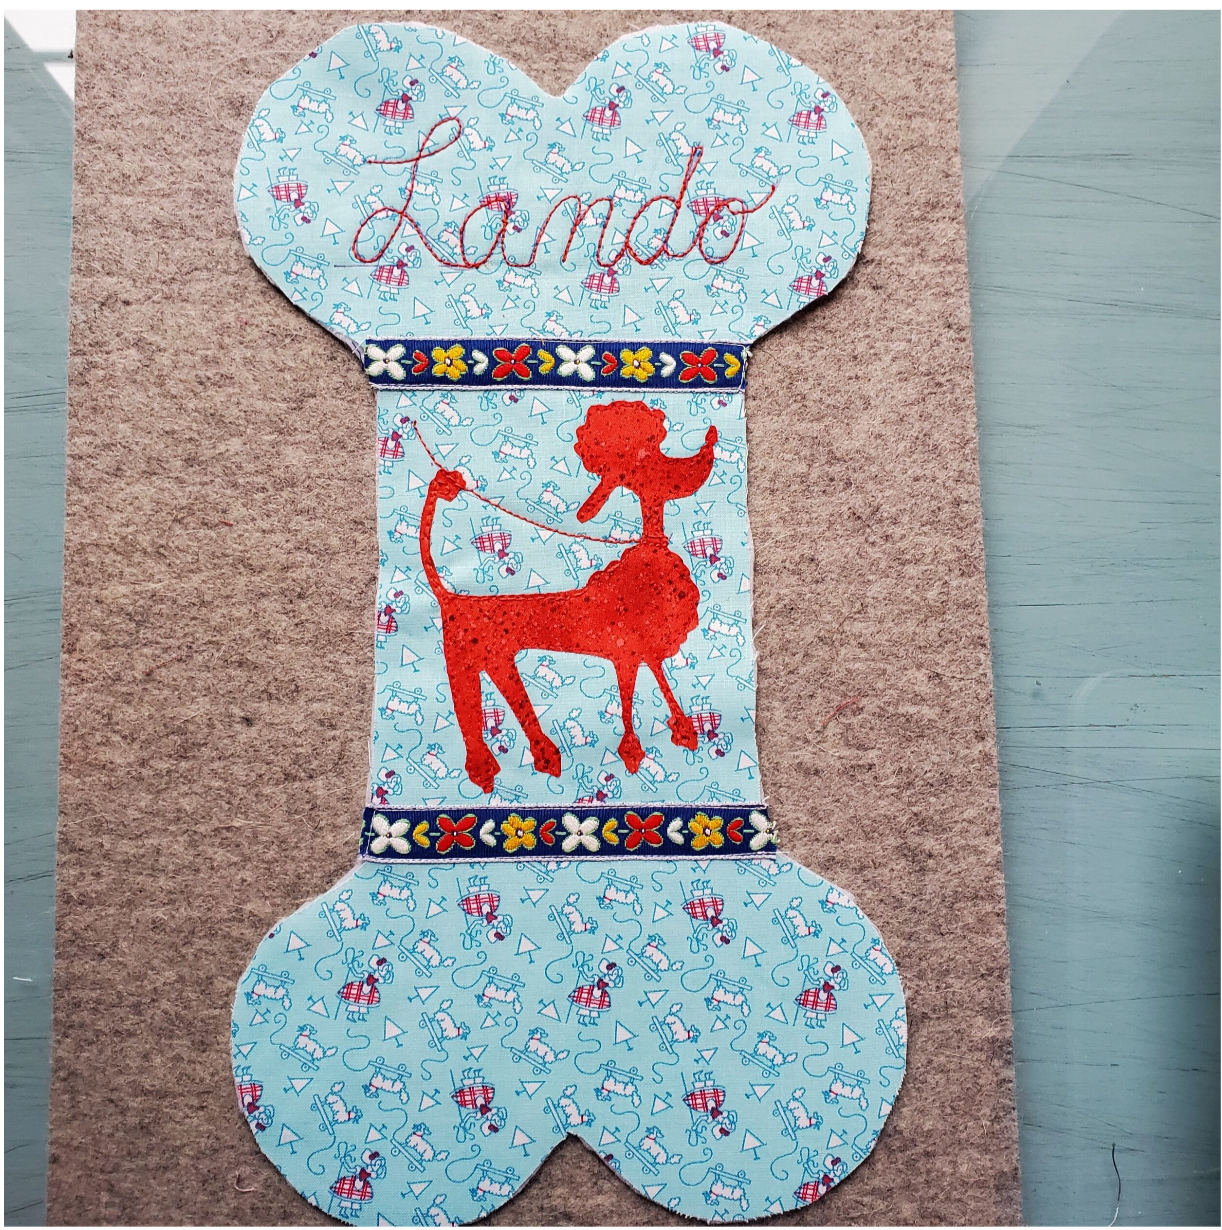
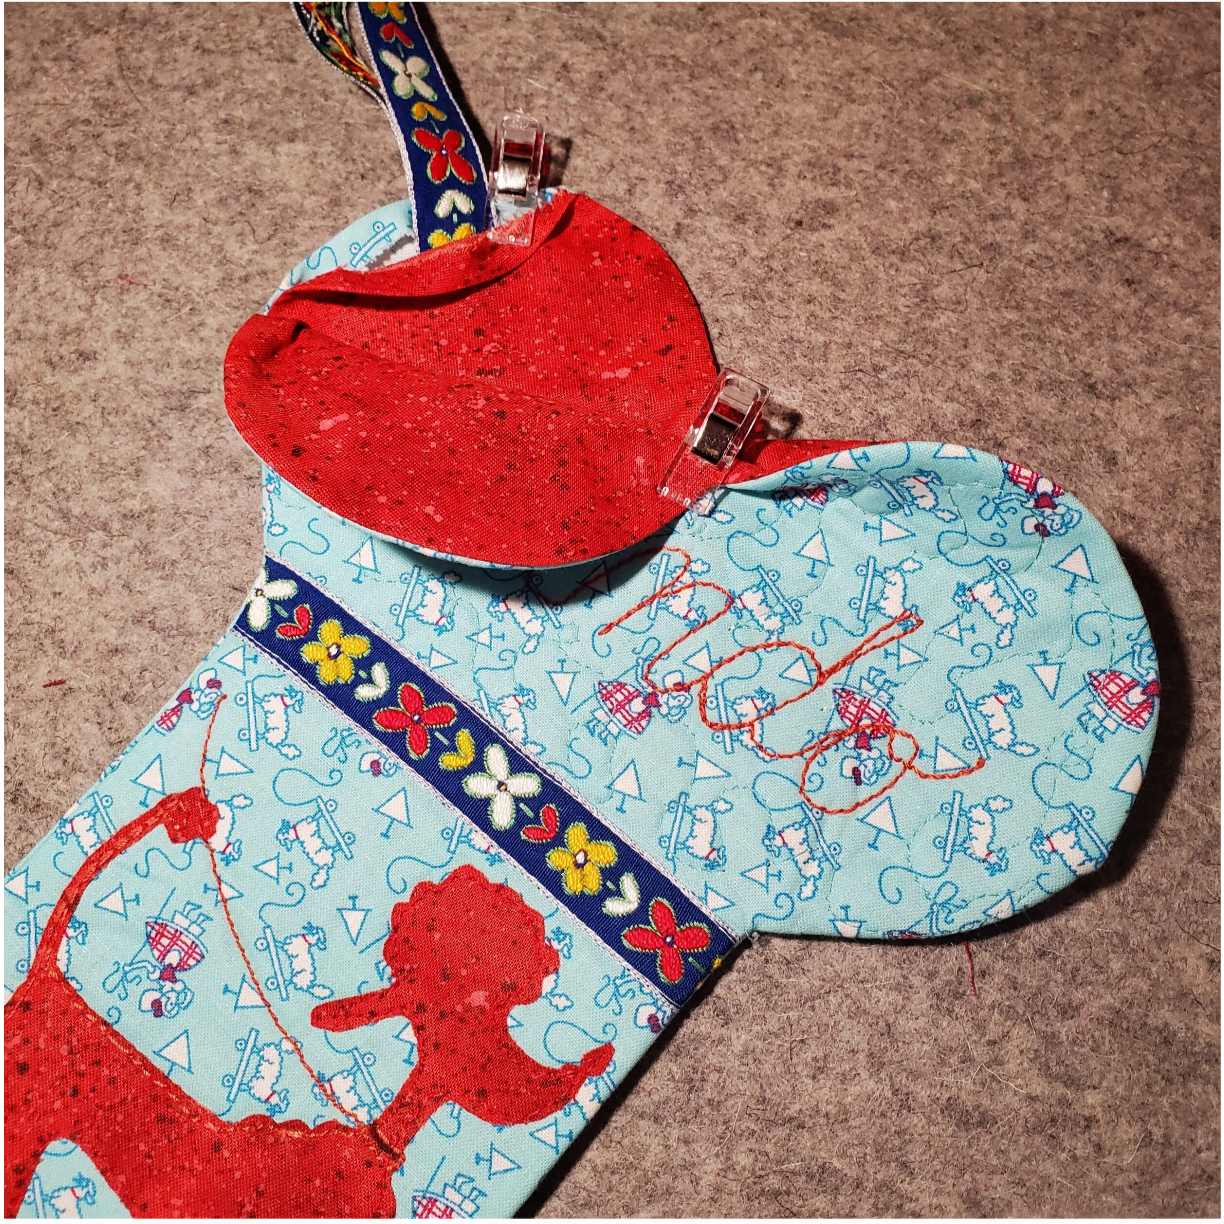
The dog bone stocking was made in a very similar way. The pattern can be adjusted to make any size stocking. I used the same method to add the red poodle design adhering Heat n Bond and free motion quilting to add some interest. I quilted through the top fabric and the fusible fleece only. Topstitch the decorative ribbon in place.
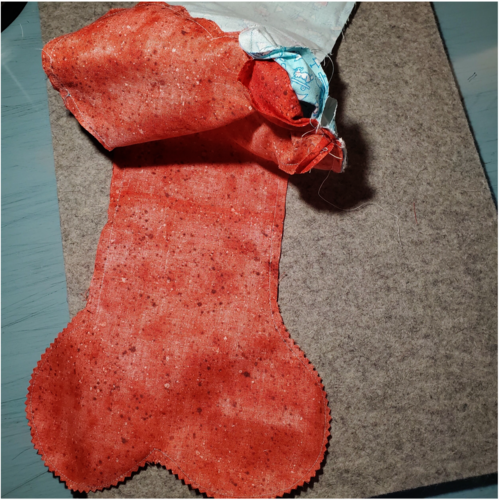
For the dog bone sew the two lining pieces together and the front and back together leaving the top edge open. Then bring the right sides together sewing the lining to the outer front and outer back with ¼” seam. Here is a helpful You tube video showing how to sew this stocking. Leave about a two inch opening to turn the pieces right sides out.
Trim the outer curves with pinking shears and clip to the seams on the inside curves to help it lay flat. Turn right sides out and use a tool to push out all the curves. Press. Using ribbon make a hanger and place it in the opening at the top and top stitch the opening closed.
The final stocking is the perfect fit for the little elves in your life. This pattern is a quick and easy sew! It could double as a fun reusable gift bag for small gifts adding to the fun with its whimsical design.
Cut two pieces of the outer and lining of the stocking and the cuff. I used just one piece of fusible fleece on the front piece. Iron the fusible fleece to the wrong side of the front outer fabric stocking. On the lining pieces I cut the pointed toe portion off to make it fit better when the lining is pushed in place. Sew with right sides together using a ¼” seam clipping the inner curves and pinking shears on the outer curves.

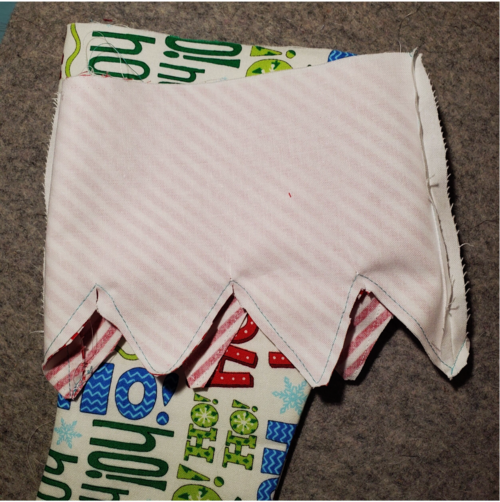
Turn the outer fabric right side out and press. To keep the curved form of the toe you could add a little Poly-fil to the tip of the stocking. Push the lining in place keeping the top edge of the stocking lined up with the outer fabric.
Mark the sewing lines on the cuff and sew ¼” seam with the right sides together. Trim the triangles and clip close to the seam at the point. Turn right sides out and press carefully pushing out the points.
You are almost finished with one final seam to sew. Insert the cuff inside the stocking with right sides together lining up the side seams and pin in place. Sew slowly and carefully through all the layers.
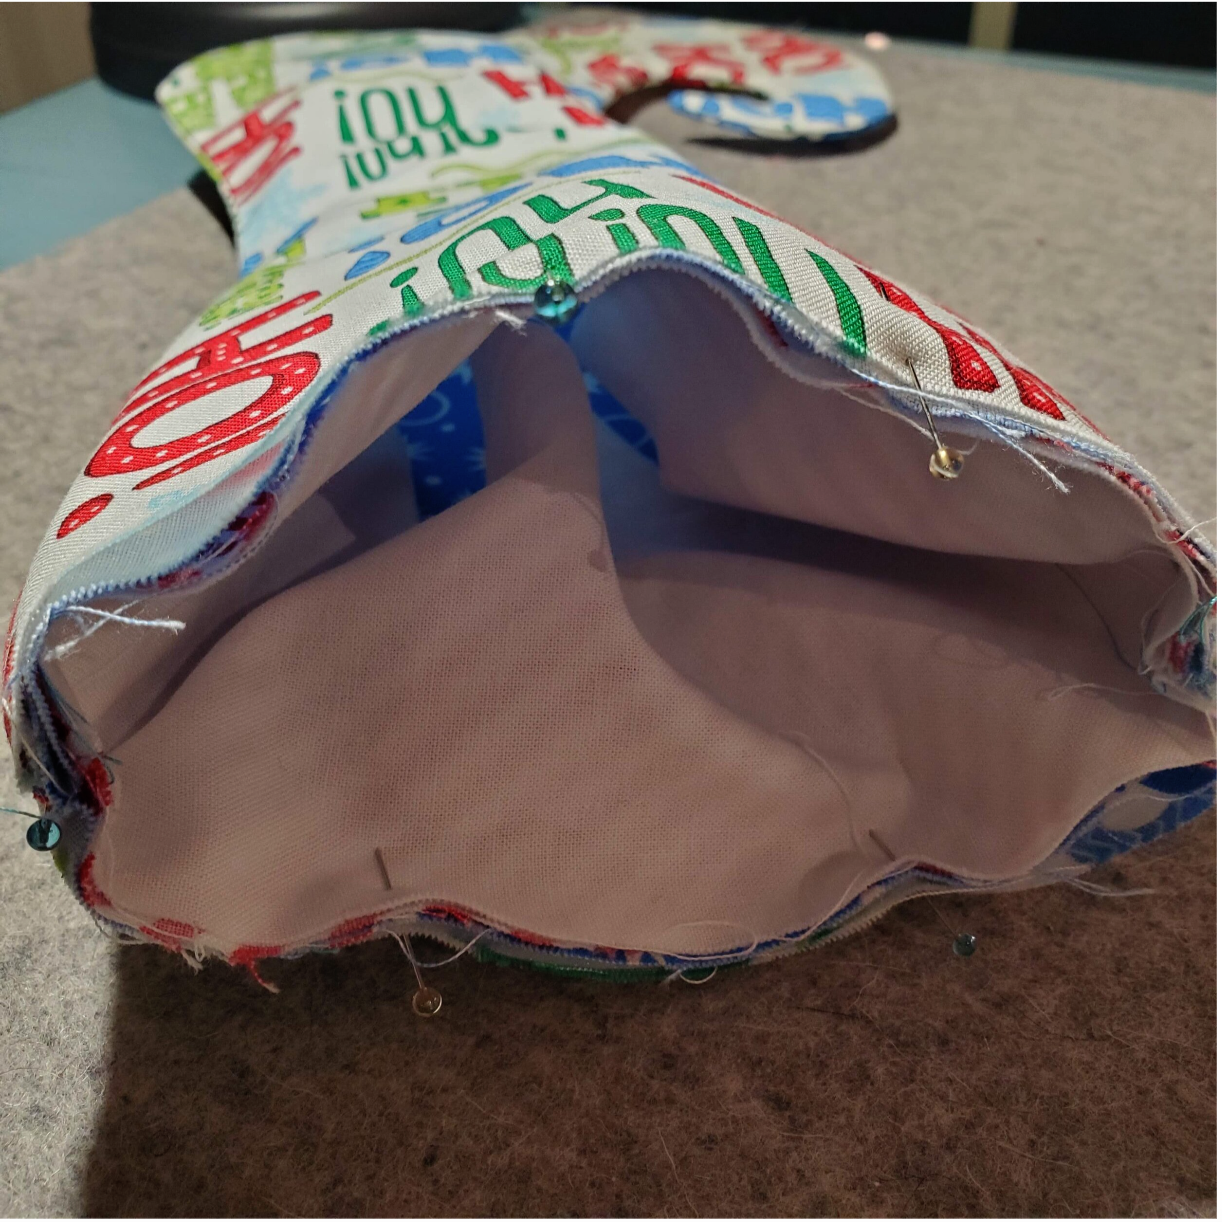
Pull the cuff out and press. Fold the cuff down in place and give it a final press. It is ready for some pom poms and a hanger with the hot glue gun. Time to fill these with some goodies and share some joy this season!
