DIY Wine Tote Bag
31st Dec 2020
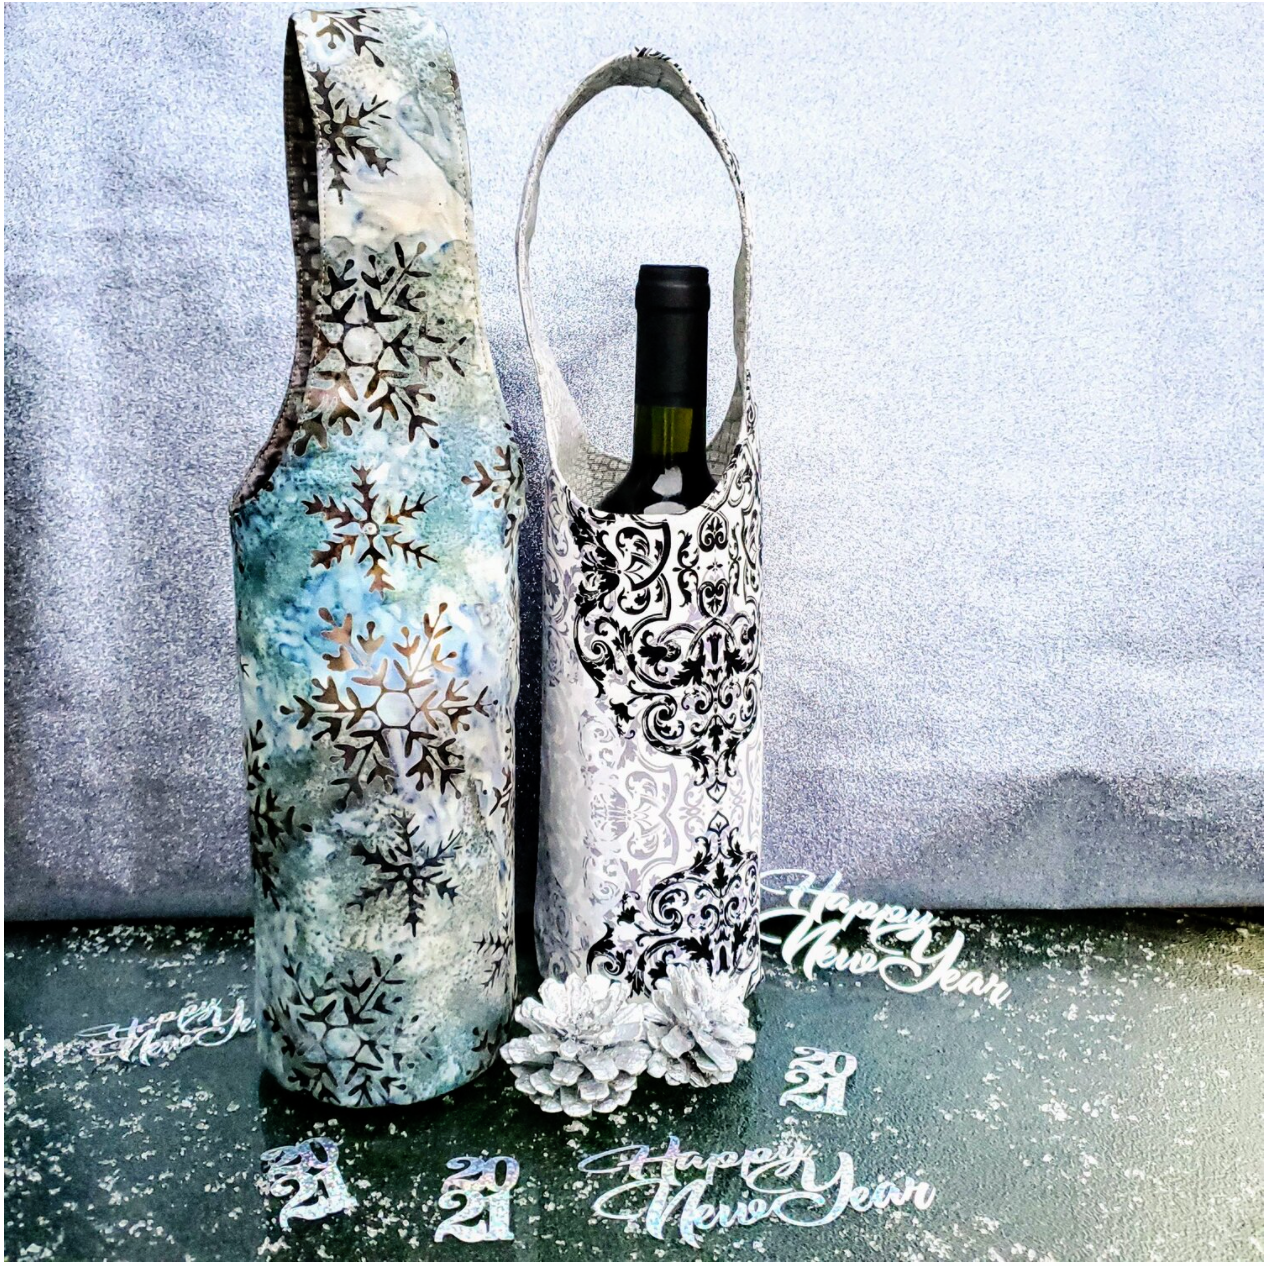
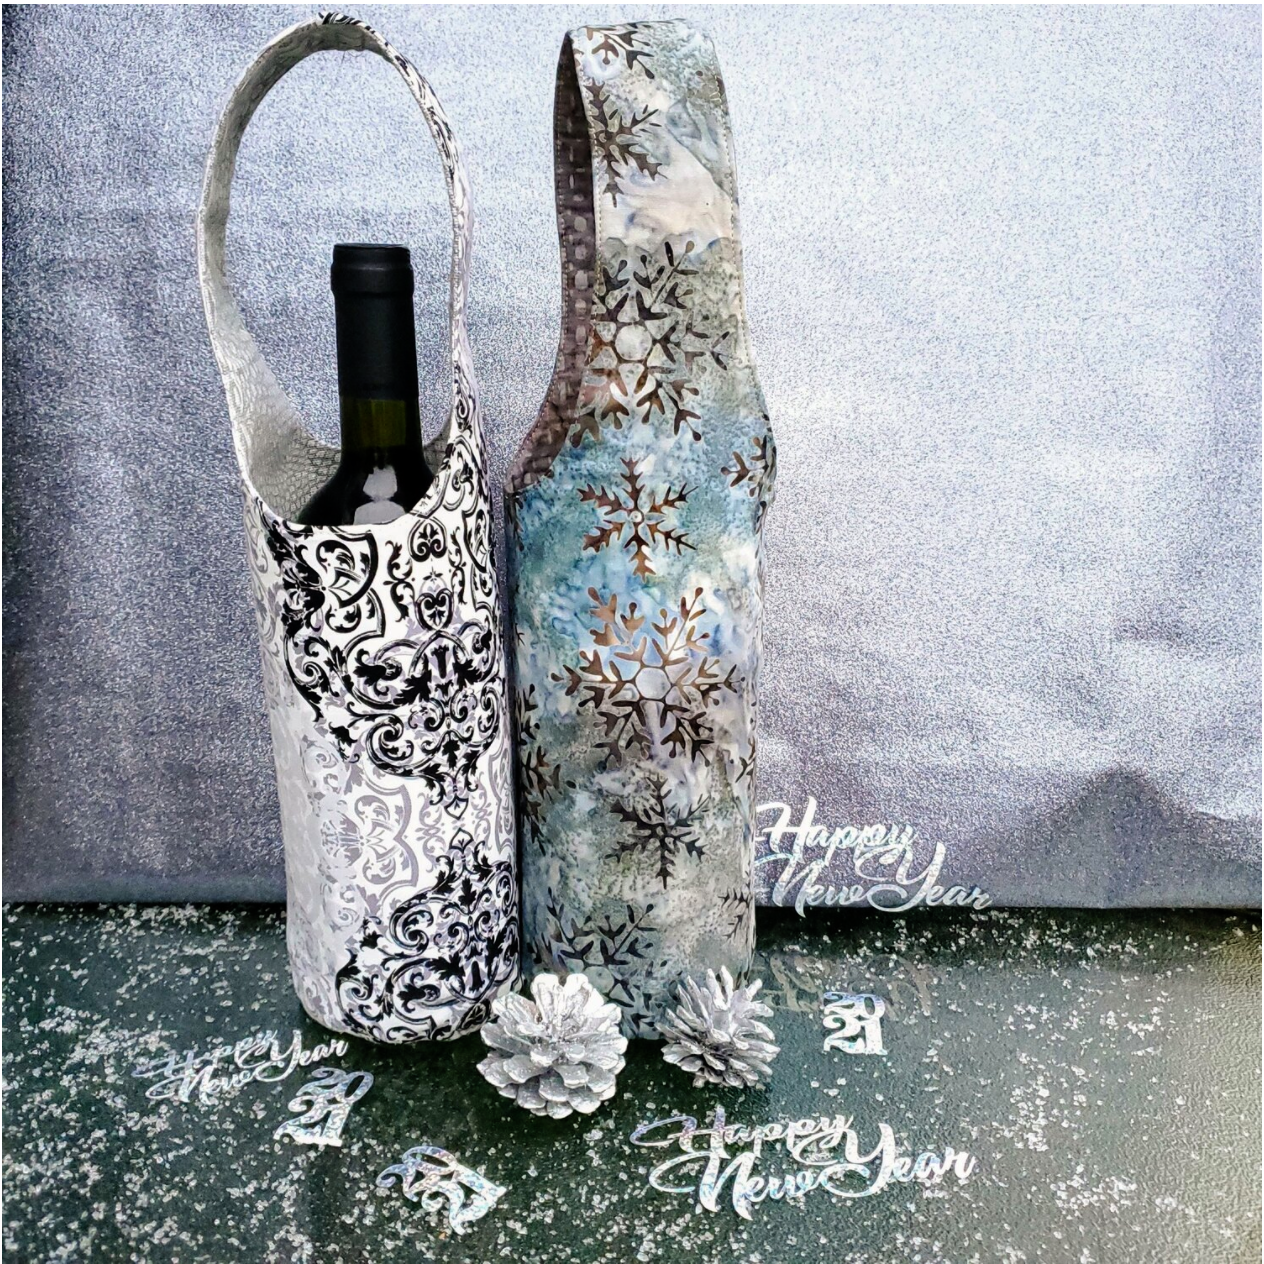
It is finally time to welcome the new year! This wine carrier doubles as a gift bag to share the holiday spirit with a friend. With this quick and easy pattern you can make several at a time in an afternoon to give to family and friends that you may not be able to spend time with this year. This is a wonderful gift to celebrate the New Year!
Materials needed
Two coordinating fat quarters from the Java Batik Subscription
Aurifil thread from a Chroma Subscriptions
Fusible fleece 13”x17” piece
To get started, download and print the pattern pieces. I found it interesting that the pattern was printed in German, maybe I missed the option to print in English. Please note to place the long straight side on the folded fabric.

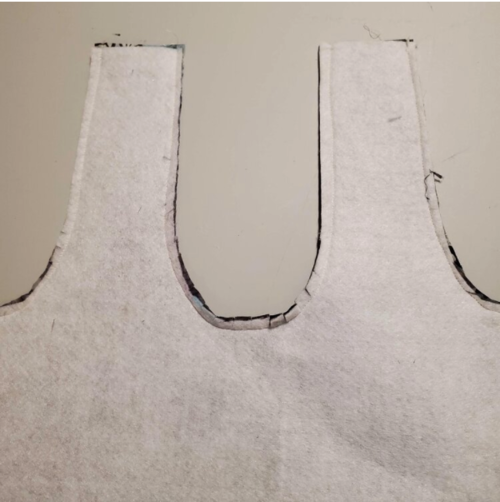
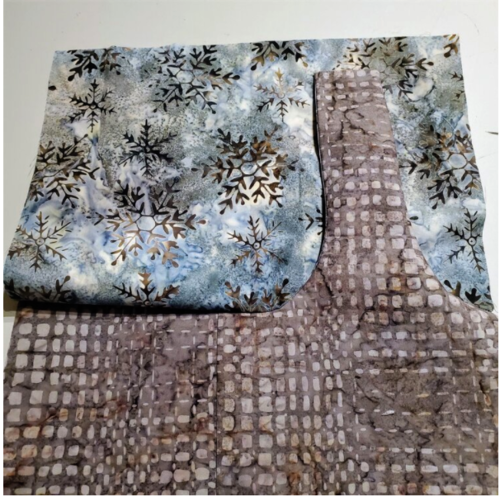
Next trace the shape of the pattern onto the fusible fleece, cut and press onto the wrong side of the lining fabric. Cut the lining fabric around the shape of the fusible fleece. Place the right sides together of the outer piece and the lining sewing the top curved sides of the handle. Clip the curves to help it lay flat.
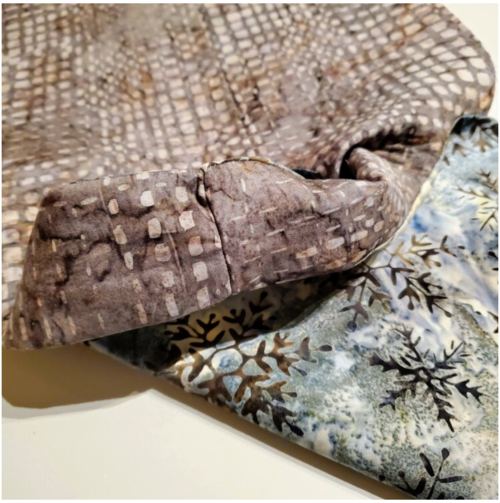
Take one of the handles and turn it right side out and press.
This piece will get pushed inside the other handle piece so that right sides are together and the top edge and seams are aligned. Make sure the lining piece is touching the lining and the two outer pieces are touching to keep it from twisting. Clip or pin into place to secure for sewing. Sew around the opening with a ¼” seam.
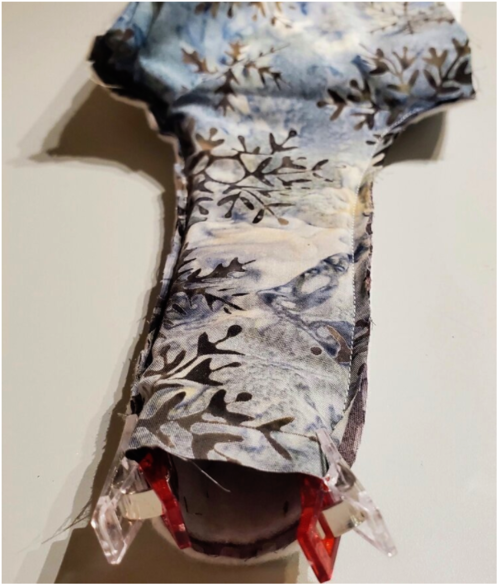
This can be tricky to get the foot inside the circle and slowly sew around keeping the edges aligned as you go.

Now pull the right side out and press the handle into shape. Be sure to press so the outer fabric and the lining meet in the middle forming a crisp edge for top stitching.
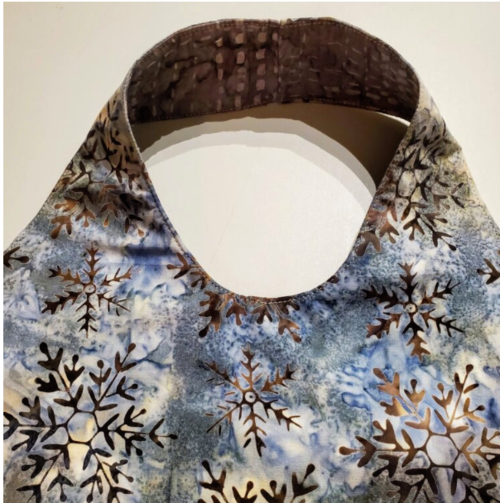
Add top stitching to the curved edges of the tote. I increase the stitch length to 3 and carefully sew ⅛’ from the edge.
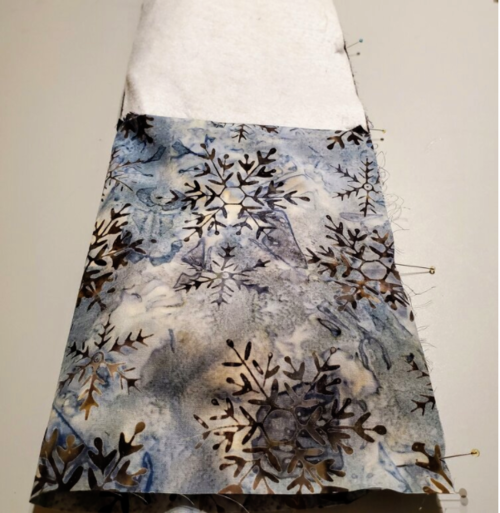
Now lay the pieces extended out with the right sides together to sew the long straight ¼” seam. Pin in place matching the seams.
Turn the right side out and press. Align the bottom edges together and stay stitch with a long stitch length around the bottom circle about ⅛” from the edge. Stand the tote up on the circle bottom pattern piece and see how the two circles match. I found that I needed to add about ¼” to the circle to allow for a seam.
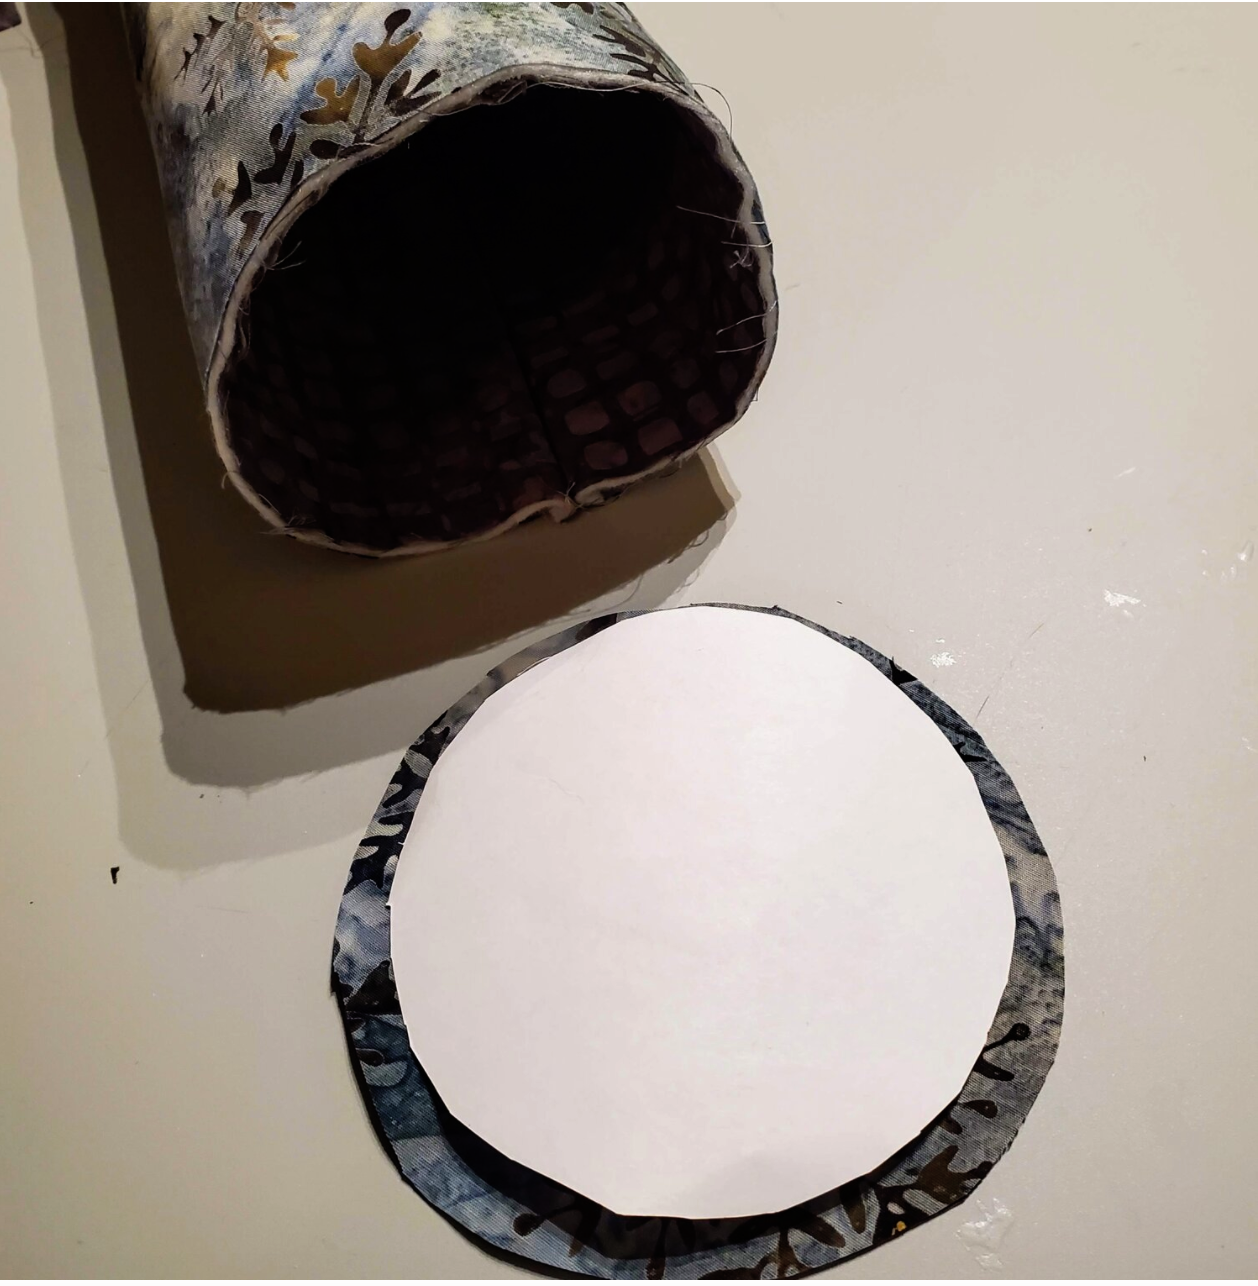
Cut one circle for the outer and lining fabric. Stay stitch the two pieces of fabric together around the outer edge. Press in half and half again for the circle and the tote bag to help with aligning the circles. Pin in place at the crease marks with the right sides together.
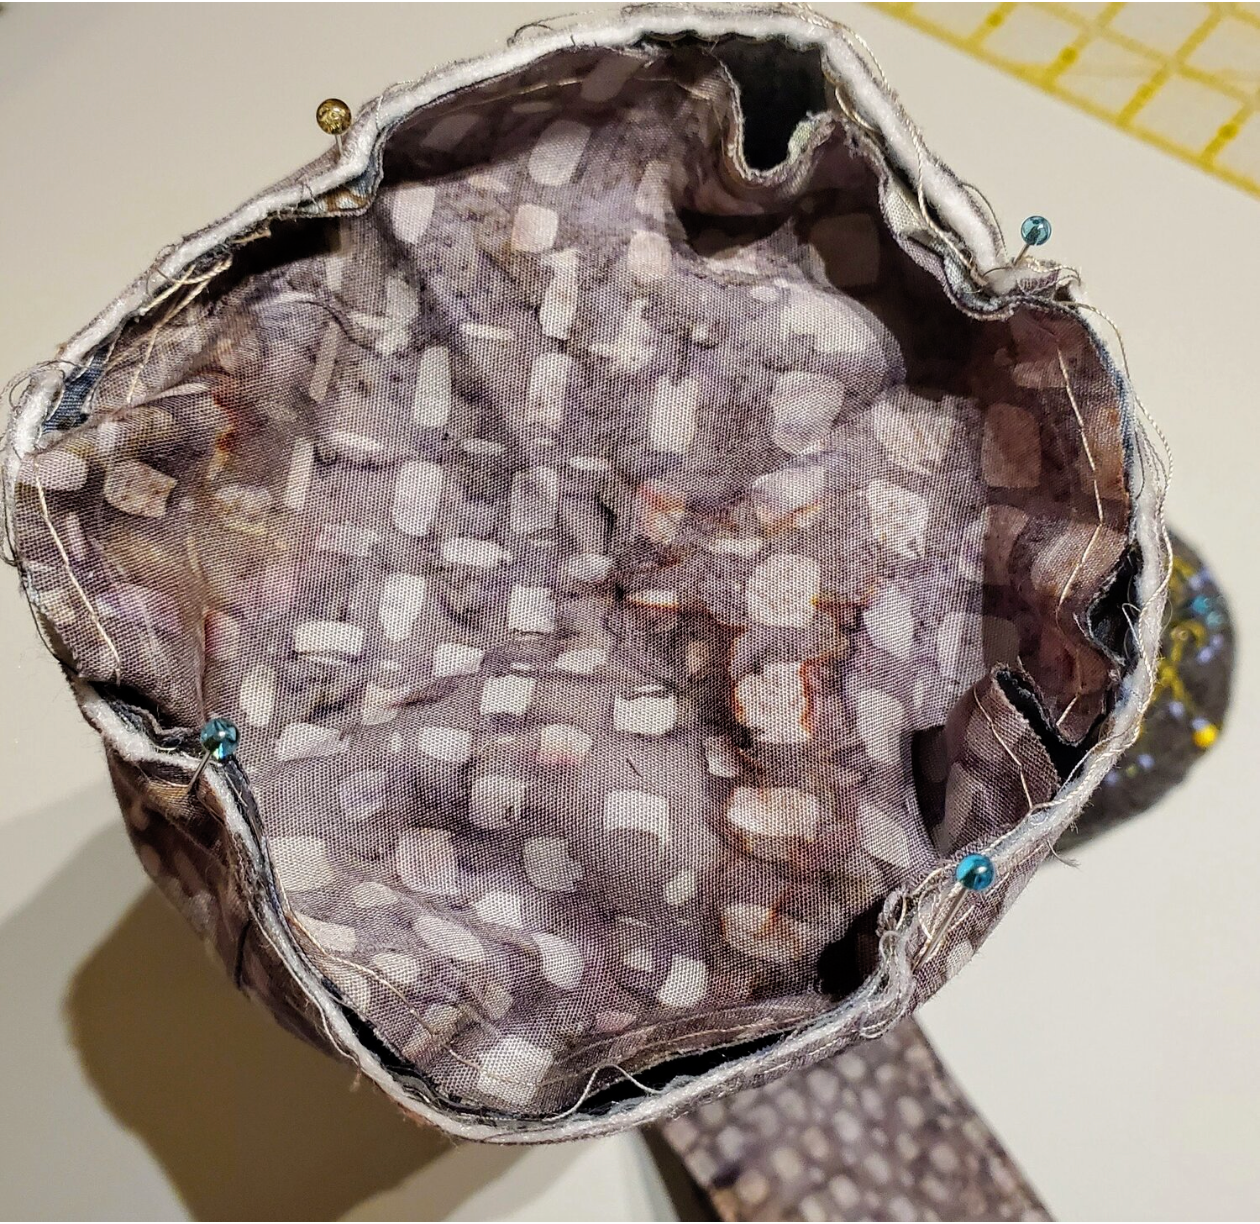
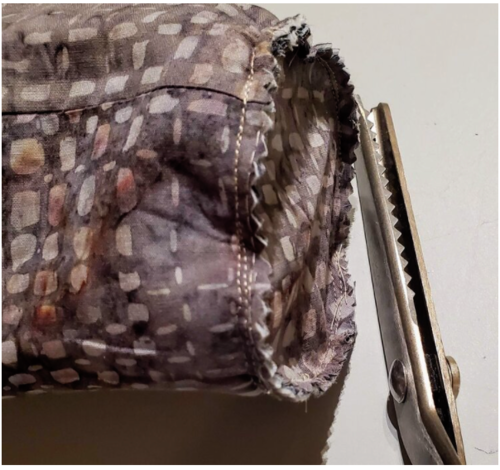
You may need to add additional pins to ease the fabric in place. Sew a ¼” seam carefully around the bottom edge. I did a second seam around the bottom to give some extra strength. Trim with pinking shears to help it lay nicely and keep it from fraying.
Turn right side out and you are finished! Just add your favorite bottle of wine and it will be the perfect New Year’s hostess gift.