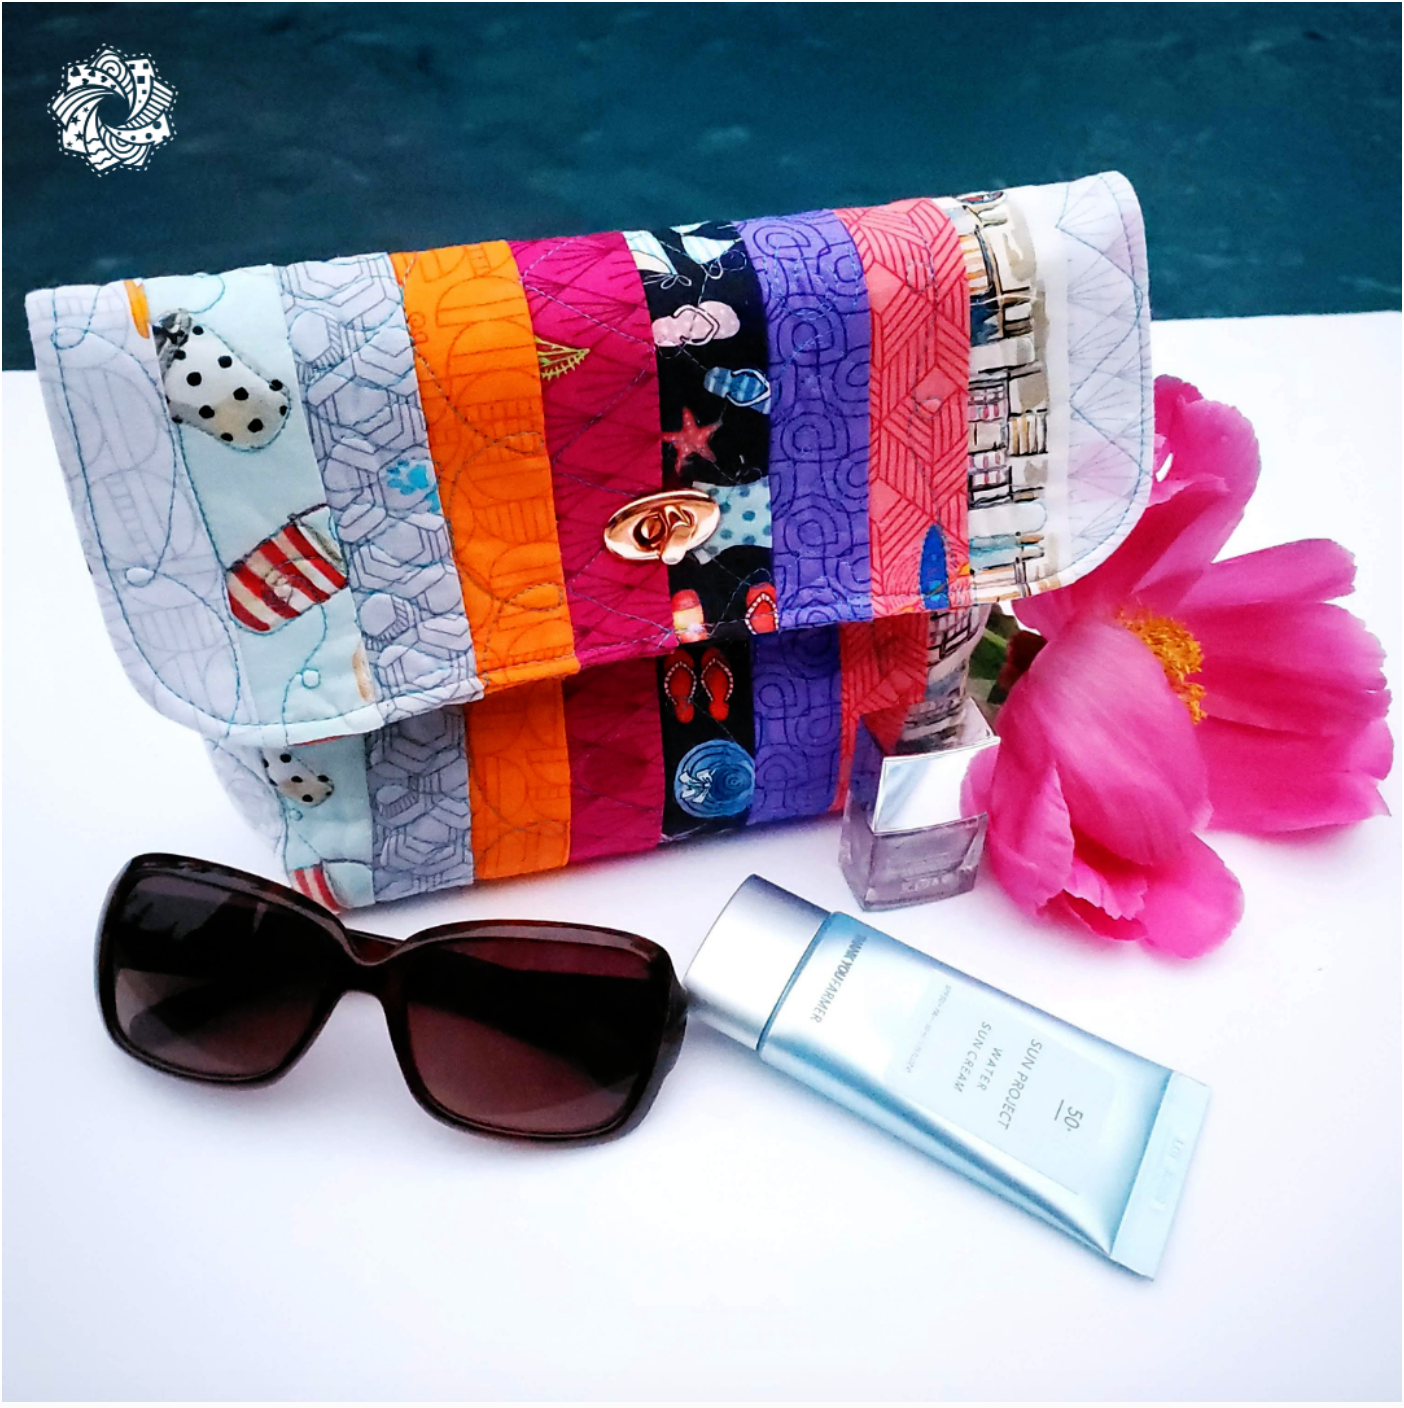
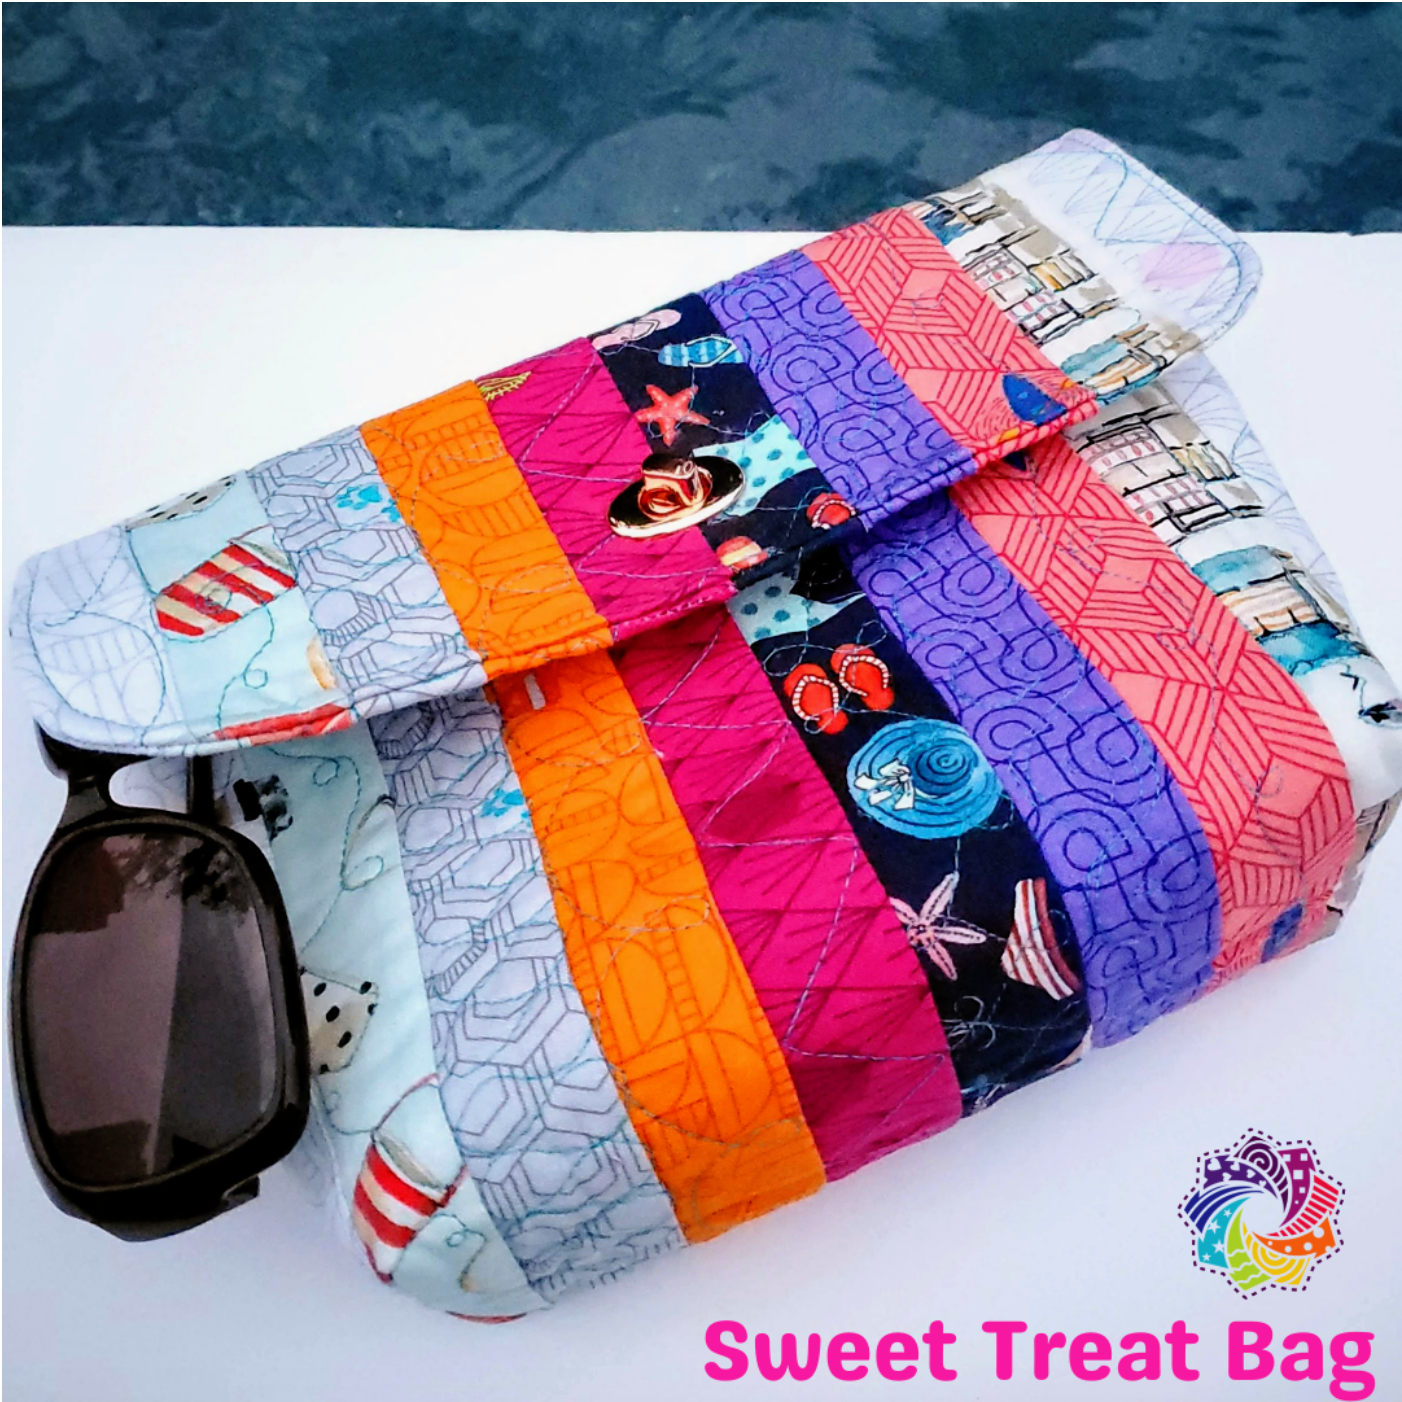
Sweet Treat Bag
20th May 2021
Many quilters have leftover strips of fabric from our stash just waiting for the ideal project to use up narrow pieces of fabric. Here is the perfect little bag to stitch up from an assortment of scraps. You can use small strips since the pattern calls for 1 ½” wide WOF pieces. These bright and colorful summer fabrics are featured in our May Classic membership box. I found this free Sweet Treat Bag pattern on Moda Fabrics. They offer inspiration and resources that are easy to sew with beautiful results.
Materials needed:
-
10 width of fabric strips 1 ½” wide
-
Fusible fleece piece approximately 11” x 42”
-
Coordinating Aurifil thread from the Chroma membership
-
Button or purse latch hardware
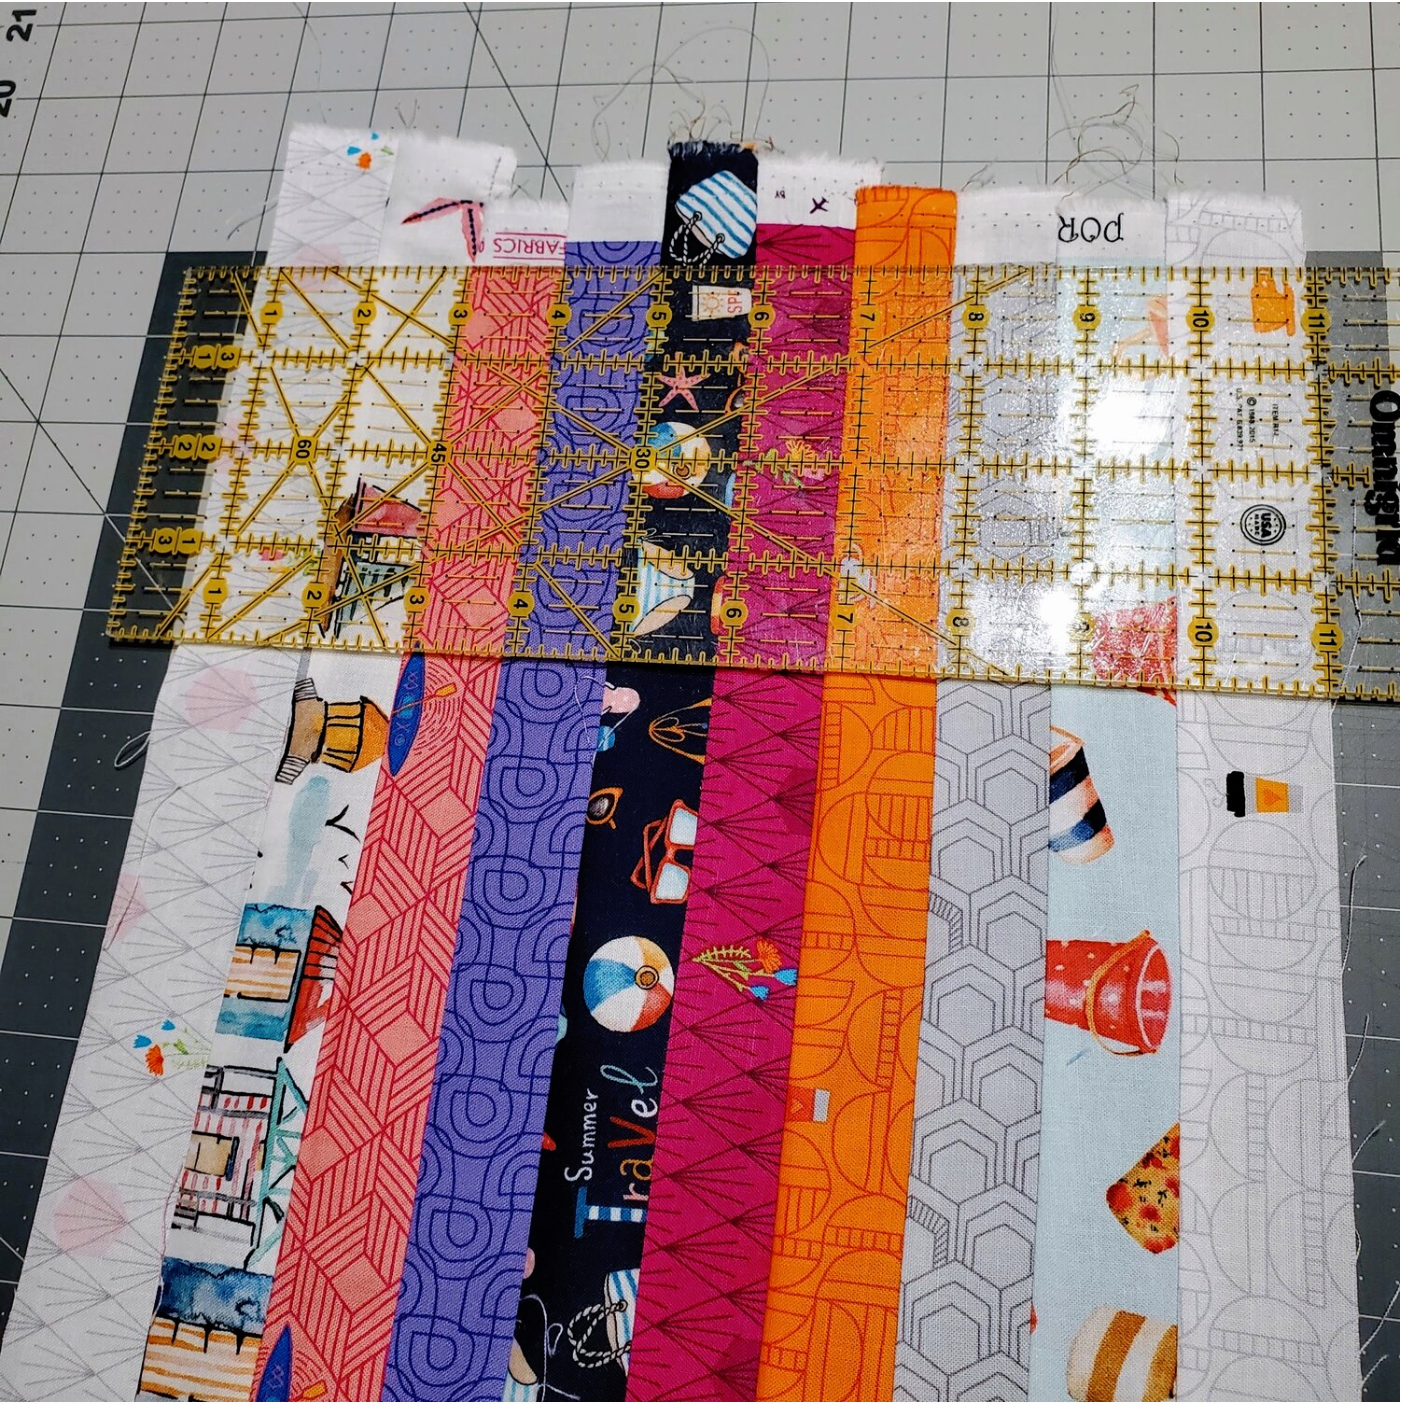
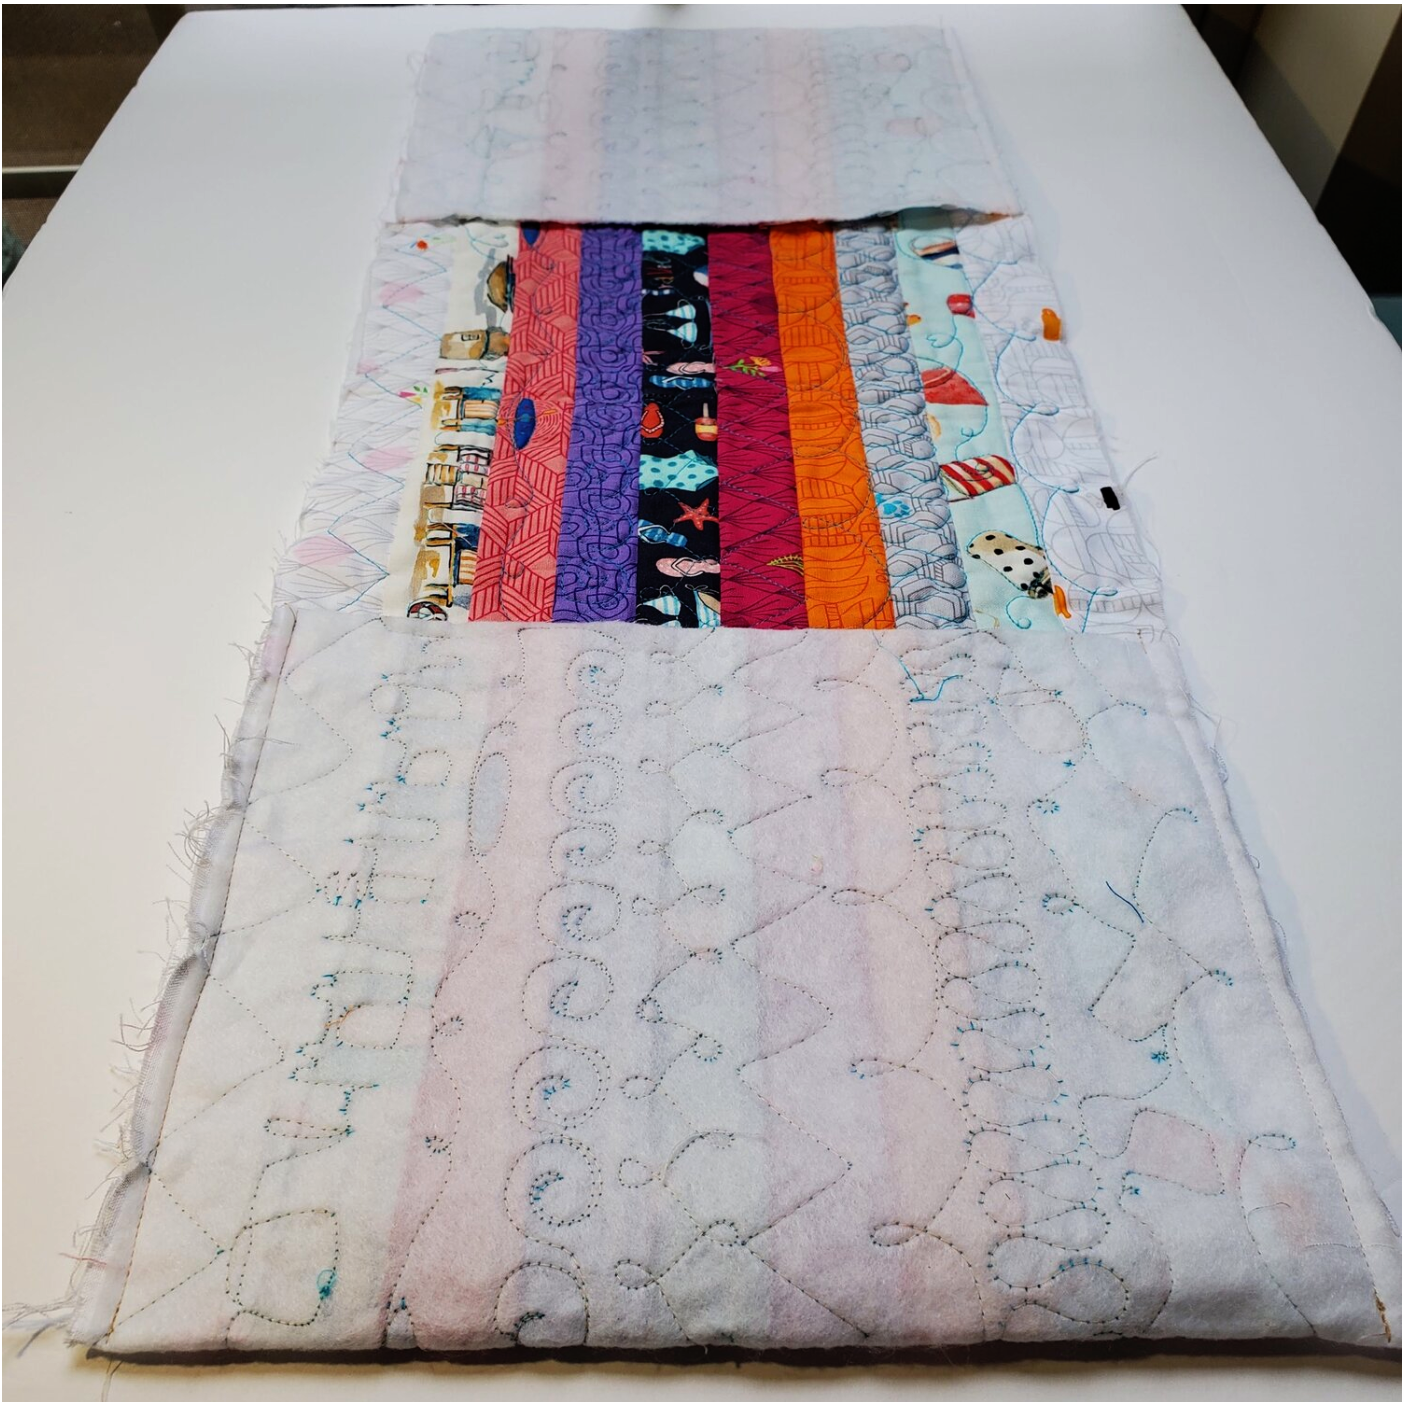
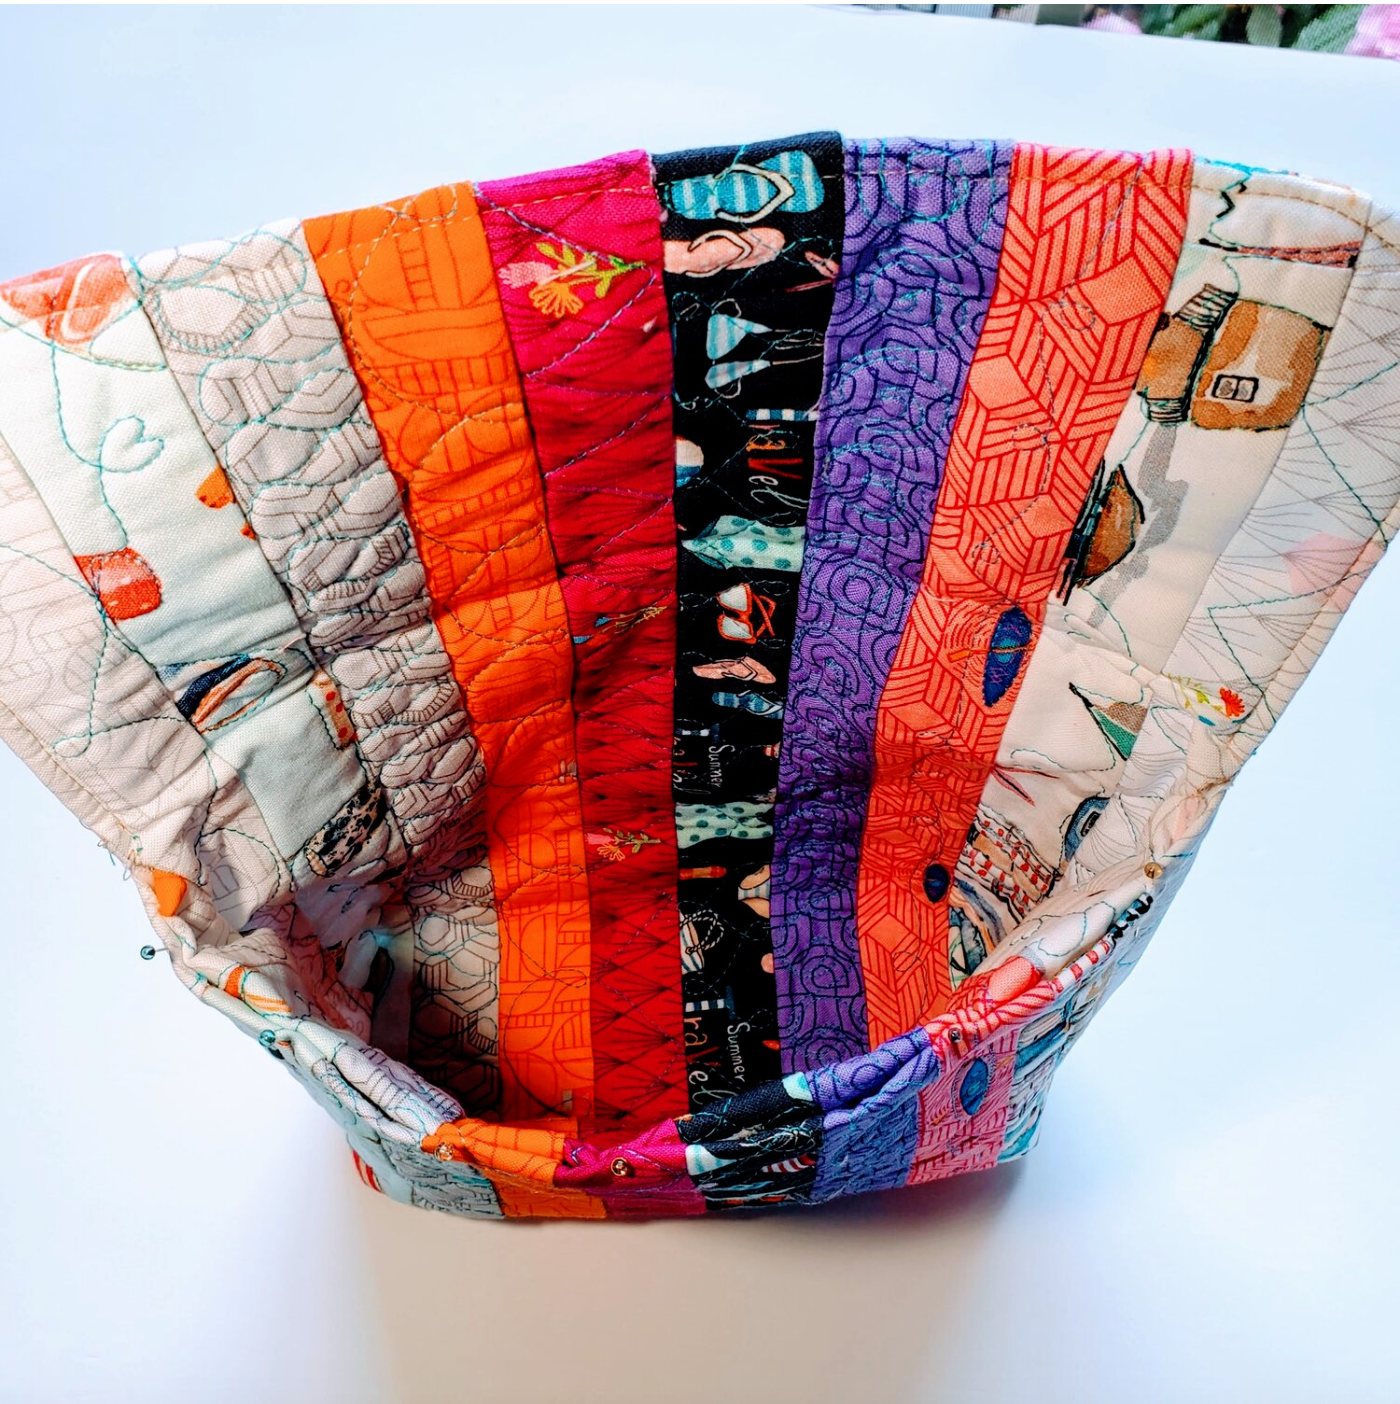
To get started, decide the order of the fabric strips for your finished bag. I laid out the pieces on a neutral background and took some pictures to audition the different layouts. I used the grayscale filter to determine the value of the fabrics and placed the darker in the middle fading to lighter on the edges. Since I used up shorter scraps I had to seam the strips in the middle. This worked out fine because the flap edge is the exact center with one side showing on the outside and the other half is the interior lining of the bag. Knowing this could double the fun by using 20 different 1 ½” x 22” fat quarter strips of fabric to make the bag different on the inside.
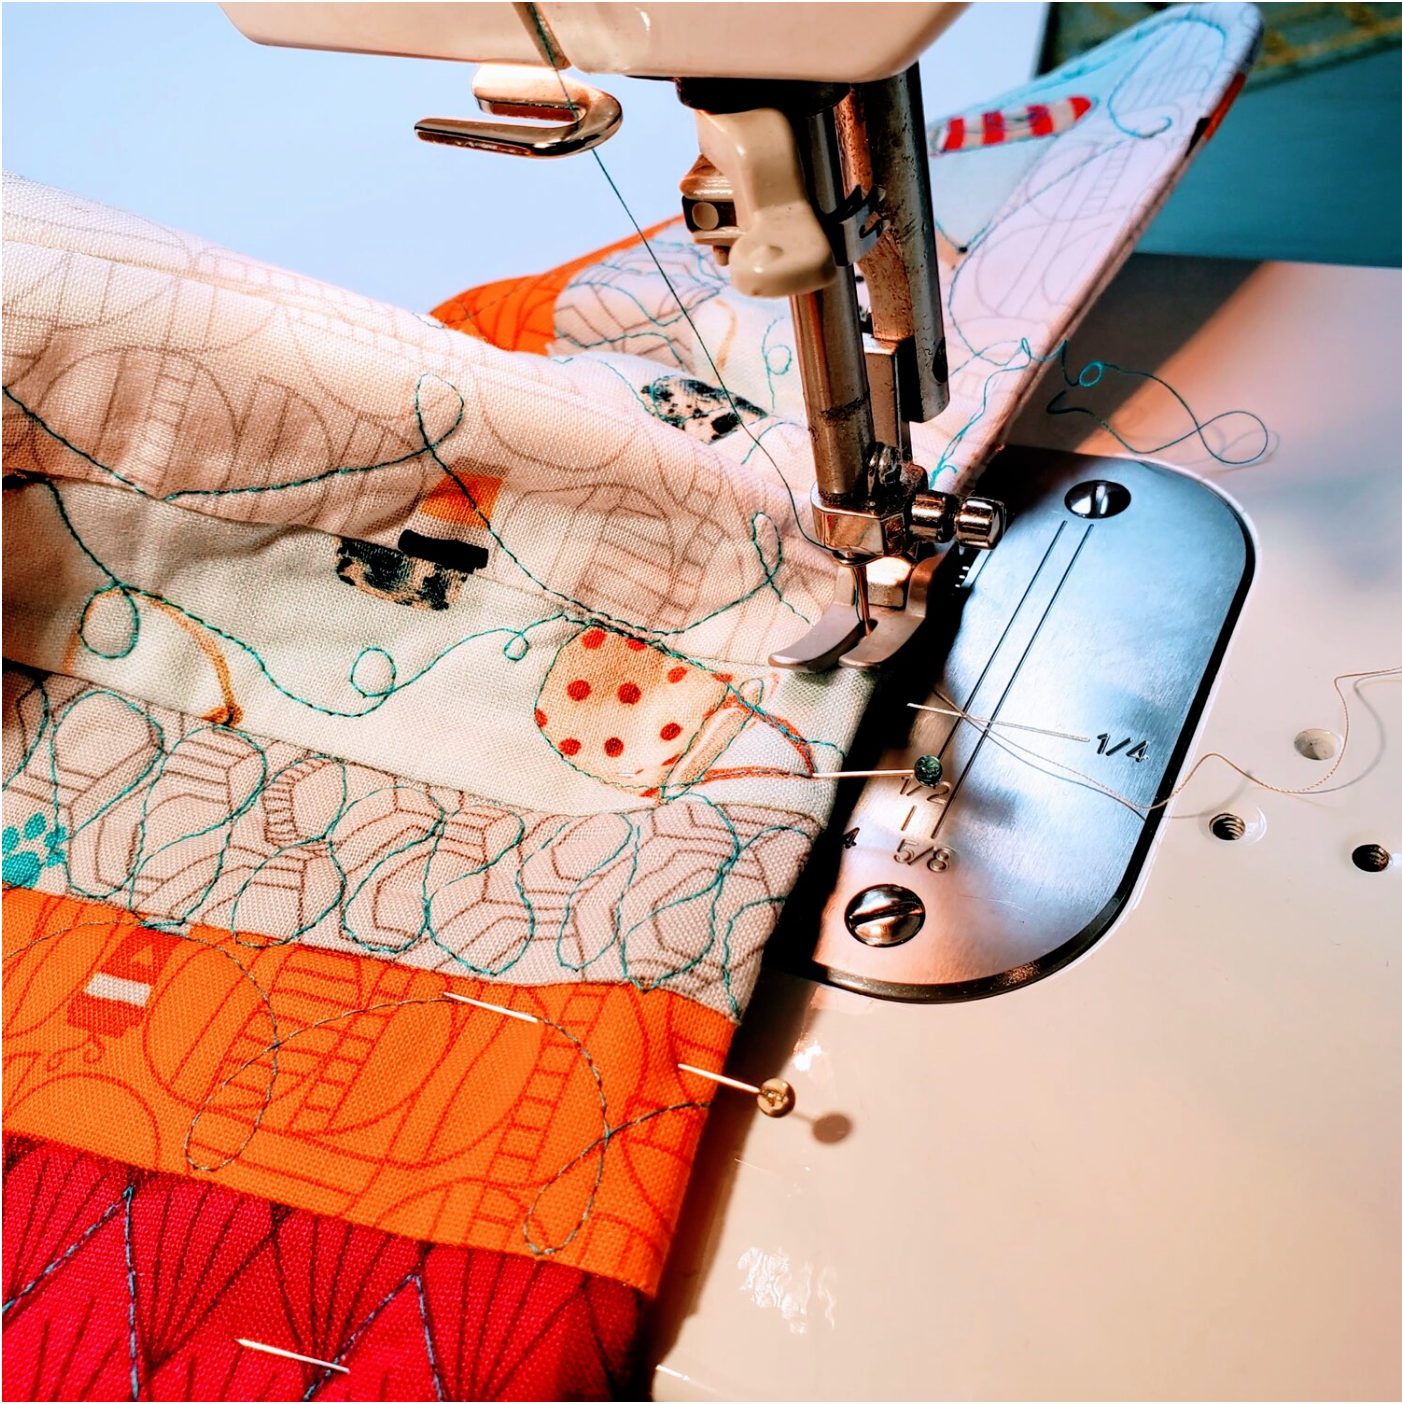
Once you decide on the order of fabrics, start by sewing the strips together in pairs, then sewing the pairs together till you have all ten sewn in order. All seams will be ¼” seams for the project. Press all seams in the same direction. Trim off the selvage edges.
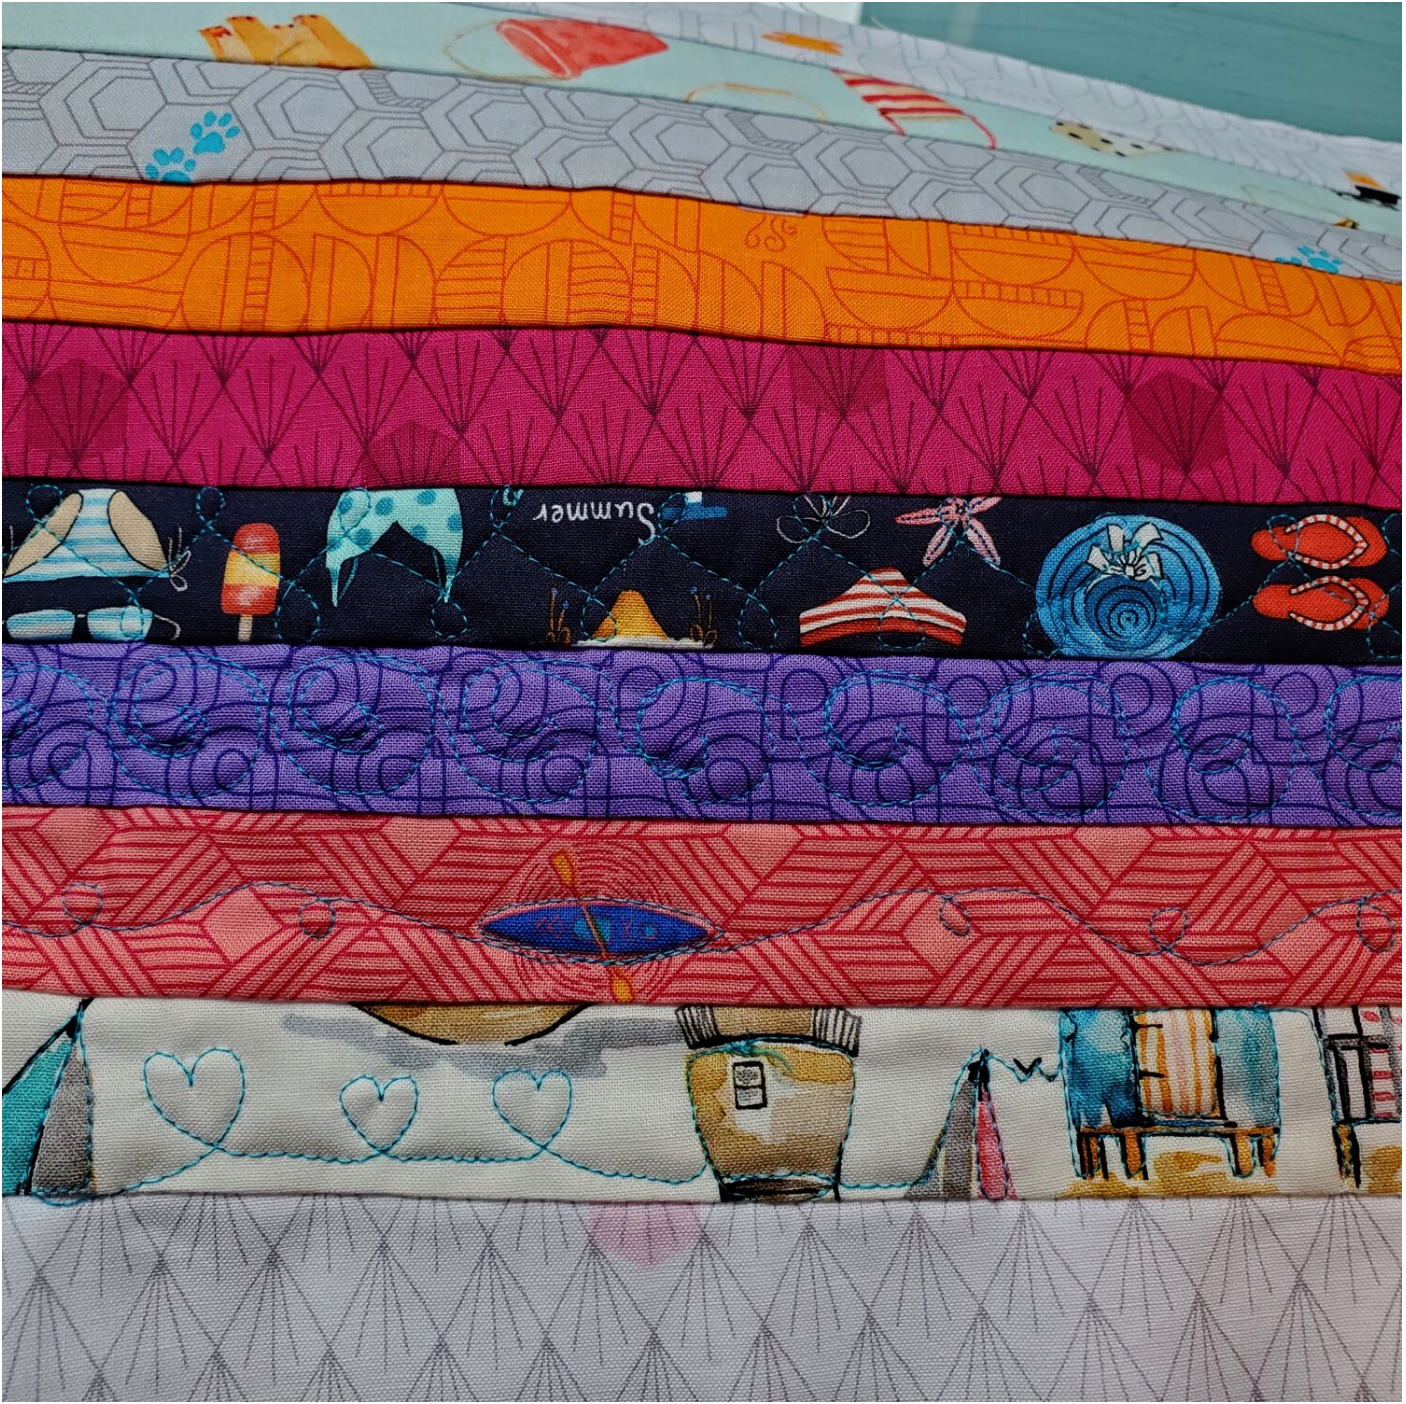
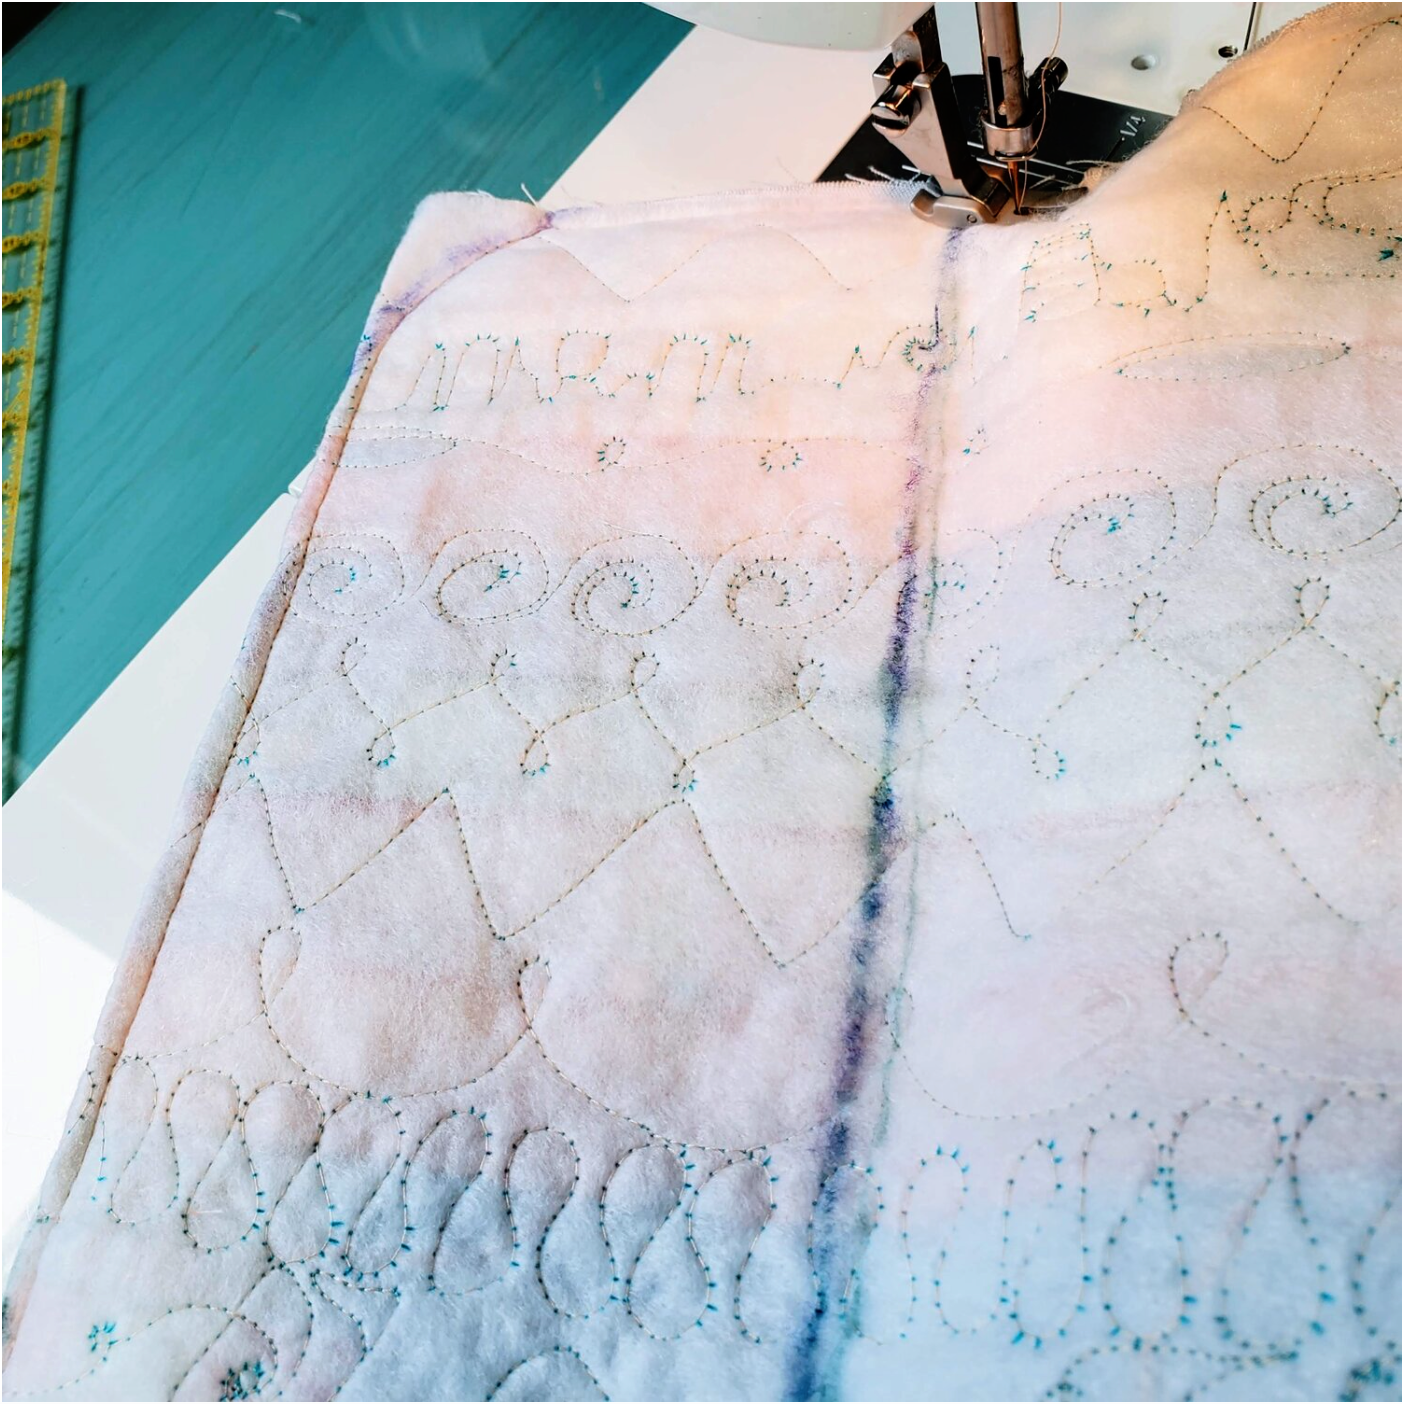
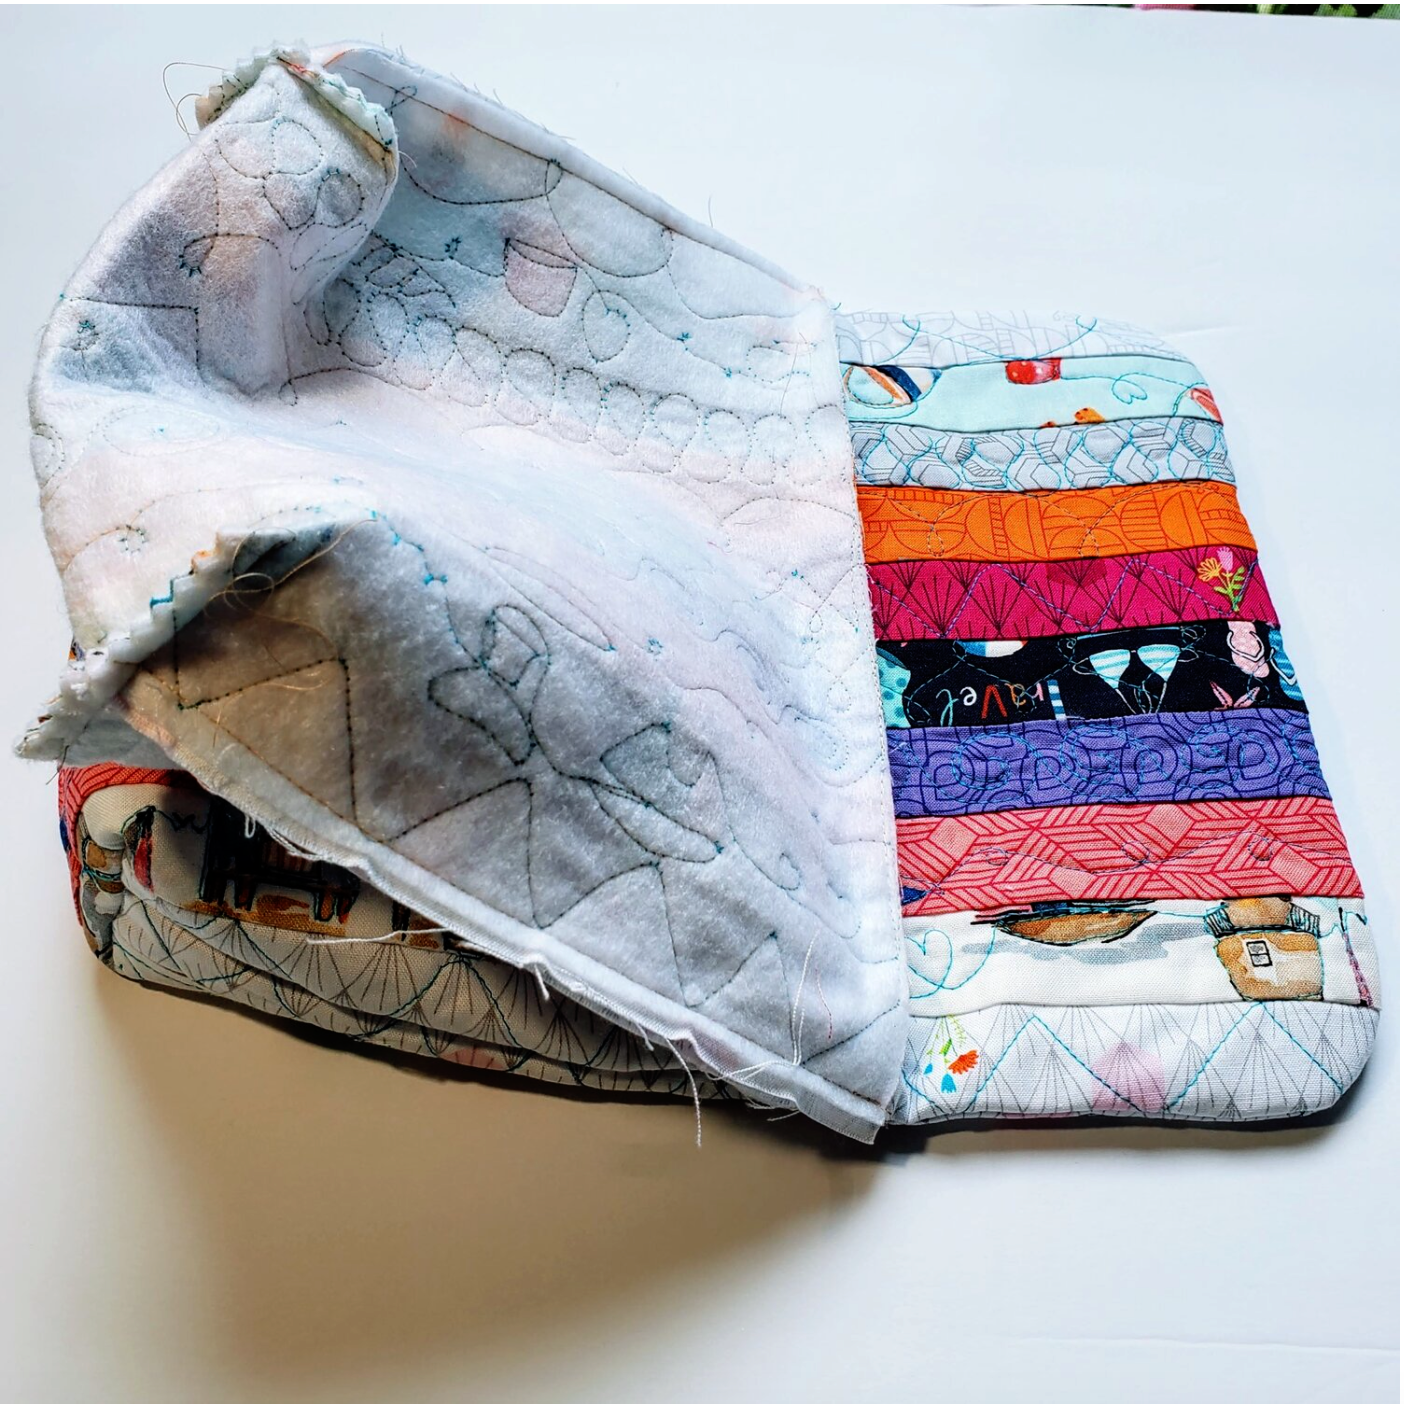
Now it is time to fuse the fusible fleece with the iron to the wrong side of the fabric that will measure approximately 10 ½” x 42 ½”. Fold the rectangle in half to mark the center line on the fleece side and mark with a fabric pen. Measure 4 ¼” on each side of the center line and mark with a fabric pen. At this point you have the option to add quilting to the bag. I used a different design on each strip to add interest and texture. You can see in the picture the look of quilting next to the plain fabric. This small project is a great way to practice your free motion quilting skills.
With the fabric side facing up, fold the ends to the center matching the 4 ½” lines on each side. Pin in place, and sew the sides starting at the fold and stop at the marked 4 ½” line. Back stitch at each seam.
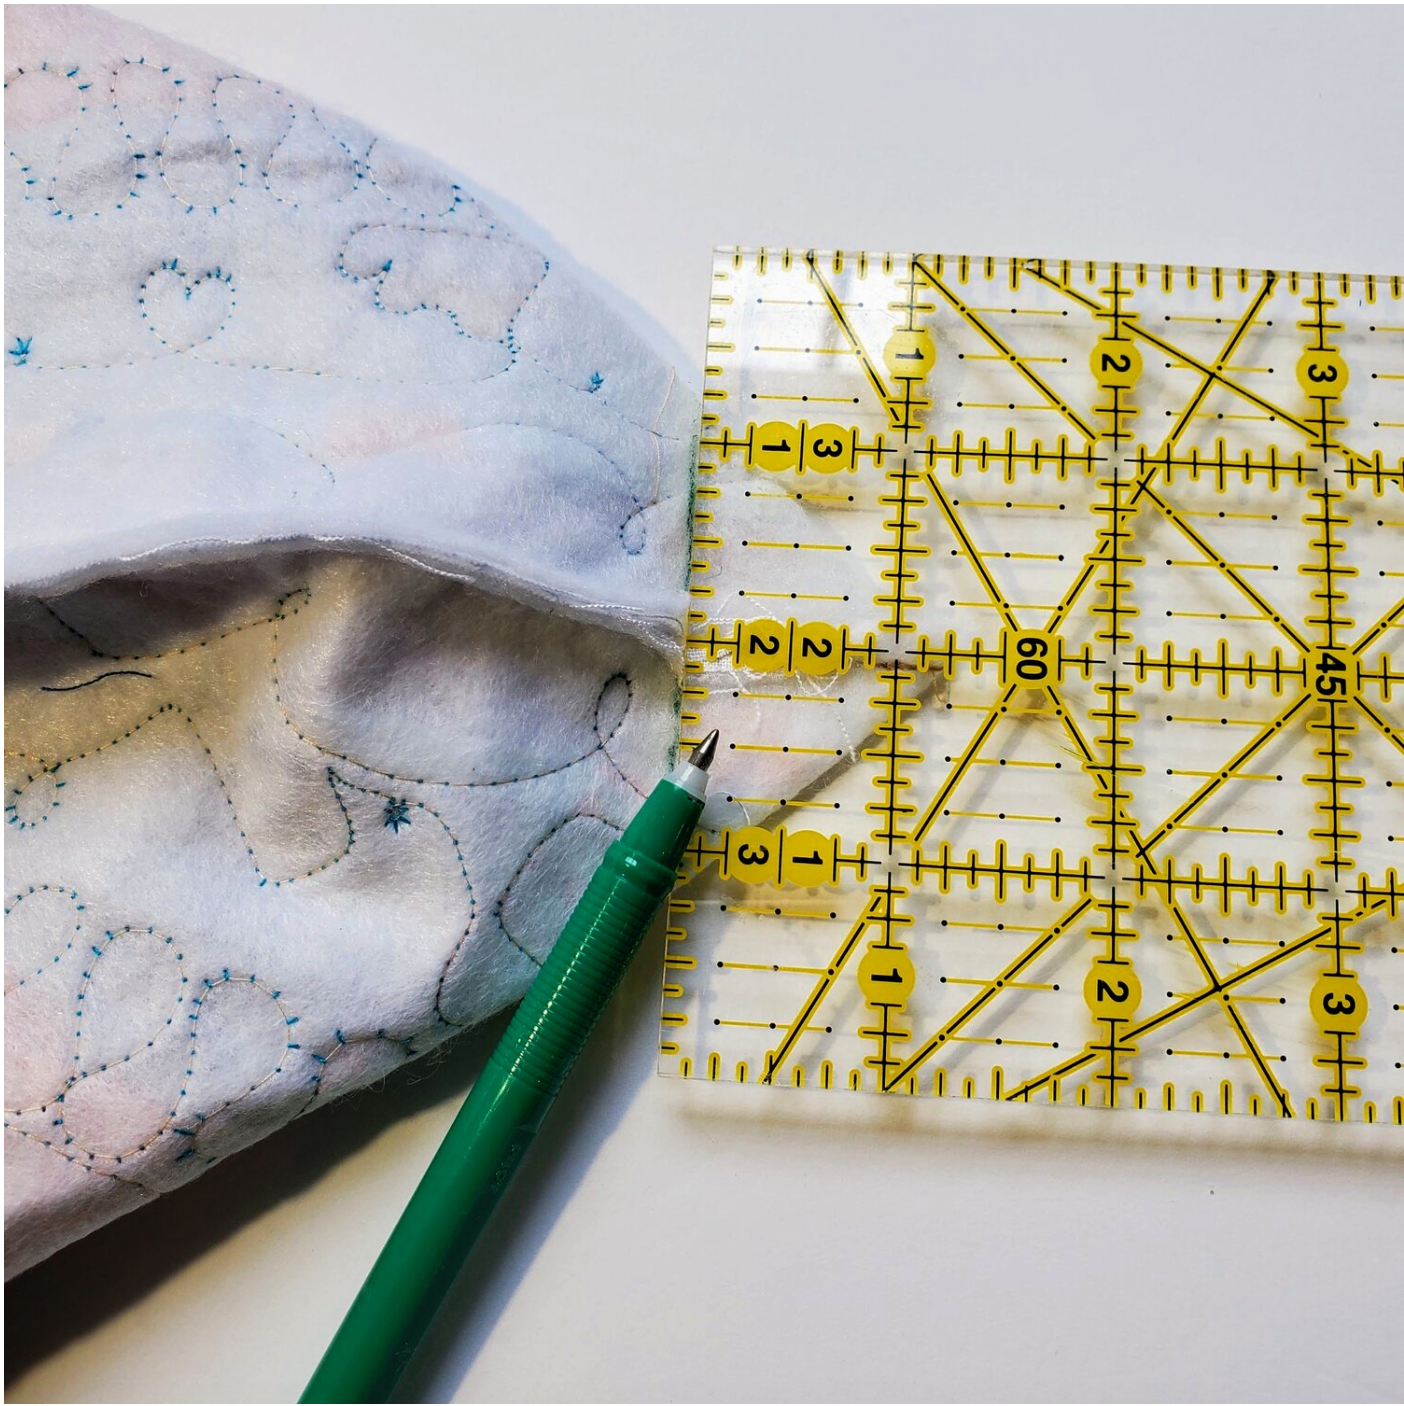
To make the bag bottom you will box the seams at all four corners. Pinch the seams together to form a triangle and mark 1 ¼” from the point with a fabric marker. This will be the seam line.
Sew the seam and trim the excess leaving a ¼” seam. To prepare the bag flap, fold on the marked centerline with right sides together. It is a good idea to pin the loose edges of the pockets so they do not get caught in the flap seams.
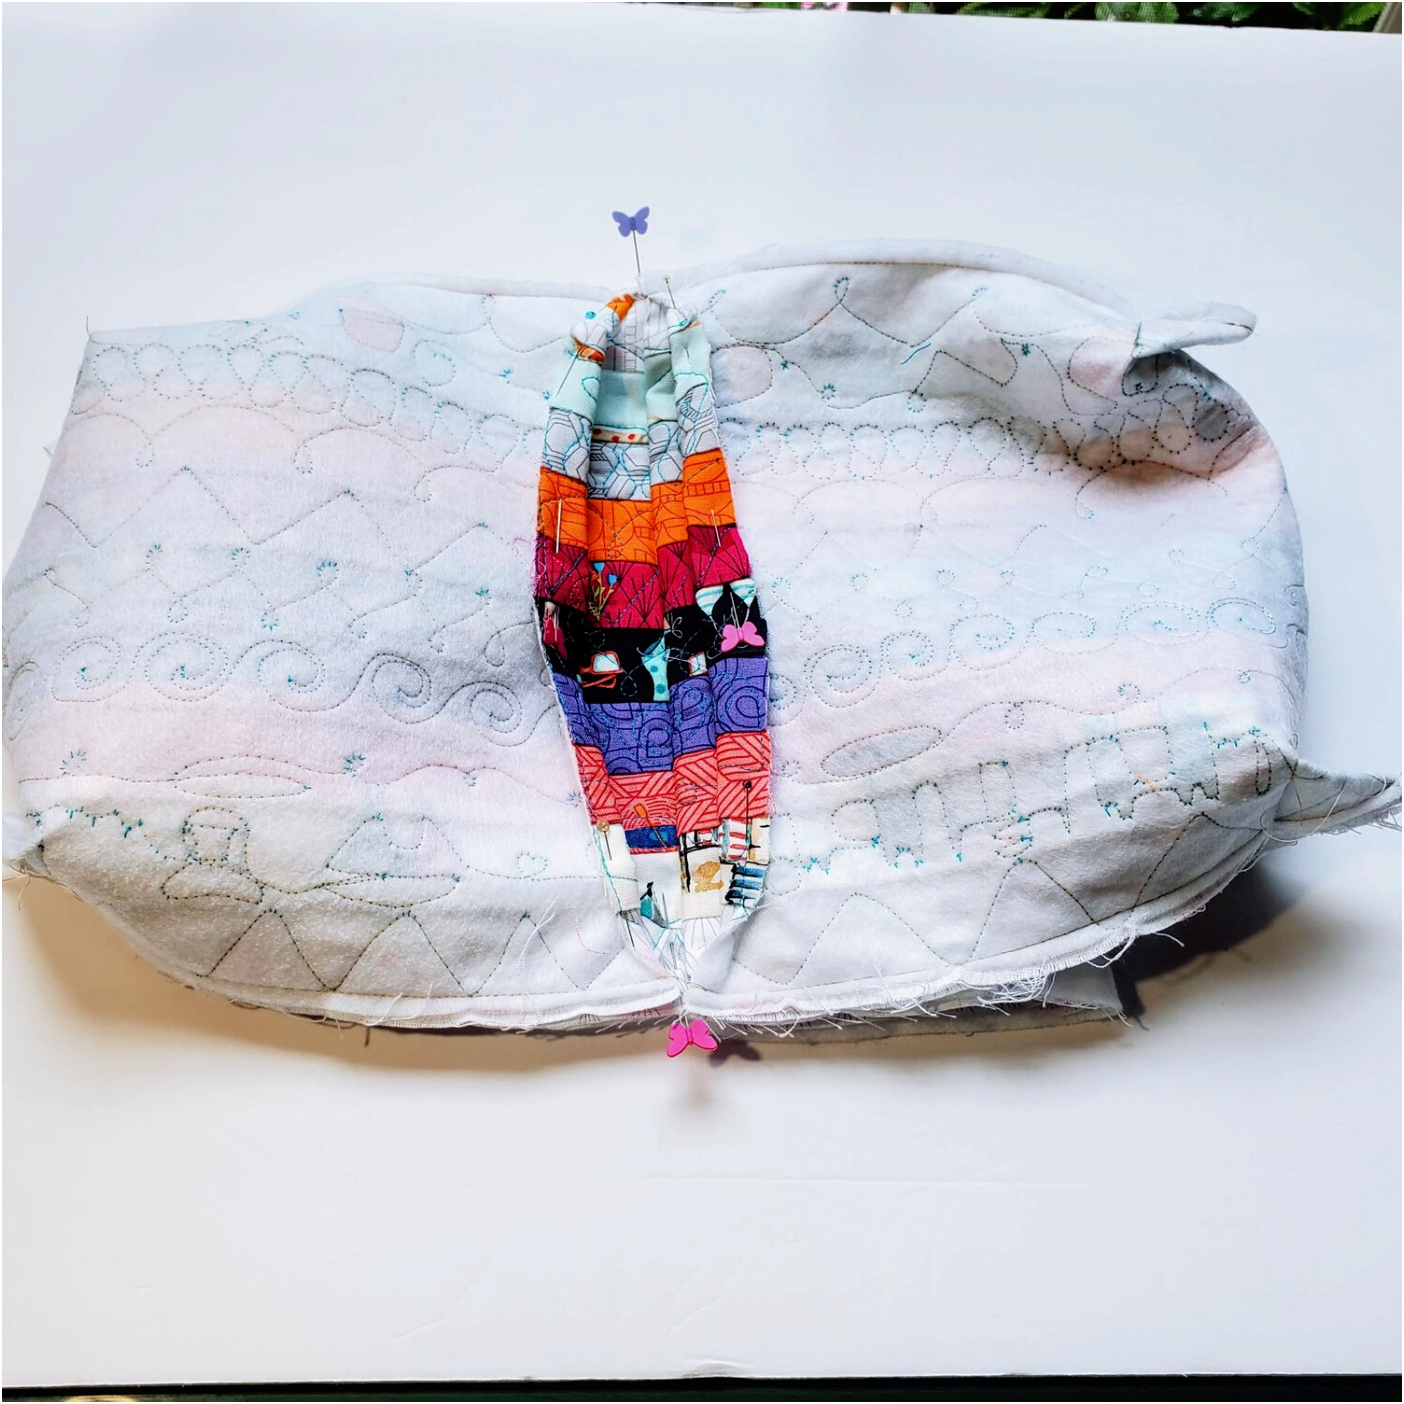
Using a rounded edge like a CD mark the corners of the flap to sew the seam. Be careful to start and stop on the 4 ½” marked lines as you sew around the flap.
Back stitch to reinforce the seam. Trim the curve to a ¼” seam. Turn the right sides out and press aligning the edge of the bag flap to prepare for topstitching.
Stuff the unturned pocket into the bag to create the lining. Topstitch the bag flap ⅛” from the edge using a slightly longer #3 stitch length.
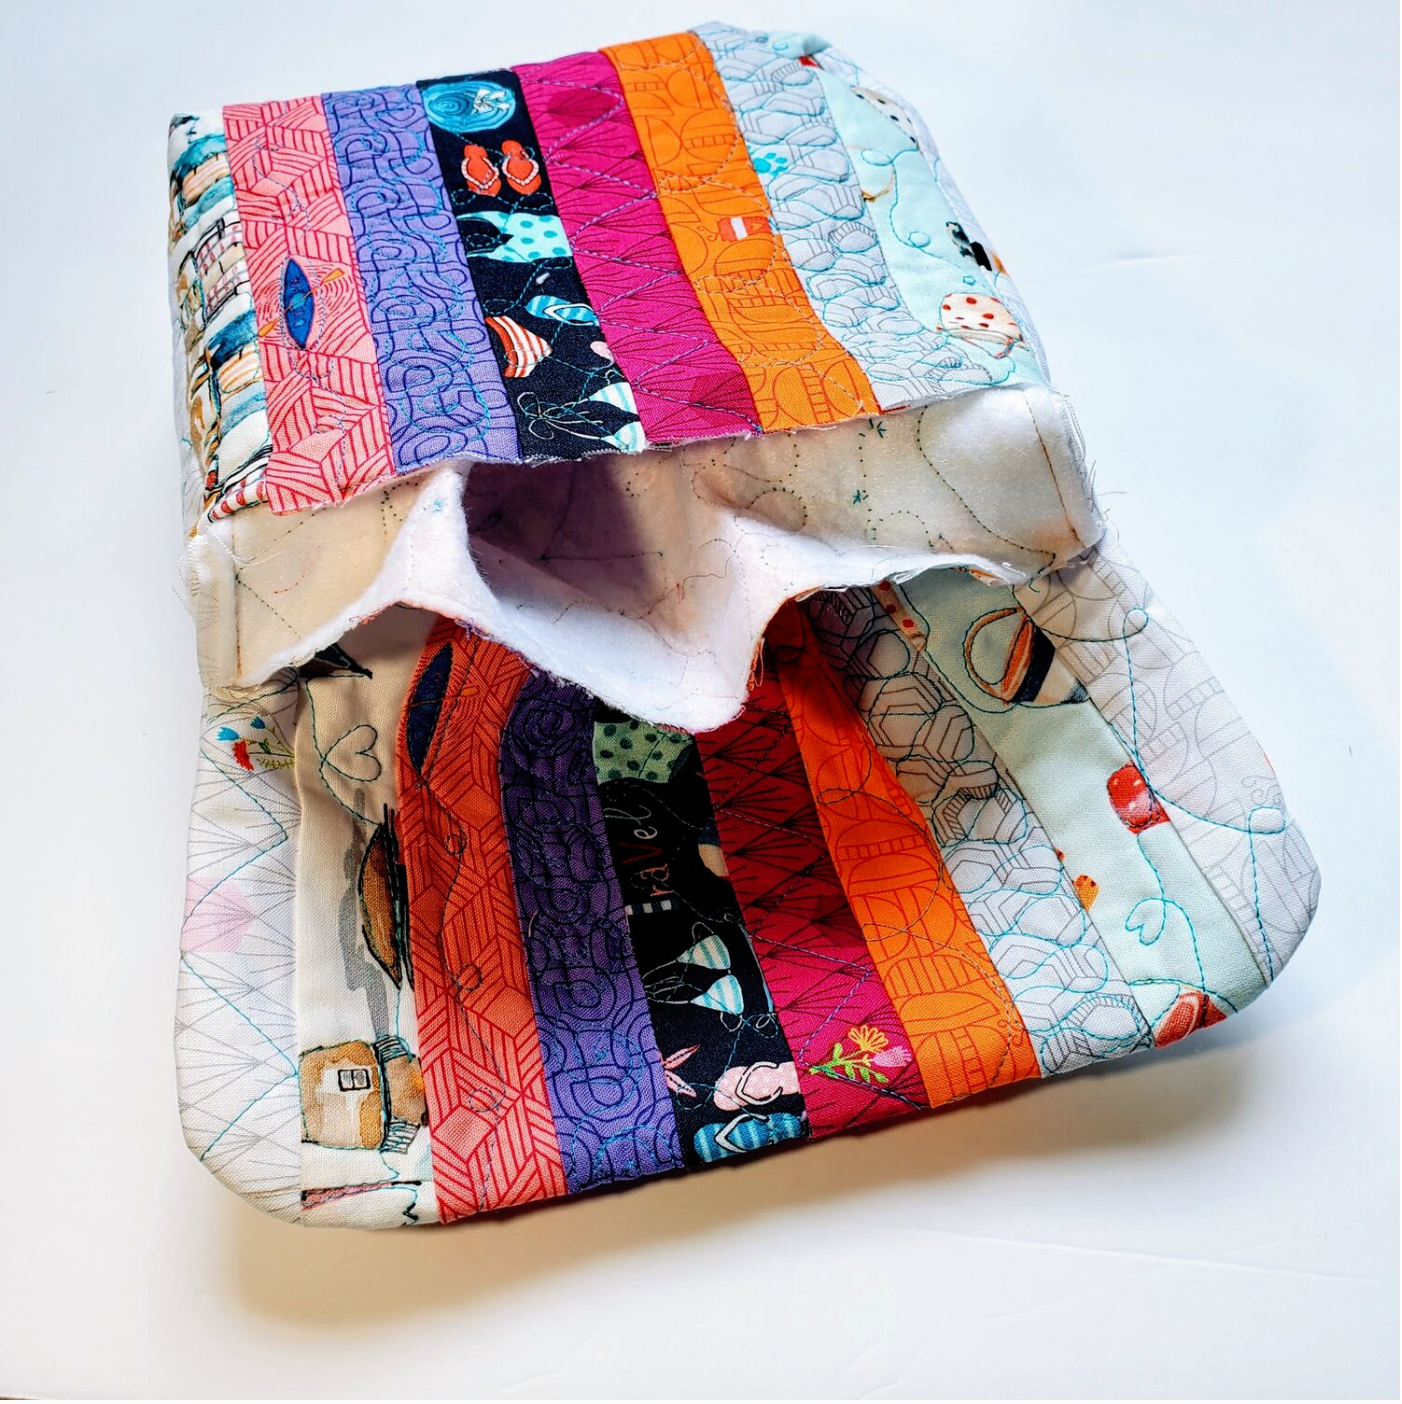
Fold under and pin the raw edges of the pockets carefully aligning the strips.
Topstitch to close the opening starting and stopping at the flap topstitching line of stitching.
Give the bag a good steam press on the edges and the box corners to give the bag shape. To finish add purse hardware, snaps or button and Velcro. This is a great bag to carry the essentials to the pool or beach. You can easily add a wrist strap to match this fun bag!